Content
In the midst of the apple harvest, a good housewife is often blindsided by the incredible number of products that can be created from apples. They are truly versatile fruits that can be used to make equally tasty compotes, juices, jams, marmalades and even cheeses. And those who have at least once tried to make wine from apple juice are sure to repeat their experiments next season. After all, this wine produces a taste that is completely incomparable to anything else, and its lightness is very deceptive; its effect can exceed all expectations.
Among the many recipes for making homemade wine from apple juice, only those that use only natural ingredients, without the addition of high-proof alcoholic beverages, will be presented here.
The process of making wine is not at all as complicated as it might seem from the outside. Although for those who are planning to cook homemade apple wine for the first time, you must pay attention to all the subtleties and features of the process and follow them strictly. How to make wine from apples so that everything works the first time is described in detail in the next chapter.
Classic apple juice wine recipe
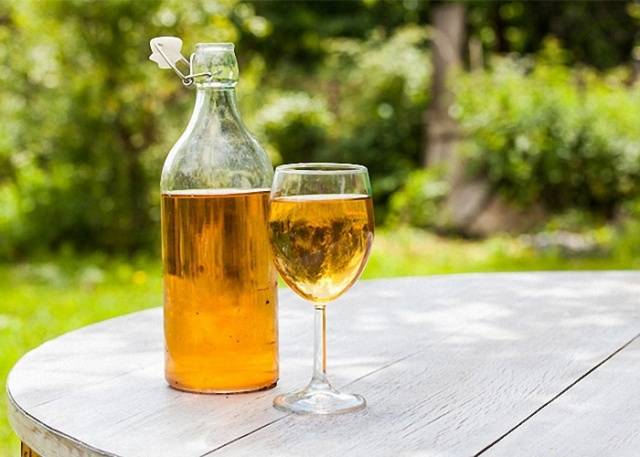
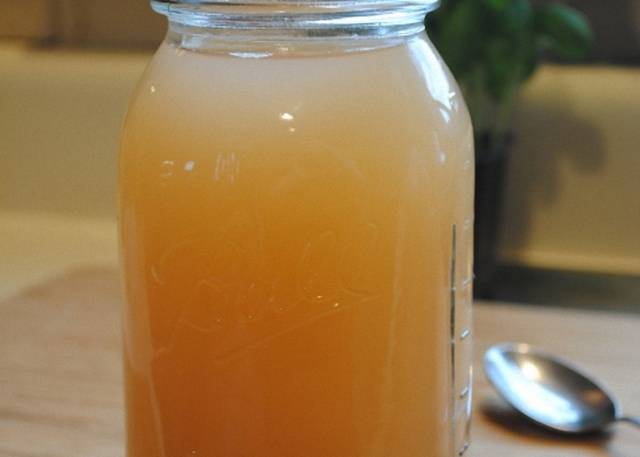
If you do everything correctly, this recipe should yield a delicious dark amber drink with a subtle aroma of ripe apples and a natural strength of about 10-12 degrees.
Selection and preparation of fruits
As for the choice of variety, almost any variety of apple is suitable for making apple wine, both in terms of ripening time (summer or winter), color (red, yellow or green) and acid content. Perhaps the main condition for obtaining high-quality wine is that the apples are fully ripe and quite juicy. “Wooden” fruits are unlikely to make tasty wine, and if you use very sour varieties (like Antonovka), then it is advisable to either mix them with sweeter apples or add a little water (up to 100 ml per liter of finished juice).
If the apples themselves are juicy and not very sour, then adding water is undesirable even in small quantities, not to mention diluting the juice two to three times.
It is advisable to store apples collected from a tree or from the ground for no more than 3-5 days in a cool place before processing. Under no circumstances should fruits be washed, since special natural yeast microorganisms live on the surface of their peel, with the help of which fermentation will occur. If individual fruits are heavily soiled, you can wipe them with a clean, dry cloth.
Partially damaged apples can also be used for wine; it is only important to carefully remove all damaged or rotten parts so that only fresh white pulp remains.In order to prevent the slightest note of bitterness from homemade wine, you must also remove all seeds and internal partitions.
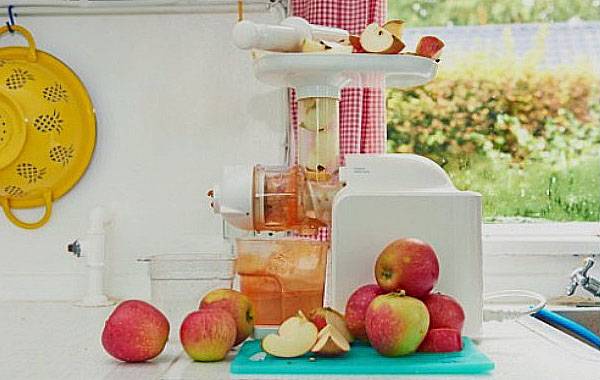
It is best to obtain juice from processed and cut apples using any type of juicer - in this case, the output will be pure juice containing a minimal amount of pulp, and this will greatly simplify the further process.
But if it was store-bought and pasteurized, then wine yeast may need to be added.
First stages of the process
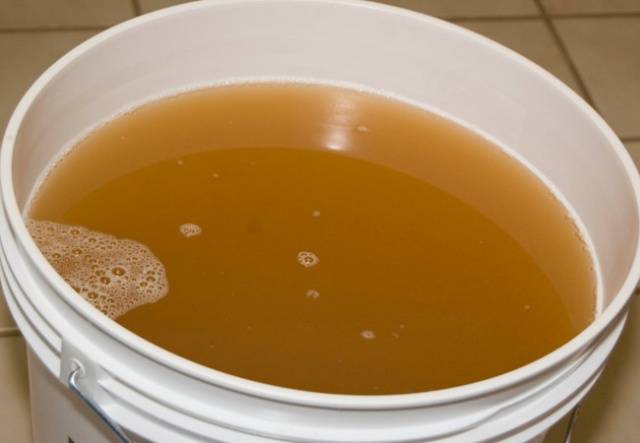
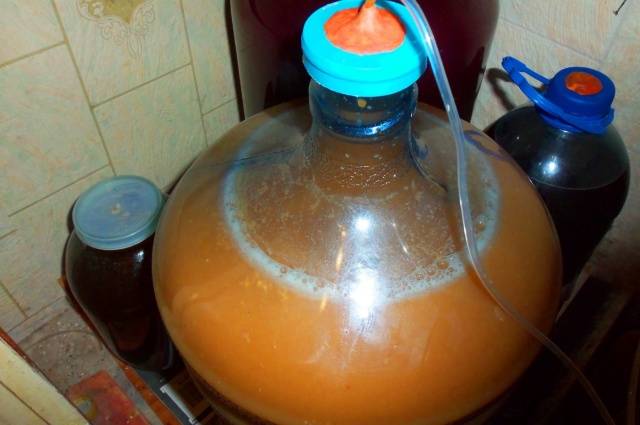
At the first stage of making apple wine, the juice from the apples must be left for 2-3 days. To do this, it is placed in a large container with a wide neck; the hole on top must be tied with gauze to protect the juice from insects getting inside. During this period, the juice, under the influence of spores of yeast microorganisms, will begin to disintegrate into two components: liquid apple juice and pulp (remains of pulp and peel). The pulp will begin to accumulate at the top of the juice. In order for the process to proceed correctly and intensively, in the first two days you should remove the gauze several times a day and actively mix the contents of the container with a clean wooden stirrer or just with your hand.
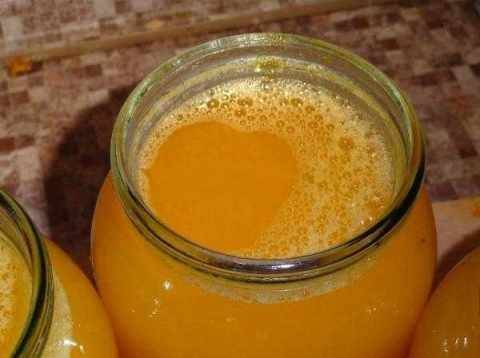
On the third day, foam, hissing and some alcohol-vinegar aroma appear on the surface of the juice - all this is evidence of the beginning of the fermentation process. At this time, all the pulp that has gathered tightly on the surface of the juice must be carefully collected using a colander and removed.
After removing the pulp, you need to add sugar to the apple juice and put the juice in a container with a tight-fitting lid for full fermentation.
Adding sugar when making wine at home is an important procedure, which is usually carried out in several stages. After all, if the sugar content in wine exceeds 20%, then it will not ferment intensively enough or the process will stop altogether. Therefore, sugar is added in small portions.
Its quantity depends on the type of wine you want.
- To obtain dry table apple wine, 200 grams of sugar per liter of juice is enough.
- For semi-sweet and dessert wines, you need to add from 300 to 400 grams per liter of apple juice.
So, on average, after removing the pulp, about 100-150 grams of sugar per liter are added to apple juice. At this stage, granulated sugar can simply be poured into the fermented juice and mixed well.
In the future, you can add sugar every 5-6 days, using from 40 to 100 grams per liter. When adding sugar, the water seal is removed, a small amount of wort (fermented juice) is poured into a small container, the required amount of sugar is dissolved in it, and the sugar mixture is again poured into the fermentation container.
After adding sugar, the water seal is reinstalled and fermentation continues.
Fermentation stage
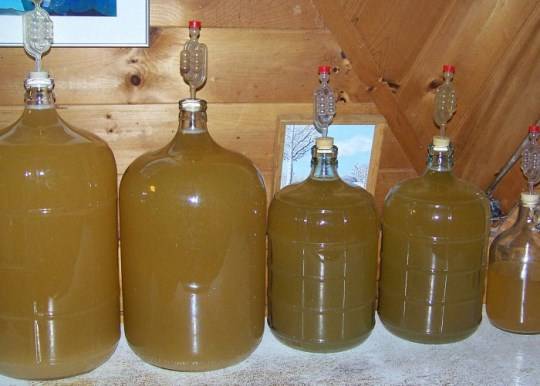
For proper fermentation, it is necessary to simultaneously remove the possibility of oxygen from entering the container with the future wine, and remove excess carbon dioxide, which is necessarily released during the fermentation process. For these purposes, a water seal is used. It is easy to make at home.A small hole is made in the lid of the fermentation container so that the end of a small flexible tube fits into it. The other end of this tube is lowered into a vessel with water.
For the same reason, fill the fermentation container with apple juice to no more than four-fifths of its height.
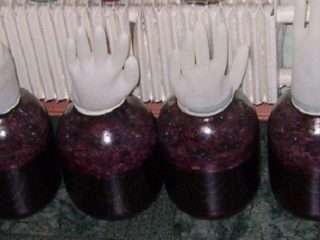
The simplest version of a water seal is an ordinary rubber glove with a small hole made in it and well secured to the neck of the fermentation container.
The container with apple juice during fermentation should be kept in a room without light, at an optimal temperature of +20°+22°C. The fermentation stage usually lasts from 30 to 60 days. Its completion is indicated by the appearance of sediment at the bottom of the container and the long-term absence of carbon dioxide bubbles in the vessel with water.
The last stage is maturation
For the most impatient, making wine from apple juice has come to an end - you can already try it and treat your loved ones with it. But its taste is still far from perfect, and it can only be improved by long-term aging.
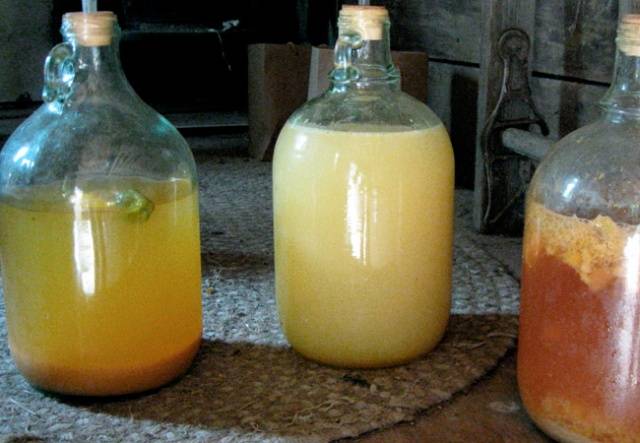
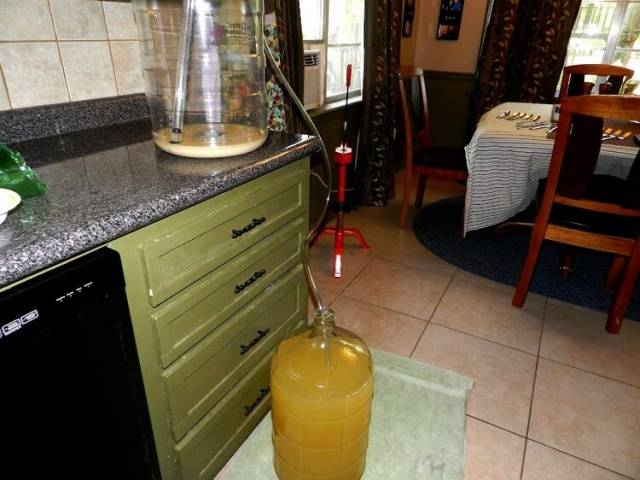
Apple wine ripening should occur in completely dry and sterile glass vessels that have sealed stoppers. It is advisable to pour wine into these vessels using the principle of communicating vessels, using a water seal tube, so as not to touch the sediment at the bottom as much as possible. After tasting the wine before racking, you may want to add sugar.In this case, within 10-12 days the wine must be put back on the water seal if it suddenly decides to ferment again. When ripe, it should be stored at a temperature of +6°+15°C. In the first months, it is advisable to free the wine from sediment every two weeks by pouring it into clean, dry bottles. Subsequently, sediment falls less and less often, and with minimal precipitation, homemade apple wine is considered ready. This usually happens within 2-4 months. You can store finished apple wine for three years in hermetically sealed bottles.
Recipe for wine made from apple juice with added yeast
If you decide to use ready-made apple juice to make apple wine at home, then to get the best results, it is recommended to add wine yeast during production. The simplest recipe for such homemade wine is presented below.
For 4 liters of apple juice, it is enough to prepare 2 teaspoons of dry wine yeast and about 400 - 800 grams of granulated sugar.
The easiest way is to take a regular five-liter plastic bottle for fermentation and, after thoroughly mixing all the ingredients in a separate container, pour the apple mixture into the bottle.
Then attach a balloon or rubber glove to the top of the bottle and place it in a cool, dark place for up to 50 days. The next day, the fermentation process should begin and a small hole should be made in the ball to allow gases to escape. When the fermentation process comes to an end - the ball deflates - the wine is ready and you can drink it.
By the way, if you put apple juice in a warm place, then after three or four days you can try apple cider - unripe apple wine with a low strength, up to 6-7 degrees.
Try different options for preparing apple wine and enjoy a varied palette of flavors, because almost nothing is required to make it except apples and a small amount of sugar. And you can get enough benefits and pleasure for yourself and your loved ones to last through the entire harsh and long winter.
