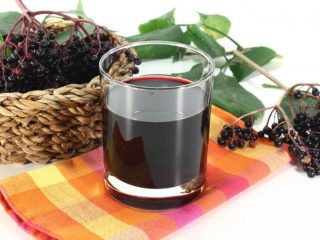
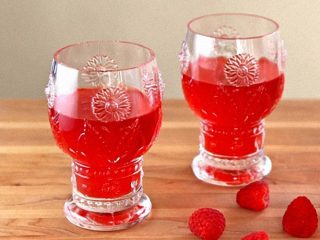
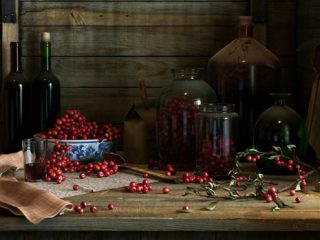
Content
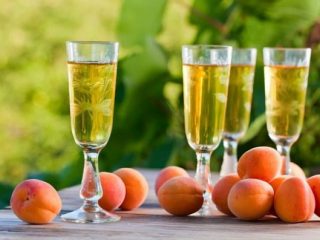
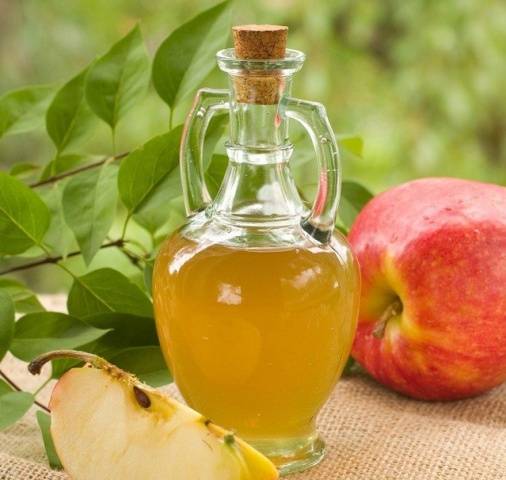
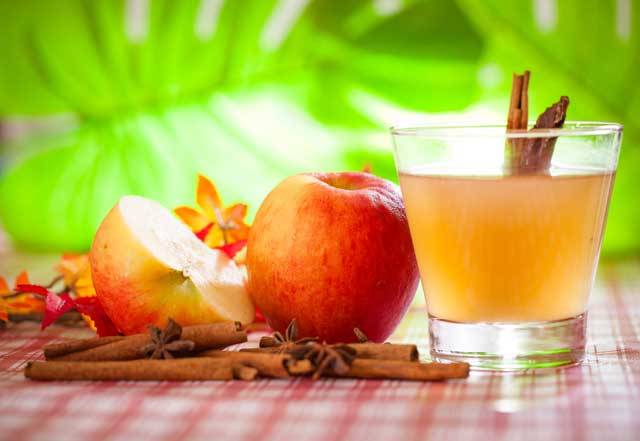
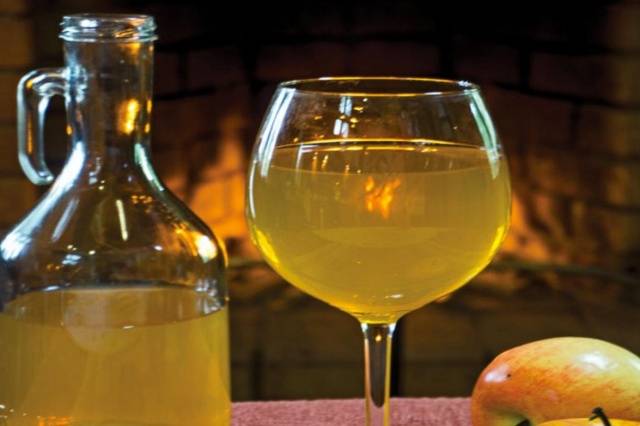
Wine made from apples is not as popular as grape or berry wine, but the taste of this drink is universal and is liked by almost everyone. The wine is not very strong (about 10%), transparent, with a beautiful amber hue and a pronounced smell of ripe fruits. There are many recipes for making this light wine: from fortified and table varieties, to liqueur and cider, and there is also wine made from apple jam and blends from apples of various varieties or with the addition of other fruits, berries and spices.
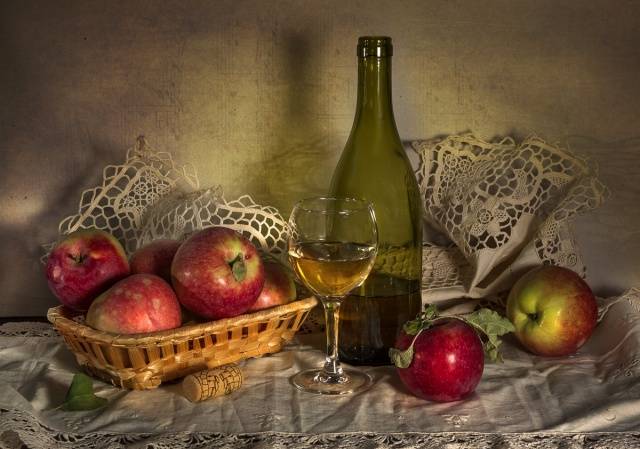
This article will be devoted to how to make wine from apples at home. Here you can also find a step-by-step recipe for preparing such a drink with photos and learn about the detailed technology for preparing apple wine at home.
How does making wine from apples differ from other types of winemaking?
Making apple wine at home is not at all difficult; even those who have never been involved in winemaking can do it. The biggest difficulty in the whole process is extracting apple juice, because apples are very reluctant to give up their liquid.
It’s more convenient and faster to use a juicer, and if you don’t have such a device at home, you’ll have to first process the apples into puree, and only then squeeze the juice out of it. You can grind apples with a grater or a meat grinder, and you will have to squeeze the puree through gauze (which is very time-consuming and labor-intensive) or use a special press for these purposes.
On the peel of apples, like on other fruits and berries for wine, there is wine yeast. Therefore, before preparing homemade wine, apples are not washed, but only lightly cleaned of dust and soil (if the harvest was harvested under a tree). You can carefully brush the apples with a soft brush or wipe with a dry cloth. In order for apple wine to ferment well, you should not harvest immediately after the rain - let it pass for 2-3 days.
Apples of absolutely any variety are suitable for making wine: dry wines are made from sour fruits, sweet apples are suitable for dessert drinks and liqueur, tart winter varieties will give the drink a special piquancy and help create an unusual bouquet.
Apple wine at home: technology
So, in order to make apple wine at home according to the simplest recipe, you must follow the technology. Any deviation from the recipe can be very expensive: in the worst case, the entire wine will turn into unpleasant-smelling vinegar. For your first experience, it is recommended to choose the simplest apple wine recipe, which involves using only three components: ripe fruits, water and sugar.
When making any wine, the winemaker must remember how important sterility is in this matter.Therefore, all containers, spoons, spatulas and other equipment must be sterilized, and before that they are washed with baking soda.
Metal utensils cannot be used in winemaking; they can only be plastic, glass or enamel containers. It is optimal to choose large containers (10-20 liters); in the worst case, three-liter jars or plastic drinking water bottles are suitable for wine.
It is recommended to cut the dusted apples into several parts (for convenience) and remove the seeds from them, which will give the wine unnecessary bitterness.
How to make apple wine (with photos and explanations for each stage)
The technological process of making wine from apples consists of the same steps as in the case of grapes or other fruits and berries:
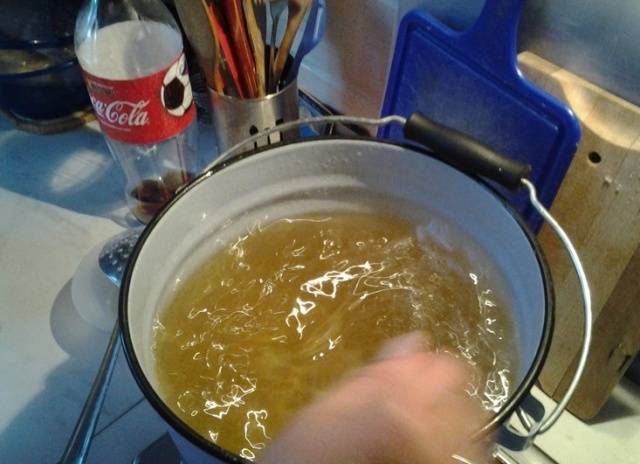
- Squeezing juice from apples. Methods for chopping apples have already been discussed above. It is worth noting that the winemaker’s task at this stage is to obtain at least a semi-liquid puree, ideally it should be pure apple juice.

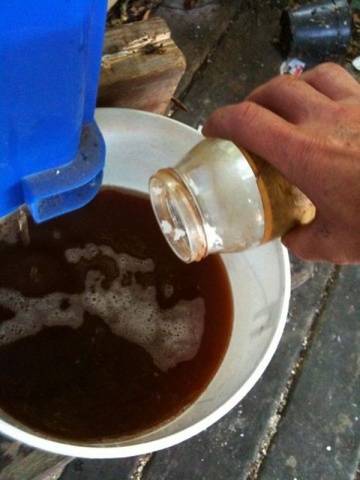
- Juice settling. The resulting semi-liquid mass or juice must be placed in a saucepan or enamel bucket, plastic basin and covered with several layers of gauze. In this form, apples should be kept for 2-3 days at a temperature of about 22-25 degrees; in addition, they should be protected from sunlight. During this period, the puree should separate into two components: on top there will be pulp, consisting of peels and large fractions of apples, and pure apple juice will settle at the bottom.It is in the pulp that wine fungi are found, so the task of the winemaker these days is to mix the apple mass, lowering the pulp to the bottom. This should be done every 6-8 hours to prevent the wine from turning sour. By the end of the third day, a dense layer of pulp should form on the surface of the wine, and the wine itself will begin to ferment, emitting a hissing sound and a sour smell.
- Adding sugar to wine. Initially, apples contain a certain amount of sugars, their percentage depends on the type of fruit and the time of harvest. Therefore, the winemaker must taste the wort: if it is quite sweet, very little sugar is added. Excess sugar in wine (more than 20%) will stop the fermentation process. It is best to add sugar to wine in parts., starting from the day when the pulp is separated and the wine is poured into a bottle for fermentation. 100-150 g of sugar per liter is simply poured into the wort and stirred thoroughly. After 4-5 days, you can add a second, half smaller portion of sugar, and after another week, pour the last part into the wine. They do it this way: pour into a clean container an amount of wine that is half as much as the volume of sugar (a glass of wine per 0.5 kg of sugar, for example), add sugar and stir, then pour the syrup into a bottle of wine. You need to control the sugar level in apple wine throughout the fermentation process.
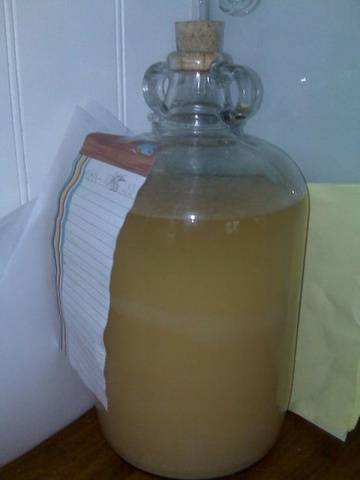
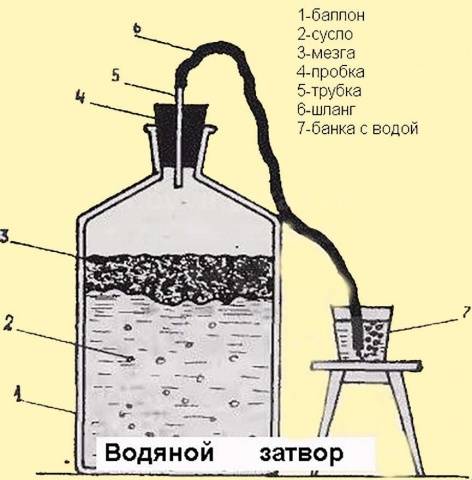
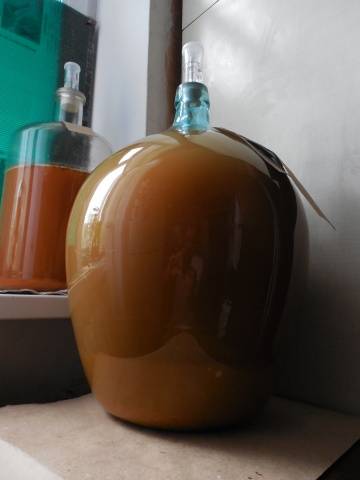
- Wort fermentation. In order for wine to ferment well, in addition to yeast and a sufficient percentage of sugar, it needs complete tightness. During fermentation, carbon dioxide is actively released, it must be removed from the bottle in a timely manner, but oxygen from the air, on the contrary, should not enter the wine. A simple device - a water seal - copes with this task perfectly.This could be a special cap purchased in a store, a medical glove with a hole, or a flexible tube, the edge of which is lowered into a container of water. The bottle is filled with wine no more than 75%, so that there is room for foam and gas, which are necessarily released during the fermentation of apples. Now the bottle needs to be placed in a warm and dark place, with a constant temperature of 20-27 degrees - fermentation will begin in a couple of hours. This process will last from 30 to 60 days; you can tell when the fermentation of the wine is complete by a deflated glove or the absence of bubbles in the water seal.
- Maturation of young wine. Fermented apple wine, in principle, can already be drunk, but it has a pungent odor and not a very pleasant taste. All this can be improved in the process of ripening homemade apple wine. At this stage of preparation, the wine is drained from the sediment using a plastic tube into a new, clean container. Now you need to taste the apple wine and, if necessary, sweeten or strengthen it with vodka or alcohol. The bottle is filled to the top with wine and taken to the basement or other cool place, where it will mature for 3-6 months. Every 12-20 days you need to inspect the apple wine; if sediment appears, the drink is poured into a new container. Drain the apple wine from the sediment until it clears.
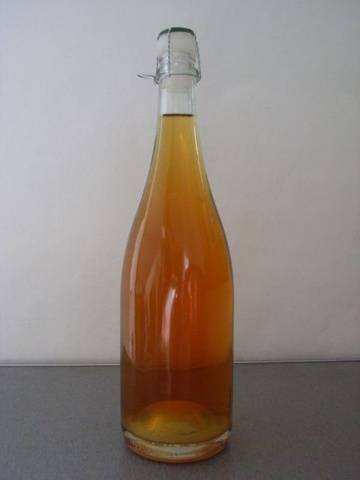
All that remains is to pour the finished apple wine into bottles and store it in a cool and dark place. Bottles should be filled to the top to minimize contact of wine with oxygen.
To prepare apple wine at home, according to this simple recipe, you need to take about 20 kg of ripe apples and from 150 to 300 g of sugar for each liter of juice obtained.
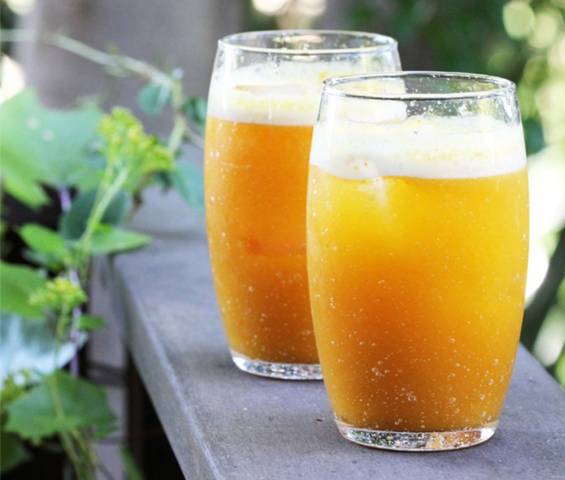
How to make apple cider (with photo)
Cider is usually called a sparkling, very light wine made from apples. The strength of this drink is usually 5-7%, the taste of the wine is very pleasant, reminiscent of sweet soda.

You will need the following ingredients:
- 8 kg apples;
- 12 liters of water;
- 3200 g sugar.
How to prepare wine:
- The collected apples must be cut into 4-6 parts (depending on the size of the fruit) and the core removed. To make the process go faster, you can use a special device - an apple slicer.
- Sliced apple slices are placed in a bag made of thick natural fabric or simply wrapped in a piece of suitable material. This bundle is placed on the bottom of a pan or basin, and a lid or wooden disk is placed on top, the size of which should be less than the diameter of the container itself. This entire structure must be pressed with a weight weighing about 10 kg.
- You need to make syrup from 6 liters of water and 1600 grams of sugar. When the syrup has cooled to room temperature, pour it over the apples placed under the press. The tissue of the bag should be completely submerged in liquid.
- For five weeks, the container with apples should be kept in a dark and cool room (no more than 18-20 degrees). After this time, the liquid from the pan must be drained using a flexible tube (for example, from a medical dropper).Place the wine in a clean bottle, add syrup, boiled in the same proportions as the first time.
- The pan with apple slices is kept in the same room for another five weeks. After this time, pour off the second portion of wine. This wine is mixed with the previous one and sent to the cellar to age.
- After six months, you need to drain the apple wine from the sediment and bottle it in sterile bottles. The cider is stored in the cold for another month, after which it can be drunk.
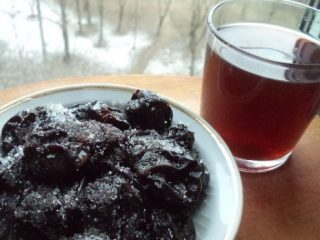
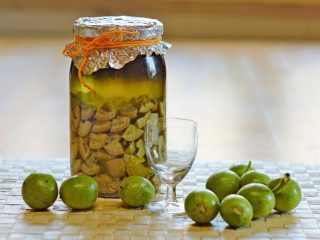
How to make wine from jam at home (with photo)
Every housewife has a jar in her basement. old jam, which no one eats, since a new one has long been brewed. This jam or marmalade can be an excellent base for making homemade wine.
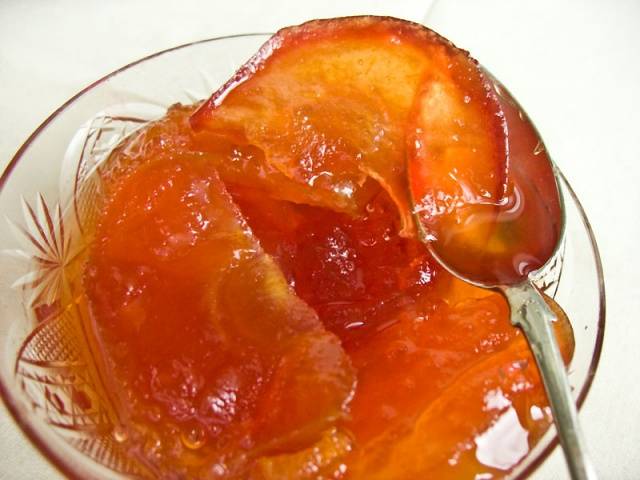
So, For delicious homemade wine you will need:
- liter jar of apple jam;
- liter of water;
- 100 g unwashed raisins;
- 10-100 g of sugar for each liter of wort (sugar is added only if the jam is not sweet enough).
Making wine from jam is very simple:
- Prepare a three-liter bottle by cleaning it with soda and then washing it with boiled water. To consolidate the effect, you can sterilize the jar with steam or another method.
- Pour apple jam into a clean jar, pour water, add raisins, add sugar if necessary. Mix all ingredients thoroughly.
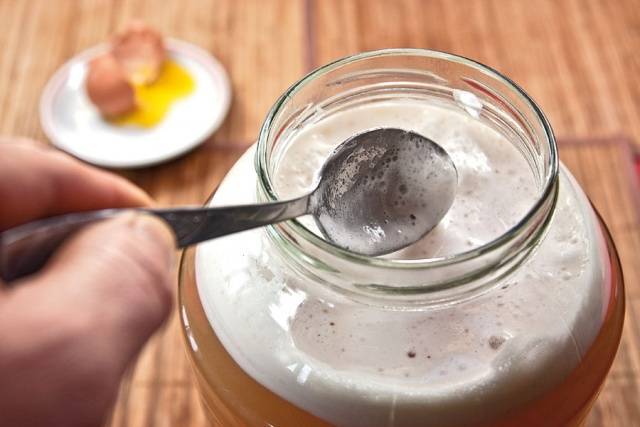
- Cover the bottle with gauze to protect against insects and place in a warm place (about 22-25 degrees).Here the apple jam should begin to ferment within the first 8-20 hours. And the bottle will remain warm for 5 days, during which the contents must be stirred every 8 hours.
- On the sixth day, the pulp (particles that float to the surface) is removed from the jar with a spoon, and the juice is filtered through several layers of gauze. The filtered wine is poured into a clean bottle, filling it 3/4 full. The top of the jar is closed with a glove or a special water seal.
- The apple wine will ferment for 30-60 days. All this time it should be in a warm and dark place with a constant temperature. The end of fermentation is indicated by a deflated glove or lack of air in the water seal. If by the fiftieth day the apple wine is still fermenting, you need to drain it from the sediment so that bitterness does not appear.
- When fermentation is complete, the wine from the apples is poured into another vessel, being careful not to touch the sediment. If necessary, sugar and alcohol are added to create a fortified sweet wine.
- They put the wine in the cellar and monitor the sediment. When the sediment layer reaches several centimeters, the wine is poured. The procedure is repeated until the drink brightens and the sediment stops falling out.

All that remains is to choose the appropriate apple wine recipe and make sure that home winemaking is an uncomplicated and very exciting process. The video will tell you in detail about all the stages of preparing this drink: