Content
The secrets of winemaking are passed down from generation to generation, and it will take many years to master them. Anyone can make wine at home. If you follow the technology, you can get wine with good taste, which is in many ways superior to store-bought ones.
The recipe for homemade red grape wine includes a certain sequence of actions. It must be observed regardless of the grape variety chosen. The preparation procedure is adjusted depending on the type of wine you want to obtain.
Selecting a grape variety
To obtain red wine you will need grapes of the appropriate varieties. Red wines have a rich taste and aroma, which depend on the tannin content in the berry seeds.
In Russia, red wine can be made from the following grape varieties:
- "Isabel";
- "Lydia";
- "Tsimlyansky black";
- "Cabernet Sauvignon";
- "Merlot";
- "Pinot noir";
- "Moldova";
- "Regent";
- "Crystal".
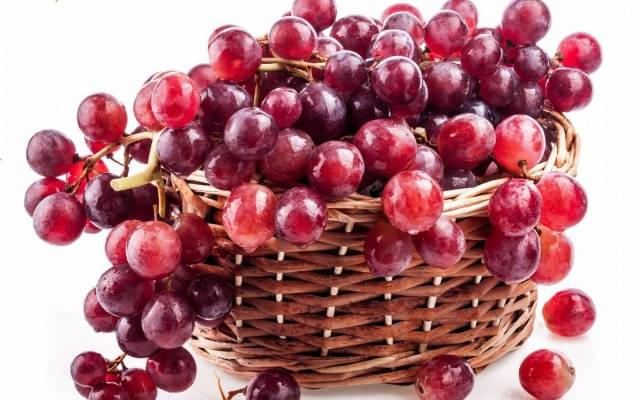
Best choice for wine table grapes. These varieties are distinguished by small clusters and small berries.Red wine is obtained from blue, black and red fruits.
Preparing Ingredients
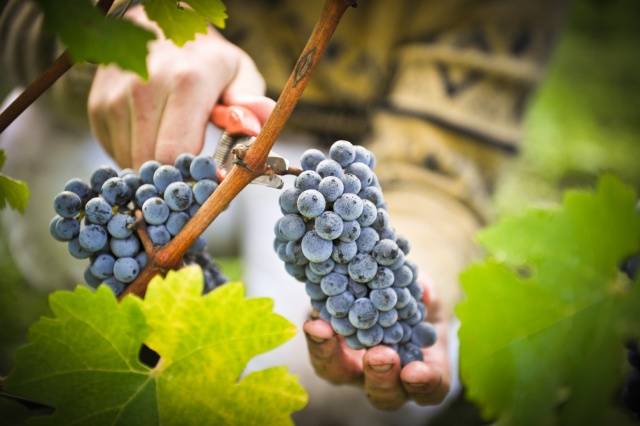
The harvesting of grapes for further production of wine must be carried out in compliance with certain rules:
- berries are harvested at the end of September or early October;
- work in the vineyard is carried out in sunny weather;
- unripe berries contain a large amount of acid;
- a tart taste appears when using ripe grapes;
- overripe berries promote vinegar fermentation, which leads to spoilage of wine;
- fallen grapes are not used in winemaking;
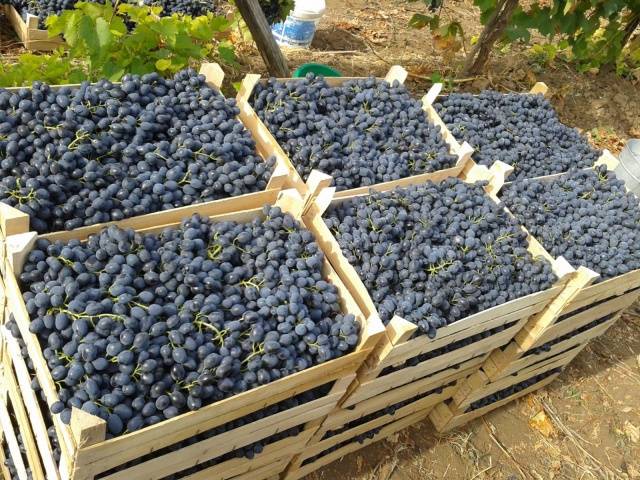
- After picking the berries, 2 days are given for their processing.
The collected berries need to be sorted, removing leaves and branches. Damaged or rotten fruits are also removed.
To make red wine you will need the following components:
- grapes – 10 kg;
- sugar (depending on the desired taste);
- water (only for sour juice).
Preparing containers
It is not recommended to use metal containers for work, with the exception of stainless steel. When interacting with metal, an oxidation process occurs, which ultimately negatively affects the taste of the wine. You can use containers made of wood or plastic intended for food products.
The containers are first disinfected to prevent mold or other pathogenic microbes from getting into the juice. In industrial conditions, containers are smoked with sulfur, while at home it is enough to rinse them with hot water and wipe them thoroughly.
Classic recipe
The classic technology for producing homemade wine includes several stages. If you follow them, you get a tasty drink.The given recipe allows you to prepare semi-dry red wine, which has a certain sweetness due to the addition of sugar. The following procedure describes how to make homemade wine:
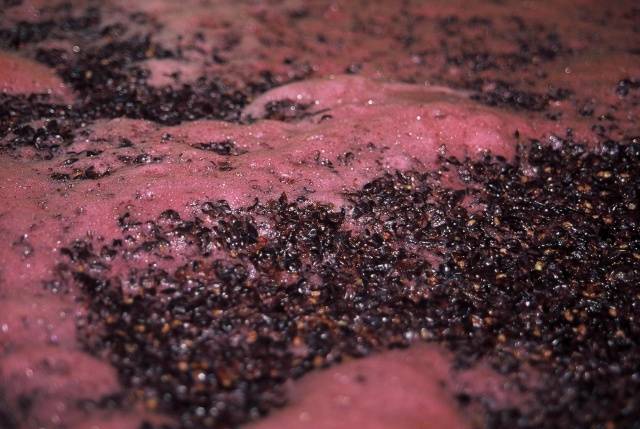
Receiving pulp
Pulped grapes are called pulp. In the process, it is important not to damage the seeds, due to which the wine becomes tart.
The fruits need to be crushed and the resulting mass placed in an enamel bowl. The grapes should fill the container to ¾ of its volume. The future wine is covered with a piece of cloth to protect it from insects, and placed in a warm and dark place with a constant temperature of 18 to 27°C.
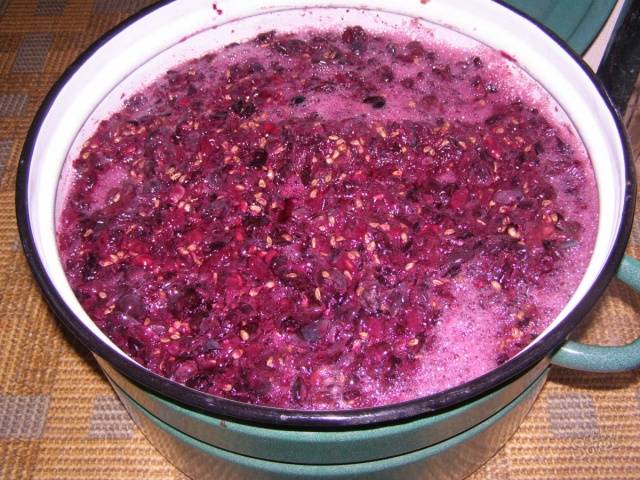
Fermentation of the grapes occurs within 8-20 hours, which leads to the formation of a crust on the surface of the mass. To eliminate it, the wine must be stirred daily using a wooden stick or by hand.
Juice release
Over the next three days, the pulp ferments and becomes lighter in color. When sizzling sounds and a sour aroma appear, it is necessary to squeeze out the grape juice.
The pulp is collected in a separate container and then squeezed out. The procedure is carried out manually or using a press. The juice obtained from the sediment and by squeezing the grape pulp is passed through cheesecloth several times.
Transfusion of grape juice will eliminate foreign particles and saturate it with oxygen for further fermentation.
Water is usually added when grapes grown in northern regions are used. For 1 liter of juice, 0.5 liters of water is enough.This method is not recommended because it reduces the quality of the finished wine.
If the grape juice tastes sour, then it is better to leave everything unchanged. With further fermentation, the acid content in the wine will decrease.
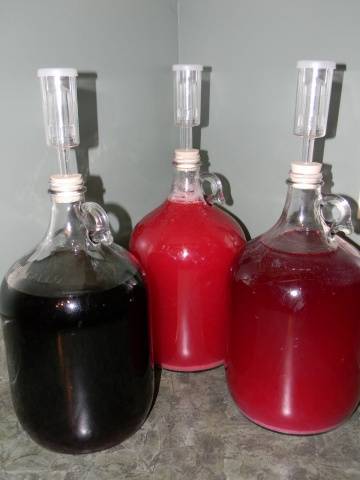
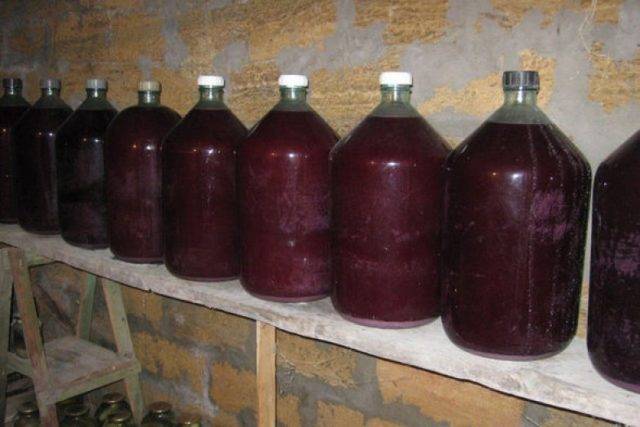
The future wine is poured into glass bottles, which are filled to 70% of the volume.
Installing a water seal
With constant contact with oxygen, wine turns sour. At the same time, you need to get rid of the carbon dioxide that is released during fermentation. Installing a water seal helps solve this problem.
Its design includes a cover with a hole where the hose is inserted. The water seal is installed on the container with the future wine. The device can be purchased in specialized stores or made independently.
After installing the water seal, the container is placed in a room with a temperature of 22 to 28°C. When the temperature drops, wine fermentation stops, so you need to ensure that the necessary microclimate is maintained.
Adding sugar
Every 2% sugar in grape juice provides 1% alcohol in the finished product. When grapes are grown in the regions, their sugar content is about 20%. If you do not add sugar, you will get an unsweetened wine with an alcohol content of 10%.
If the alcohol content exceeds 12%, the activity of wine yeast will stop. At home, you can determine the sugar content in wine using a hydrometer. This is a device that allows you to determine the density of a liquid.
Another option is to use averages for the grape variety.However, please note that these data vary depending on the region. Such statistics are not kept in every region.
Therefore, the main guideline is the taste of the wine, which should remain sweet, but not cloying. Sugar is added in parts. The first sample from the wine is taken 2 days after the start of the fermentation process. If there is a sour taste, begin adding sugar.
First you need to drain a few liters of wine, then add the required amount of sugar. The resulting mixture is poured back into the container.
This sequence of actions is repeated up to 4 times within 25 days. If the process of reducing sugar content has slowed down, this indicates a sufficient concentration of sugar.
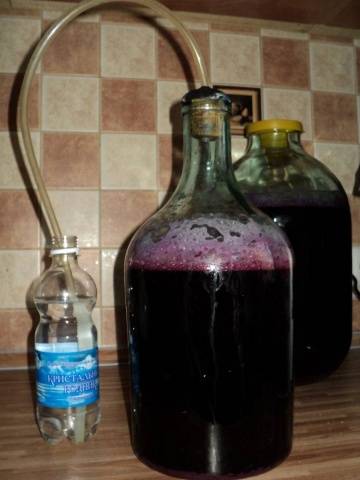
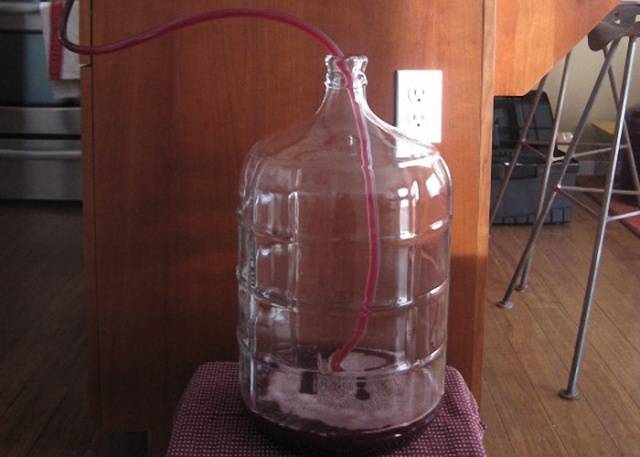
Removal from sediment
If there are no bubbles in the air seal for 2 days (or the glove is no longer inflated), the wine becomes clearer. A sediment forms at the bottom, which contains fungi that cause an unpleasant odor and bitter taste.
Young wine is drained through a siphon, which is a hose with a diameter of 1 cm. The end of the tube is not brought close to the sediment.
Sweetness control
At this stage, active fermentation of the wine has completed, so adding sugar will not affect its strength.
Sugar is added in the same way as several steps earlier. If the wine turns out to be quite sweet, then you don’t need to use a sweetener.
You can make fortified wine by adding alcohol. Its concentration should not exceed 15% of the total volume. In the presence of alcohol, the wine lasts longer, but its aroma loses its richness.
Wine maturation
The final taste of the wine is formed as a result of quiet fermentation. This period takes from 60 days to six months. This aging is enough to produce red wine.
Containers with wine, completely filled, are placed under a water seal. You can also close them tightly with a lid. To store wine, choose a dark place with a temperature of 5 to 16°C. Temperature increases up to 22°C are allowed.
If sediment appears in the containers, the wine is poured. If the wine turns out cloudy, you can lighten it. This procedure will improve the appearance of the drink, but will not affect its taste.
For red wines, it is recommended to use egg white to which a little water is added. The mixture is whipped and poured into a container with wine. The result can be seen within 20 days.
Storing homemade wine
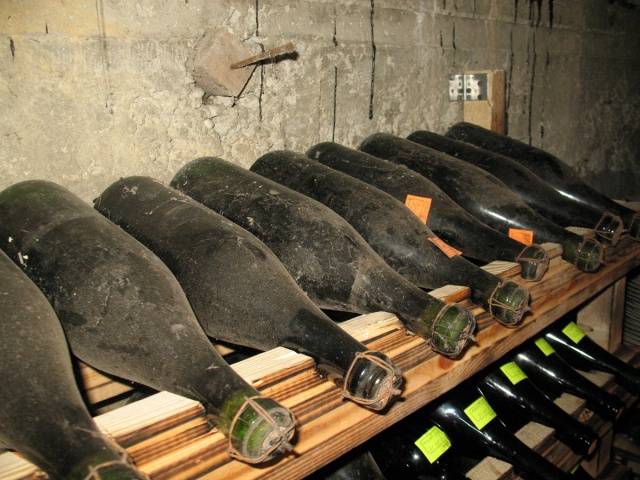
The finished red grape wine is bottled and corked. The homemade drink can be stored for 5 years at a temperature of 5 to 12°C.
The best option is to use dark bottles that protect the wine from light. The bottles are placed in an inclined position.
Homemade wine is well stored in oak barrels. They are first filled with water, which is constantly changed. Immediately before bottling the wine, the barrels are treated with soda and boiling water.
It is recommended to store wine in a cellar, basement or earthen pit. Another solution is the use of special cabinets where the necessary conditions are maintained.
Preparation of dry wine
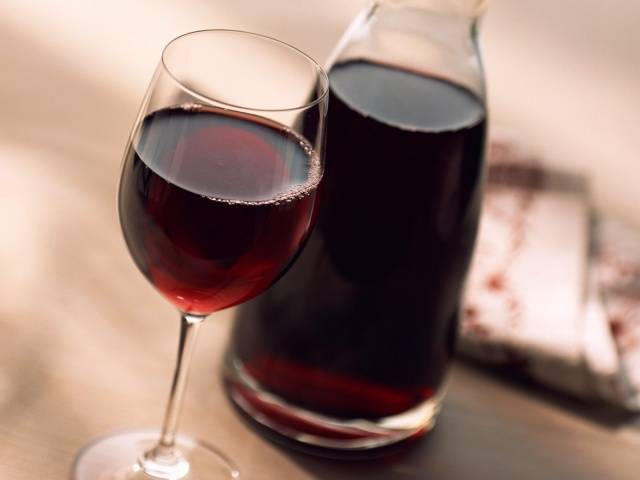
Homemade dry wine is low in sugar. This drink has a ruby or garnet hue. The dry wine tastes light and has a slight sourness.
To obtain dry wine, no sugar is added during juice fermentation. Its concentration is no more than 1%. During the fermentation process, bacteria process all the fructose.
Dry wines are considered the most natural and healthy, but there are increased demands on the quality of the grapes. To prepare them, you will need berries with a sugar content of 15 to 22%.
The process of preparing dry homemade wine from grapes follows the classic recipe, but steps with added sugar are excluded.
Conclusion
Homemade wine is prepared in strict compliance with technology. First you need to collect the grapes in dry weather and prepare the container. Depending on the recipe, you can get dry or semi-dry wine. The finished drink is stored in bottles or barrels.