Many craftsmen are accustomed to making their own equipment. This also applies to mini tractors. The unit is made with a solid or broken frame. The first option is easier to manufacture, and the classic one is considered more maneuverable - fracture. You can assemble the unit from old spare parts or buy a kit for converting the walk-behind tractor. Now we will look at how a homemade 4x4 mini-tractor is assembled and we will figure out what is needed for this.
What is a fracture
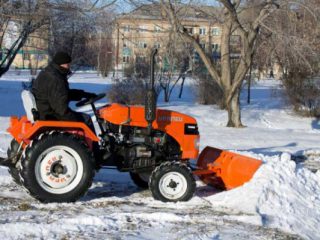
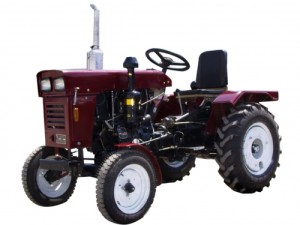
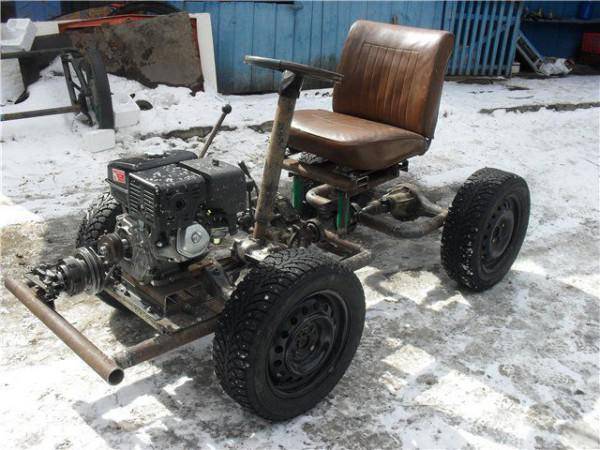
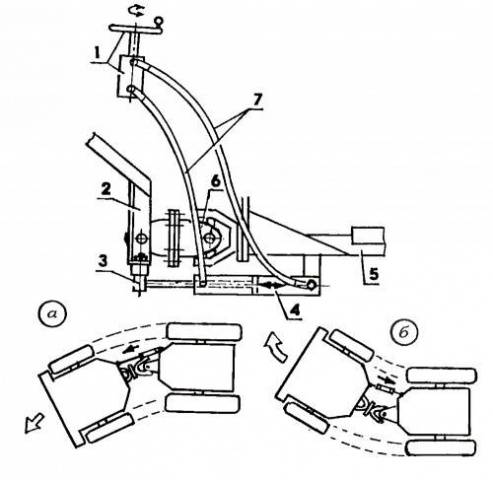
Externally, the fracture mini-tractor is no different from a regular model of a compact tractor. When manufactured independently, such equipment is most often assembled on the basis of a walk-behind tractor. The main difference of the design is a broken frame, consisting of two parts. This is where the name came from.
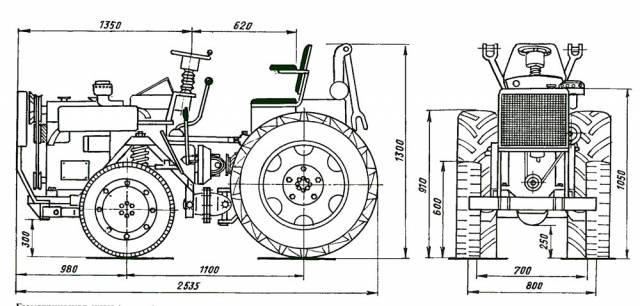
When assembling a fracture yourself, you need to have a diagram of a mini-tractor on hand, where the dimensions of all components are indicated. When everything is calculated down to the smallest details, you can begin assembly.
What and how to collect
There are many options for assembling a homemade product, since each craftsman makes his own adjustments to the drawings. In general terms, the process of creating a 4x4 fracture looks like this:
- Assembling a fracture mini-tractor begins with making the frame. Despite the rough shape of the two half-frames, all chassis components are located rationally. A special feature of the frame is the three-stage design of the side members. The elements of the front steps are made from tens of channel bars. The last step can be made from a profile pipe with a cross-section of 8x8 cm. Channel No. 12 is suitable for the front traverse, and channel No. 16 is suitable for the rear. Cross members are made using a similar system.
- You can take any motor for the fracture mini-tractor that is more suitable in terms of dimensions, mounting and power. A four-cylinder diesel with a power of 40 hp is good. With. Water cooling will prevent the engine from overheating, even if the tractor works on the site all day without a break.

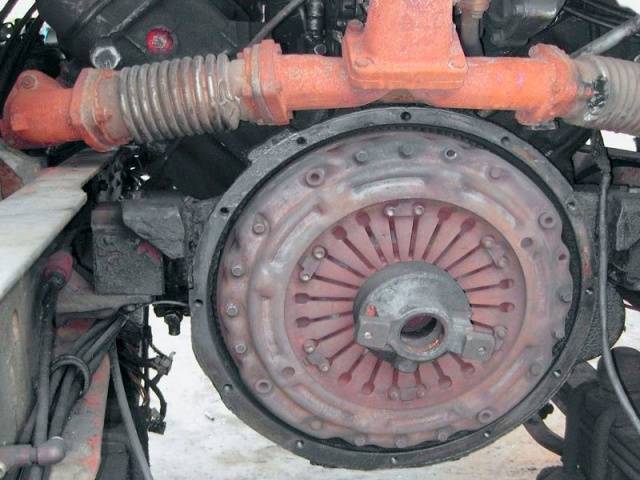
- After installing the engine, a power take-off shaft, transfer case and gearbox are installed on a mini-tractor with a turning frame. They can be removed from a decommissioned GAZ-53 truck. To be able to connect the clutch to the engine, you will have to redo the flywheel. To do this, the back part is cut off on a lathe, and then a new span is machined through the center. Upgrading the clutch cover is based on adjusting it to the required dimensions.
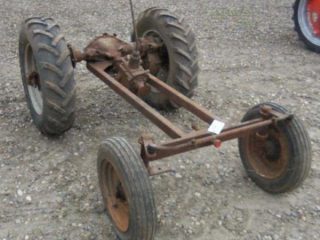
- The rear axle will fit any car. He doesn't need to make any changes. The same goes for the driveshaft.
Next, on DIY mini tractor you need to install a good wheelbase and steering.
The video shows a cardan for breaking a 4×4:
Wheelbase installation
You need to choose your wheelbase size wisely. Often a mini-tractor is equipped with wheels from a passenger car. You can do it this way too. The main thing is that the size of the front axle disks is at least 14 inches. Otherwise the tractor will load in the ground.However, you can’t go overboard with the sizes. Large wheel diameters will make steering more difficult. The situation can be corrected by installing a hydraulic control system, which is completely removed from old agricultural equipment.
You can assemble the front axle yourself from a piece of pipe with mounted bearings. Alternatively, it can also be removed from other equipment and placed on a tractor without modification.
To achieve good shock absorption, it is advisable to install 18-inch tires on the rear axle. Attaching wheels to the rear axle hubs of a truck is not difficult. First, use a grinder or cutter to cut out the central part of the disk where the mounting holes are located. The same part, only cut from the disk of a ZIL-130 car, is welded into this place.
Steering installation
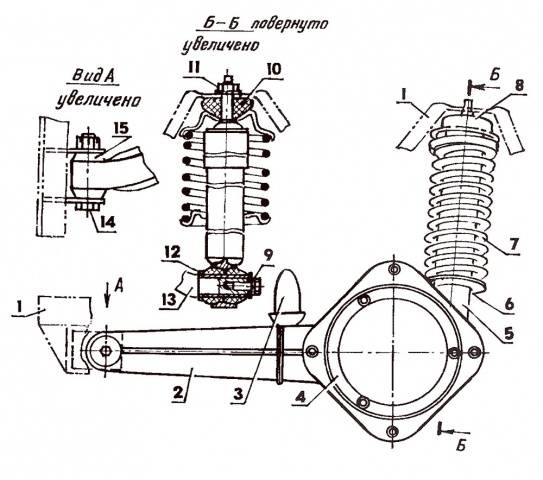
For breaking, the steering wheel is suitable for any passenger car. But in order to increase the maneuverability of the equipment, it is advisable to install hydraulics. It will make it easier to control the tractor. The entire system is removed from old agricultural equipment. You will also need an oil pump, which is driven by the engine. It is optimal to make sure that the wheels of the main shaft are controlled through a gearbox. In the photo we suggest looking at drawings of the main control units.
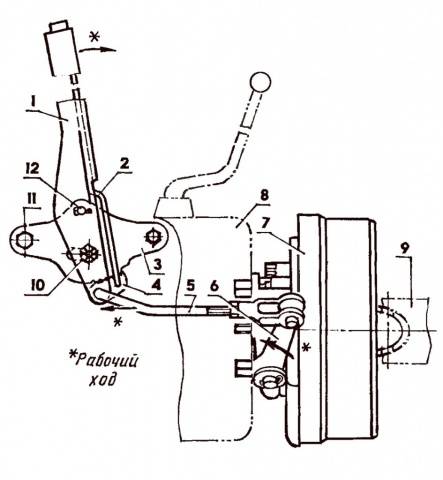
When installing the steering, it is important not to forget to install the hydromechanical drum brake. It is connected to the pedal using a rod.
When all the main components are ready, we begin to design the unit. That is, they equip the driver’s workplace by installing an adjustable seat. The canopy of the summer cabin can be attached to the four welded posts.The engine and all other components are hidden under a steel casing for safety. It can be bent from galvanized steel. For night work, the tractor is equipped with headlights. You just need to adjust the space on the frame for the battery.
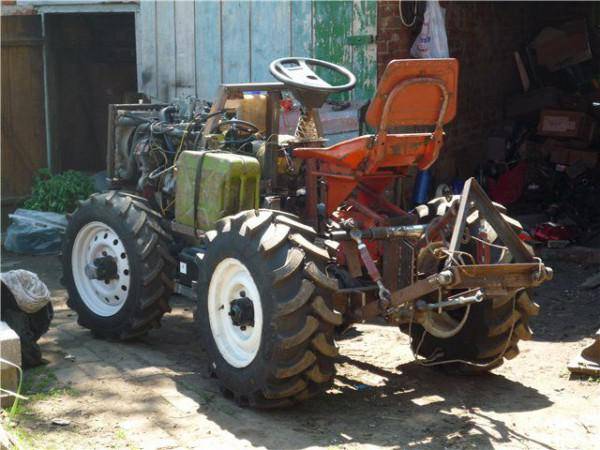
This is how a mini-tractor is assembled DIY fracture from old spare parts. In words, everything is done simply, but in reality you have to invest a lot of work and patience.