Content
There are many drawings and projects, how to make a snow blower with your own hands and this collection is constantly updated. This is due to the exclusive execution of the technique, since each craftsman makes his own adjustments. One rule remains unchanged for homemade products. Users recommend assembling a single-stage auger machine for residents of the middle zone. The two-stage screw-rotor unit is more difficult to assemble, but has high productivity. It is optimal for residents of snowy regions to have such a snow blower.
Features of snow removal equipment
Any self-made snow blowers may have slight differences in the design of the mechanisms that make the machines exclusive. But the craftsman assembles the main working components using an already developed circuit. To find such a project, just dive into the Internet or contact a friend who has already made a snow blower for their home.
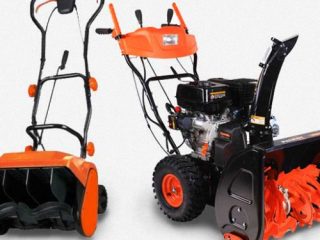
Let's start our review of the snow blower with the engine. It can be electric or gasoline powered. A machine with an electric motor is easier to manufacture, more economical to operate and requires virtually no maintenance.A snow blower with a gasoline engine is much more powerful, is not afraid of moisture, plus the machine becomes mobile due to the lack of connection to an outlet.
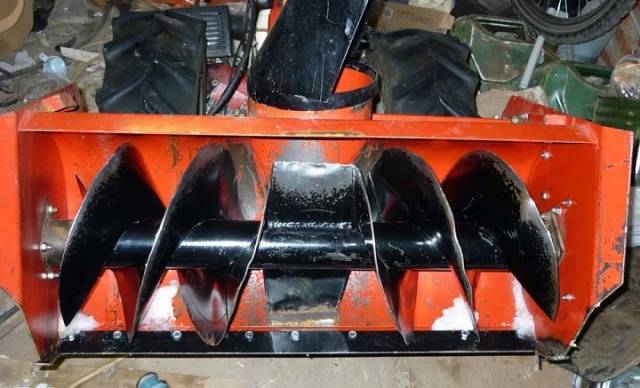
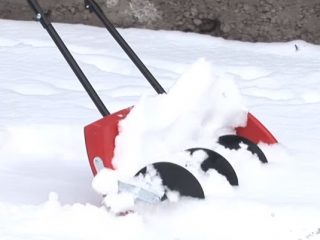
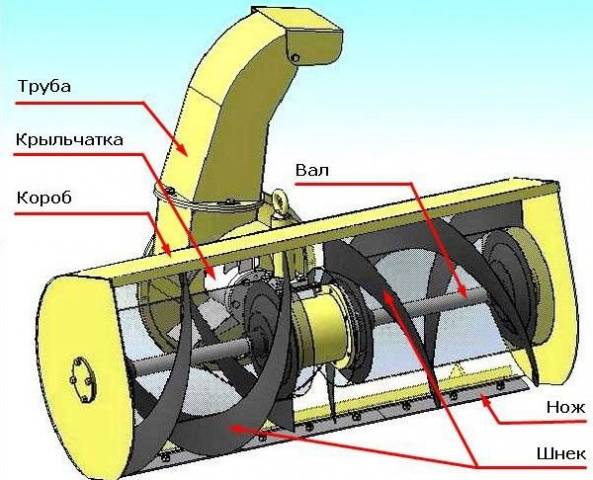
A special feature of snow removal equipment is the presence of a rotor or auger. In combined models, both units are installed. The rotor is an impeller with blades that rotates on bearings inside a steel casing. It's easy to make. More difficult for snowblowers to do screw. Here you will need to develop drawings.
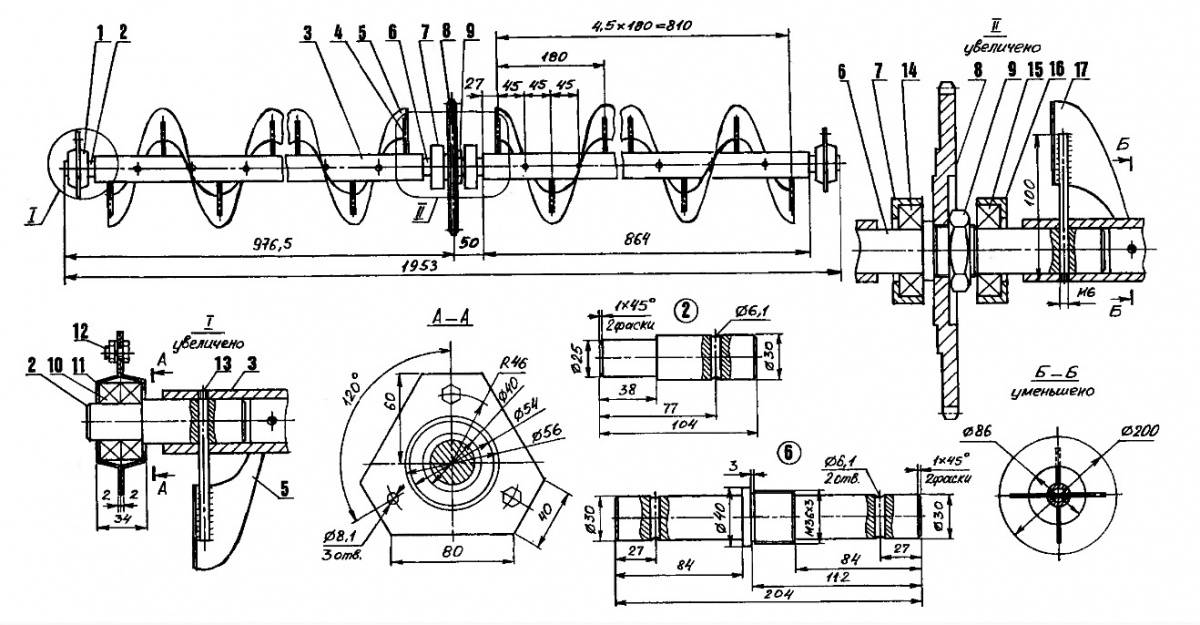
The sequence of screw assembly is as follows:
- The shaft is made of a pipe, with trunnions for bearings welded at the ends, and two rectangular steel plates in the center. These will be the shoulder blades.
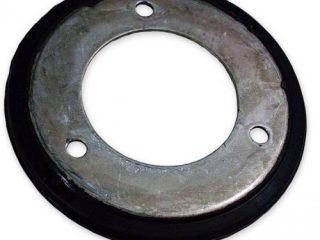
- Four disks with a diameter of 280 mm are cut out of thick rubber or steel 2 mm thick.
- A hole equal to the thickness of the shaft is drilled in the center of each workpiece, after which one side of the resulting ring is sawn.
- A spiral is bent from the cut disk and fixed to the shaft. On the left side, two disks are placed with turns directed towards the blades. The same is done on the right side of the shaft.
Bearings No. 203 or other suitable size are mounted on the journals. To attach the auger to the bearings, hubs are made from pipe sections. The blanks are fixed with bolts to the side shelves of the snow receiver body.
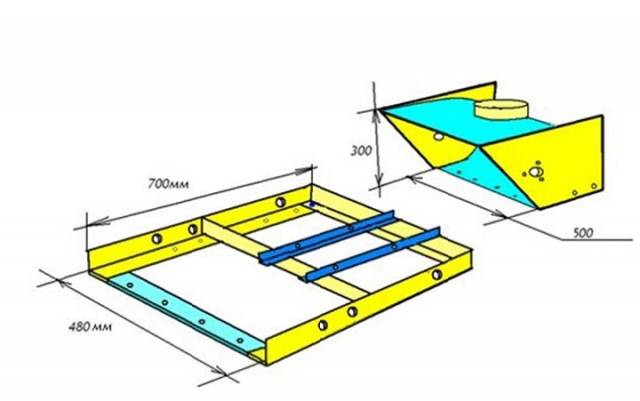
The snow receptacle bucket is made of sheet steel. To do this, take a strip 500 mm wide and bend it into an arc with a diameter of 300 mm. The sides can be covered with plywood or metal.A hole with a diameter of 160 mm is cut in the center of the upper part of the snow receptacle, to which a sleeve for throwing snow is attached. The finished structure is installed on the frame. It is welded from metal corners.
Now all that remains is to create a drive for the completed snow blower. That is, you need to make sure that the auger rotates. There are several options for making your own drive:
- A gearbox can be used in a rotary snow blower. It is installed instead of blades, and the auger shaft is made of two halves.

- The belt drive is provided by two pulleys. One stands on the PTO of the motor, and the other is mounted on the auger shaft.
- A chain drive is designed similarly to a belt drive, but instead of pulleys they use sprockets from a moped or bicycle.
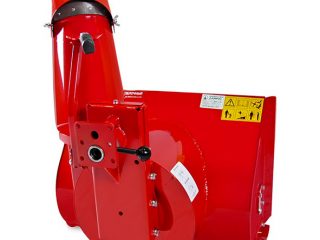
- If homemade snow blower assembled with your own hands as an attachment to a walk-behind tractor, you can make a combined drive. In this case, the motor shaft is connected to the intermediate gearbox by a belt drive, and the torque from the gearbox shaft to the auger is transmitted by a chain drive. The principle of such a connection is shown in the photo.
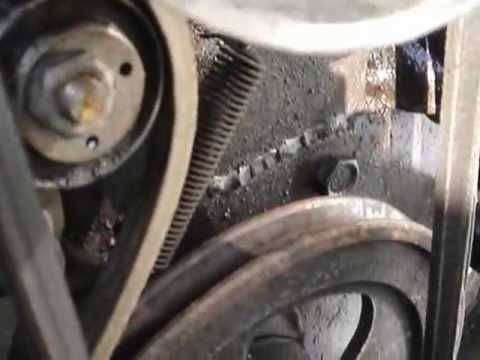
Of all the options, belt drive is considered the simplest, which is why craftsmen most often install it on their snow blowers.
Examples of self-made snow blowers
Now we will look at how to assemble a snow blower with your own hands using an engine from various equipment, and we will also consider the option of an attachment to a walk-behind tractor.
Electric snow blower
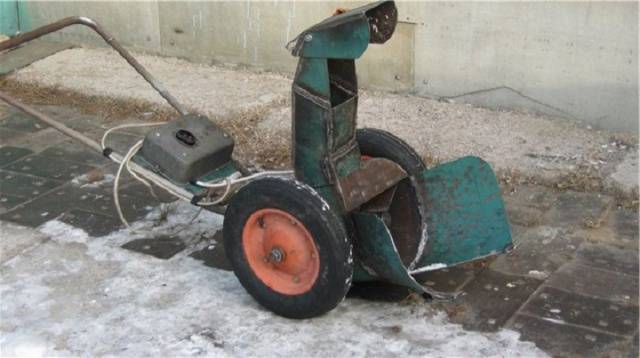
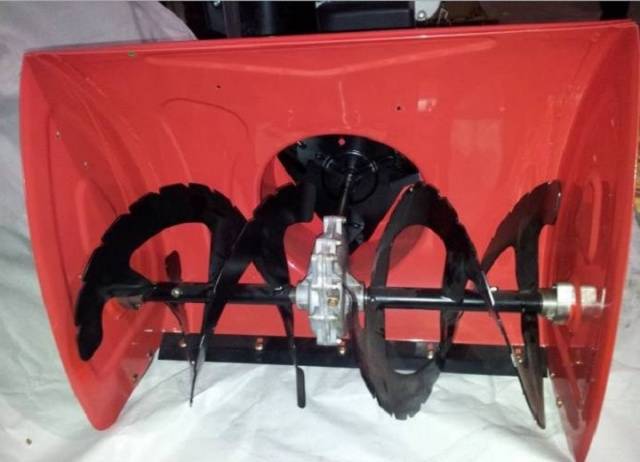
An electric model of a snow blower is more suitable for a summer residence, where it is necessary to remove snow rarely and in small quantities.Typically, instead of a screw, such machines are equipped with one rotor that operates on the principle of a fan. After the snow is captured by the guide vanes, the fan blades mix it with air and throw it out under pressure through the outlet sleeve.
The rotor design is simple. You can make it following the drawing.
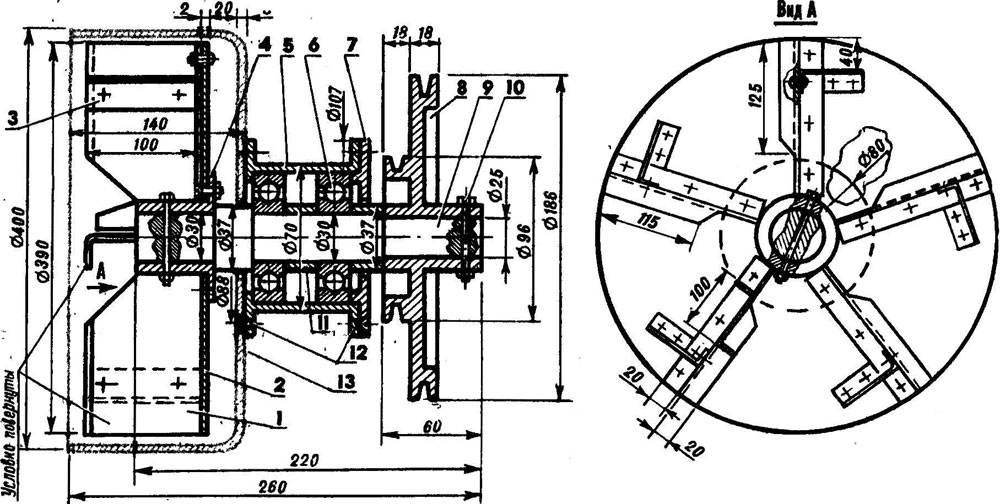
For the impeller, take a metal disk and weld blades from a steel strip onto it. There can be from 2 to 5 pieces. The shaft is turned on a lathe from a steel rod. Two bearings are mounted on it together with the hubs.
For the snail body, a part of the metal barrel is cut off from the bottom side with a height of 150 mm. A hole is cut in the side where a pipe is welded for attaching the sleeve. A hole is drilled in the center of the bottom and the rotor shaft is inserted so that it is inside the cochlea. An impeller is mounted on it. The rotor bearing hubs are bolted to the bottom of the barrel on the outside of the volute. Two rectangular sheets are welded from the front part of the body. The guide vanes will capture the snow, and the fan will suck, grind and throw it out.
The finished rotor mechanism is placed on a frame, connected by a belt drive to an electric motor, and wheels from a wheelbarrow are used as a running gear.
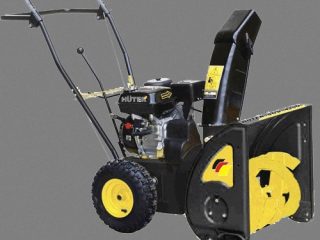
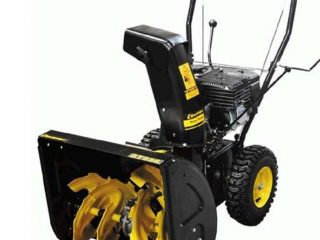
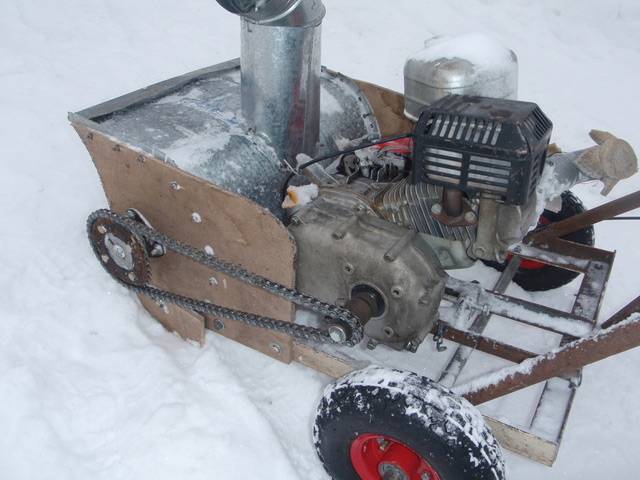
Snow blower with gasoline engine
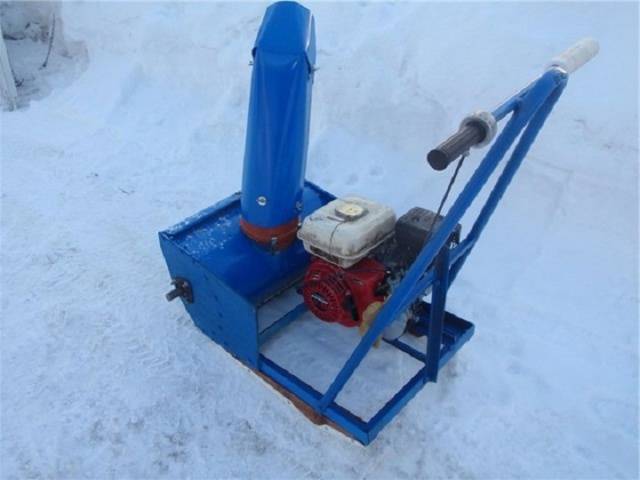
Snow blowers with a gasoline engine are usually made with an auger mechanism or combined ones. The first option is much simpler. We discussed the manufacture of the screw above. For a combined snow blower, you need to additionally assemble a rotor the same as they did for the electric model. Only the guide vanes are not welded to the rotor body.It is connected to the back of the auger snow chute.
Any air-cooled engine will do. It can be two-stroke or four-stroke. The frame of a non-self-propelled vehicle is placed on skis. It will be easier for the operator to push the snow blower through thick snow. If the engine power allows you to make a self-propelled machine, then you will need to attach the wheels to the frame and connect them with the drive to the engine PTO.
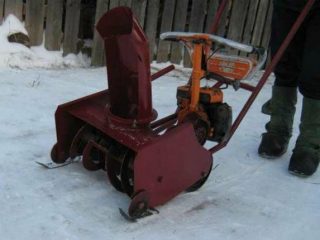
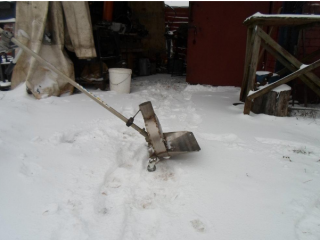
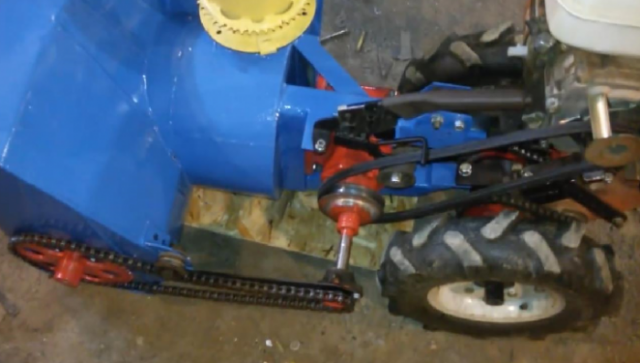
Mounting on a walk-behind tractor

The simplest snow blower is mounted on a walk-behind tractor. If there is a traction unit in the yard, then why create another machine with a stationary drive. As a hitch, you need to make a screw mechanism with blades for throwing out snow. The snow receiver body is placed on the frame. Skis are attached to the bottom. Fasteners are welded on the back of the frame, with the help of which the attachment will be coupled to the walk-behind tractor.
The drive is carried out by a belt drive. The rotation speed of the auger can be adjusted by selecting pulleys of different diameters. If this cannot be done, then you can install between walk-behind tractor and auger intermediate gear nozzle. It will reduce the speed to the desired frequency.
In the video you can see the work of a homemade snow blower:
A homemade snow blower is practically no different in its parameters from factory-made analogues, and will cost the owner several times less.