Content
Manual labor in the garden is tiring, so owners try to mechanize it whenever possible. First, a person buys a walk-behind tractor or cultivator. But over time, such equipment becomes insufficient to complete the assigned tasks, and the owner begins to re-equip it. As an example, we will now look at how to assemble a mini-tractor from a Neva walk-behind tractor with our own hands and find out what is needed for this.
What is needed to convert the Neva MB-23S walk-behind tractor into a mini-tractor
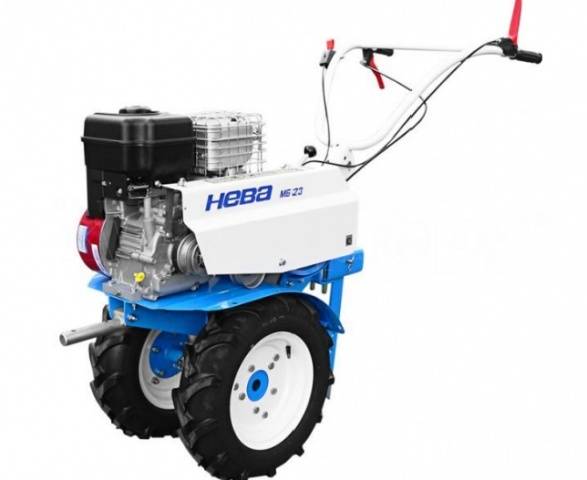
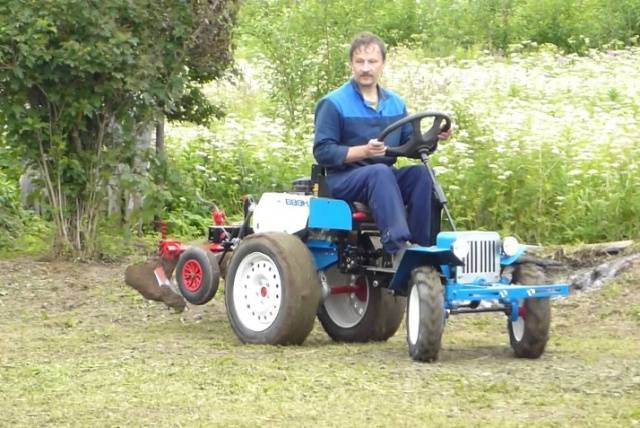
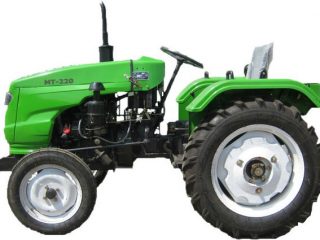
Before you learn how to make a mini-tractor from a Neva walk-behind tractor, let's figure out what comes out of it and what parts are needed. Let's start with the fact that as a result of the conversion you will have four-wheeled equipment. In addition to performing all garden processing operations, homemade mini tractor You can transport cargo, maintain your home farm, and take care of your garden. To expand the functionality of the unit, you will have to purchase additional attachments. For example, if you attach a blade to the front of the frame, then in winter you can use a mini-tractor to remove snow accumulations from the area adjacent to the house.
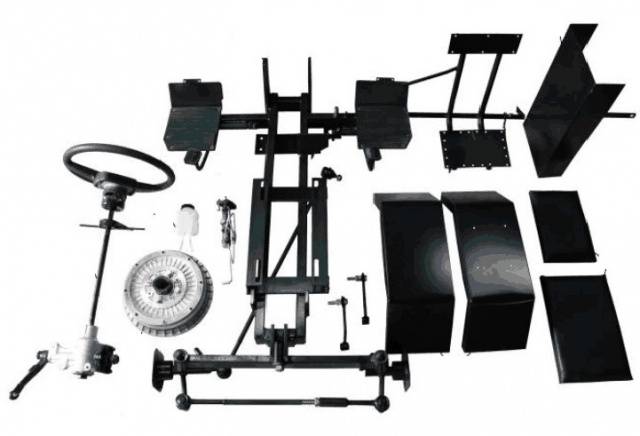
For quick assembly of the tractor, special kits are sold. The set contains all the necessary spare parts. If you really want to save money, you can find old parts from a passenger car.You will have to tinker with them longer, making adjustments, but such a mini-tractor will pay for itself faster due to low costs.
It was not by chance that the Neva MB-23S model was chosen as an example. The walk-behind tractor is equipped with a four-stroke diesel engine with a power of 9 liters. With. Thanks to the large traction force of the engine, it will be possible to assemble a high-performance mini-tractor. The unit has enough power to work with many types of attachments.
So, for transformation you need a working walk-behind tractor, a steering column, bearings, a wheelset and, of course, metal. The frame is usually welded from a channel, profile or pipe. To strengthen important components, you will need a corner and sheet steel with a thickness of at least 5 mm.
Maneuverability, stability and performance depend on the correct manufacturing of the chassis. homemade unit. During assembly mini-tractor from a walk-behind tractor Neva, it is advisable to choose wheels with a radius of 14 to 18 inches. With small wheels, the equipment will tip over in difficult areas, while large wheels will make it more difficult to control the machine.
Let's start modernizing the walk-behind tractor
So, we figured out what we need for work. Now it’s time to consider in detail how to make a mini-tractor from a Neva walk-behind tractor with your own hands.
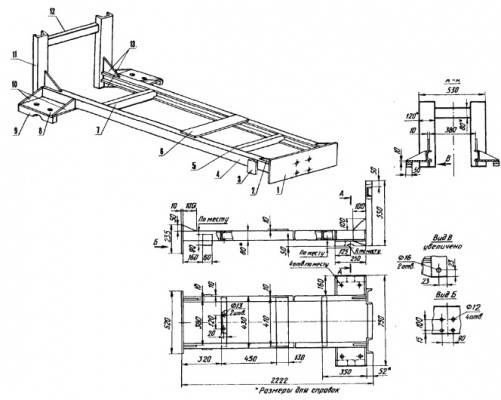
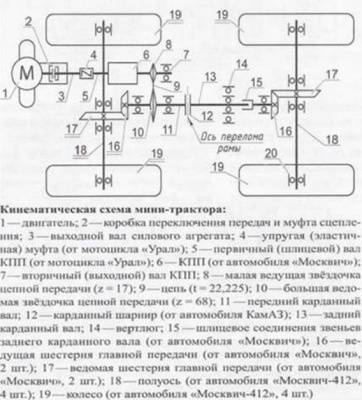
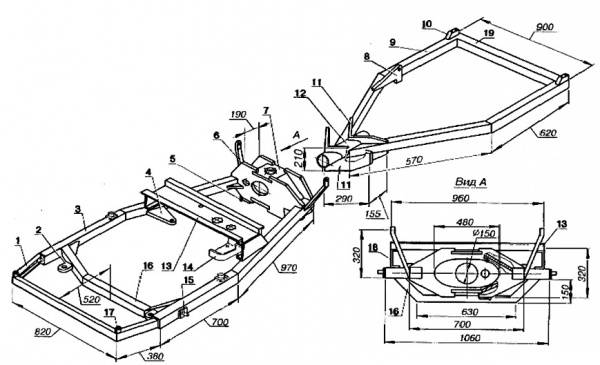
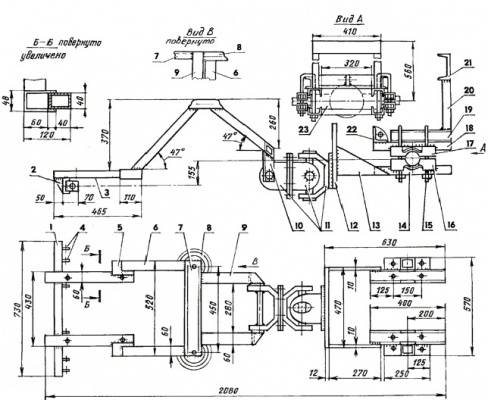
While working, you should always have a diagram at hand that shows all the components and dimensions of the workpieces. If you have already decided, then let's get started:
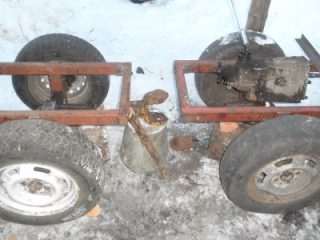
- Guided by the drawing, the blanks for the frame are cut with a grinder. The main load will fall on the structure, so it needs to be made strong. Frame elements are connected by welding. For reliability, complex joints are reinforced with bolted connections.A jumper welded in the center wouldn't hurt. It will increase the frame's resistance to deformation when transporting heavy loads off-road. When making the frame, do not forget to immediately weld the attachment mounts. This will be more difficult to do later due to limited access.
- The frame for a mini-tractor can be solid or broken. If the choice fell on the second option, then you will need a hinge. This part connects two half-frames. But then the steering column is installed at the fracture of two parts of the frames.
- The order of assembly of the chassis depends on the location of the motor. If it stands in front of the frame, then the track width remains the same as it was on the walk-behind tractor. The rear wheelset is fixed to the frame on an axle. It is made from a piece of thick steel rod or pipe. To attach the wheels themselves to the axle, you will need hubs and bearings.
- If the motor is mounted on the rear of the frame, then the original wheels from the walk-behind tractor are mounted on a wider axle. Otherwise, the narrow track will affect the poor balancing of the mini-tractor.
- The steering control of a homemade unit can be assembled from original handles from a walk-behind tractor. But this design will create discomfort when you need to back up the tractor. The best option is to install a traditional steering column.
- With a one-piece frame design, the rods from the column are connected to the front axle. It is she who will turn with the wheels. On a broken frame, the column turns the entire front part with the axle and wheels. In this case, you need to use two additional gears: one part is permanently fixed to the element of the front part of the frame, and the other is attached to the steering column.
- The driver's seat is welded on stands to the frame.Here you can think about floating mounts that allow you to adjust your workspace. If you plan to work on a mini-tractor at night, you need to install two headlights, and to move along the highway you will need to add side lights. Only for lighting operation, a battery is installed separately, since the walk-behind tractor does not have an outlet for connecting headlights.
Upon completion of assembly, the mini-tractor must be run in without load. If errors are detected in the calculations, the defective components are corrected, otherwise such equipment will not work for a long time.
The video provides an overview of the mini-tractor from the Neva walk-behind tractor:
And now we suggest looking at the photo drawings that will help in remaking the walk-behind tractor. The diagrams show a design with a solid and broken frame.
