Content
Not every dacha is equipped with an internal toilet and bathroom - very often people come out of town only in the warm season, so there is simply no need for capital buildings. Another obstacle to the construction of an internal bathroom is the lack of a centralized sewer system in a suburban area.
The solution in such cases is an outdoor shower and toilet in the country. This article is about what types of external bathrooms exist, how to build a toilet and equip a proper drainage hole under the shower, as well as about cabins combined with a bathroom.
Choosing a toilet and shower design for a summer residence
The manufacture of a shower and toilet must begin with an overview and selection of a suitable design. Today, in summer cottages, completely different systems of bathrooms and showers are used: from the simplest summer-type structures to modern cubicles and flush toilets.
The following options for constructing a shower and toilet are considered the most popular:
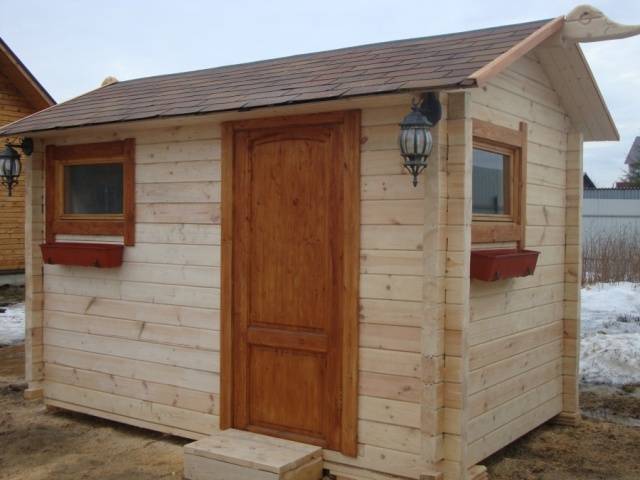
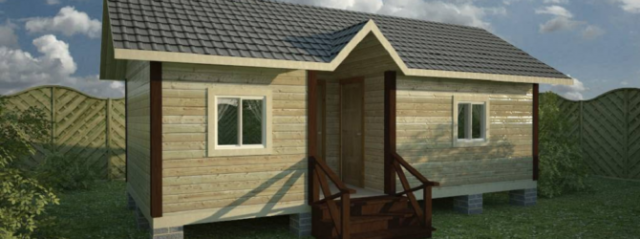
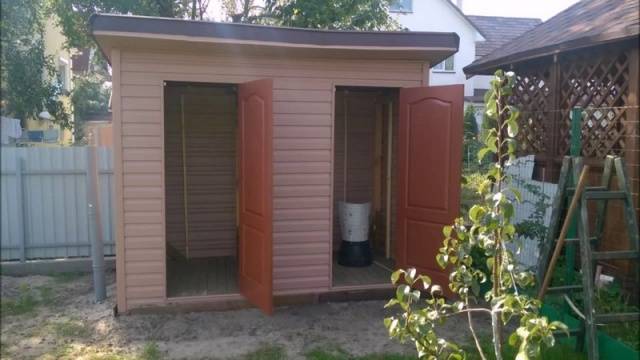
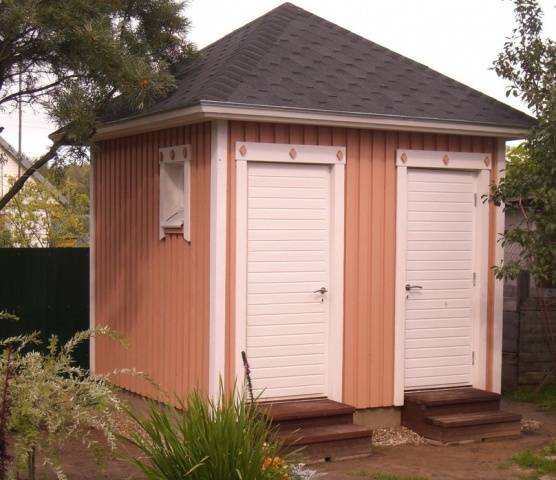
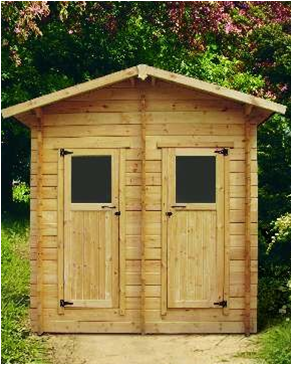
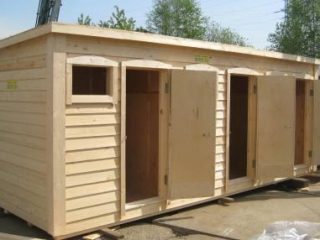
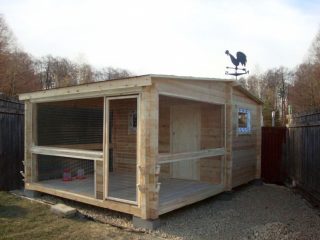
- Change house with toilet and shower popular on those plots that have just been purchased and a permanent house has not yet been built on them.A small temporary structure will become a haven for the owner who is busy with garden beds or building a permanent house. Subsequently, the change house does not have to be demolished; it can continue to be used as a summer house with a toilet and shower; it is convenient to store garden tools here, or you can drink lemonade and relax on a small sofa. As a rule, such garden houses are equipped with a summer shower design, when the water is heated by the sun. But it is quite possible to install a water supply here and drain the toilet and shower into the sewer - it all depends on the desires of the owner and his financial capabilities. The “vest” type of cabin design is very popular, when two wings (two rooms) are connected by a shower and toilet, and the entrance to the room is located along a long wall. Capital cabins can be heated and used at any time of the year.
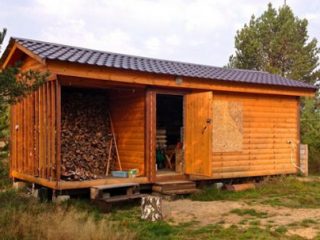
- Household unit for a dacha under one roof with shower and toilet. As you know, combined buildings significantly save space and money - their construction will not require large expenses, and the benefits will be enormous. Thus, a shower and toilet, built at the same time as a shed, are often used by avid gardeners or gardeners who spend their entire day in beds and flower beds. After all, it is very convenient to bring in gardening tools and immediately wash your hands, take a shower or visit the toilet. In addition, such a structure will take up very little space on the site, which is especially important for standard suburban “six hundred square meters”. Making a shed combined with a toilet and shower is not at all difficult; it is quite possible to cope with this task yourself, without involving professional builders. If you approach the matter with a bit of imagination, it is quite possible to turn even such a building into an original corner of the garden.
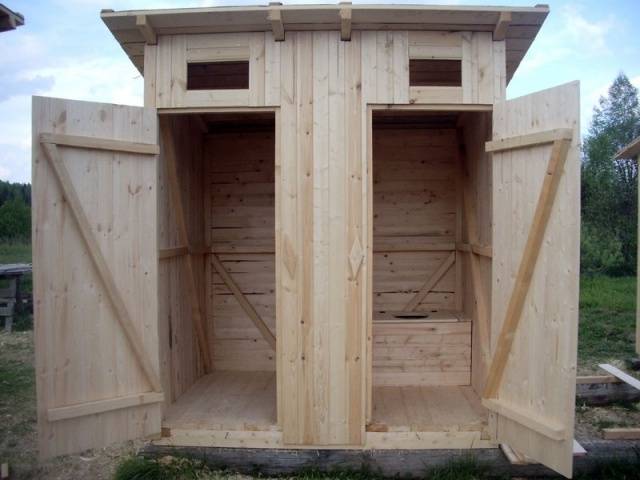
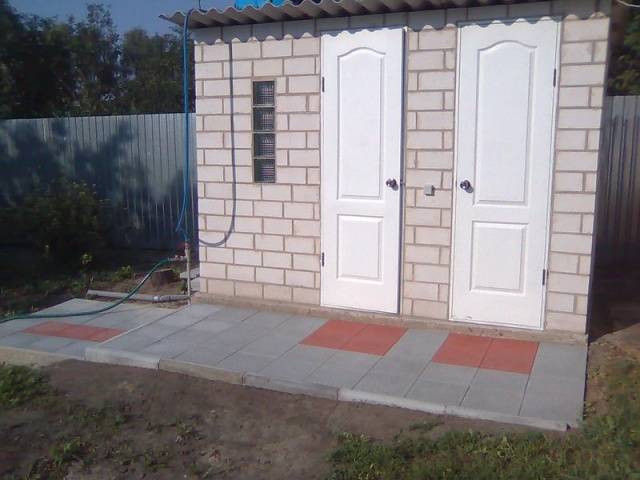
- Modular structures with shower and toilet under one roof They also save space, they are especially relevant for dachas with fertile soil, where every centimeter of precious land can be used usefully - to plant a tree, grow a grapevine or a valuable variety of potatoes. As a rule, such bathrooms duplicate the bath and toilet located inside the house. They are convenient to use in the summer heat, when you don’t want to go into a hot house or bring garden dust and dirt into clean rooms. It is the modular construction of toilets and showers that is most popular among Russian summer residents - the process is simple and, from a financial point of view, not very expensive.
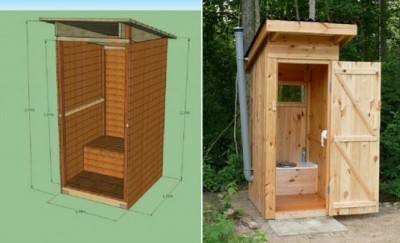
- Free-standing toilet with shower are now rarely used. After all, each of these buildings needs to be built separately, and this causes certain difficulties. The only case when such buildings are justified is if there is no space on the site for a modular building.
How to build a toilet and shower in the country with your own hands
A country bathroom has certain requirements; first of all, this building must comply with sanitary standards. There should be no strong unpleasant odors, which indicate an increase in the safe level of poisonous gas - methane. All ceilings and structures above the cesspool must be strong and reliable so that they can withstand the weight of a person and remain operational for decades.In addition, even at the stage of designing a shower with a toilet, it is necessary to decide on the method of supplying water to the shower and the type of toilet (with or without flush).
Advantages of combined construction
The advantages of modular construction with a shower and toilet are obvious - in addition to saving space, these are:
- saving budget on the purchase of building materials;
- the need to build just one, common foundation;
- installation of a single roofing system;
- common cesspool and drainage system;
- water supply to one point;
- general ventilation system in the shower and toilet.
There are no downsides to modular construction - this construction is expedient and completely justified.
Preparing for the construction of a shower and toilet under one roof
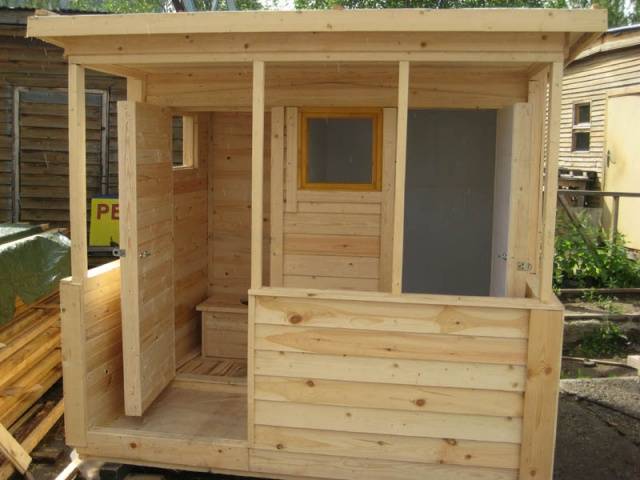
It is most convenient to make a toilet for a summer house combined with a shower from wood. This material is inexpensive, accessible, and easy to work with - no special skills or tools are required. Although it is quite possible to replace wood with plastic lining, for example, or other synthetic material.
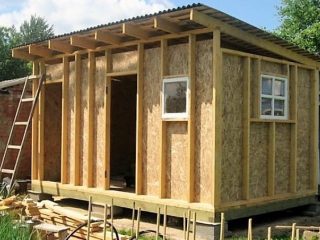
In addition, any sheathing material can be used on a wooden frame: moisture-resistant plywood, OSB boards, plastic, polycarbonate. They also create frame buildings from wood, which are justified if the shower and toilet need to be insulated with foam plastic or mineral wool.
Below we will consider the process of building a simple wooden bathroom with a shower under a gable roof and a common cesspool.
Stages of building a shower with toilet
For convenience, the construction of a modular bathroom can be divided into several stages:
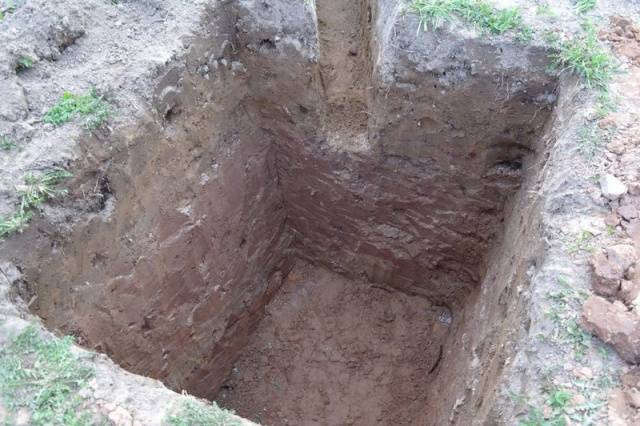
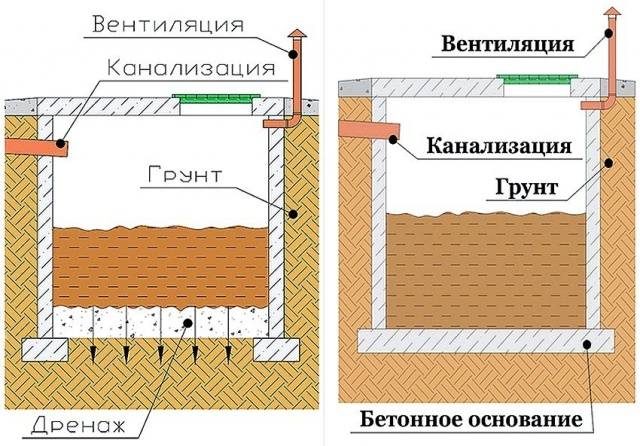
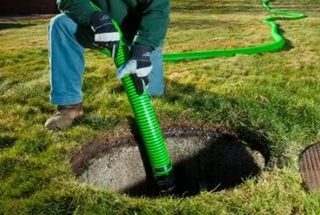
- First of all, you need to dig a hole for drainage. Its size and depth are calculated taking into account the location of groundwater and the number of people who will use the toilet and shower. For the average dacha, a hole with a depth of 2.5-3 meters and a perimeter of 1.5x1 meter is quite enough. Sometimes pits for toilets are made round, this is especially convenient when concrete rings are used as insulation.
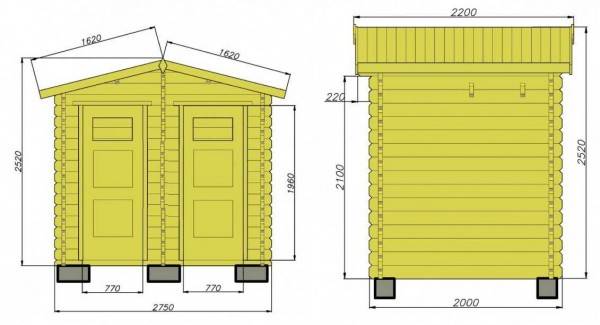
- The modular bathroom can be any size. Comfortable parameters are considered to be: height – 2500 mm, length – 2750 mm, width – about 2000 mm. In such toilets there will be space for a washbasin, and in the shower you can install a bench and shelves.
- If the source of drinking water is less than 25 meters away, it is better to insulate the pit - cover the walls and bottom with sealing material. Most often, the walls are laid out of brick laid on cement mortar, and the bottom is covered with sand and crushed stone, filling it all with concrete.
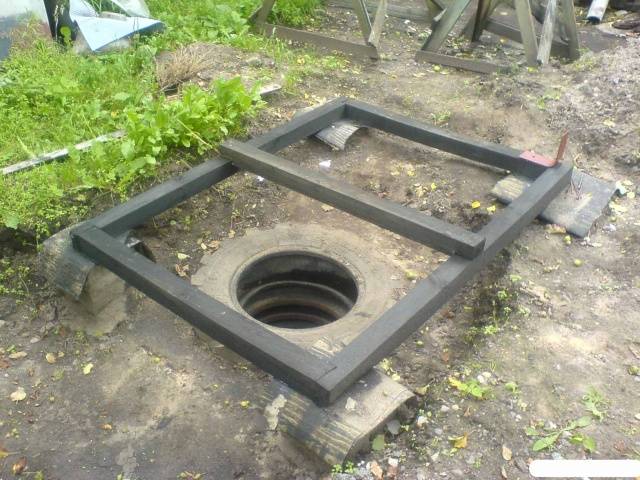
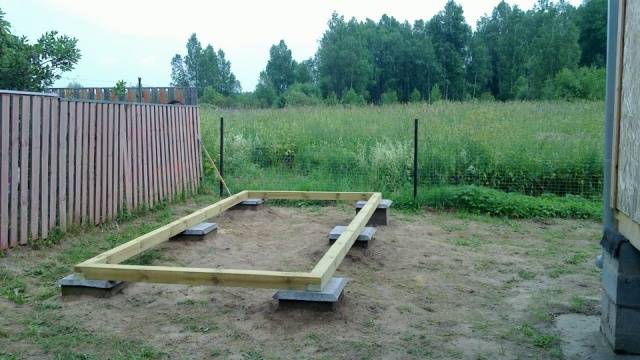
- Now you can start the foundation. A modular shower in a country house, made of wood, can be installed on a columnar or pile-type foundation, because the structure will be quite light. The depth to which the pillars go underground is approximately 80 cm. The dug holes should be located at a distance of 100-130 cm from each other.Their bottom is covered with sand and crushed stone, compacted and formwork for the foundation is installed from plywood or boards. For showers and toilets, three to five metal rods serving as base reinforcement are sufficient - they are inserted into the formwork and tied with wire. Now everything is poured with concrete and left to dry.
- A lower frame made of wooden beams is laid on the frozen foundation. Above the drainage pit, the piping is made of a metal channel, since the wood will quickly rot due to the characteristic fumes.
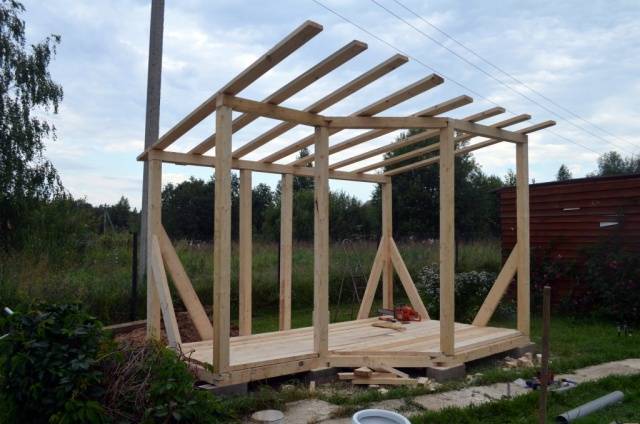
- Vertical supports are installed on the frame - first a corner element on each side of the toilet and shower, then two pillars along the center line for mounting the partition, and racks that determine the width of the doors (two separate doors, each 70-80 cm wide).
- Now it’s time for the top trim, which is made from timber and secured with metal corners.
- The frame of the toilet and shower is completed, leaving space for windows.
- The walls are sheathed with planed boards, not forgetting the partition.
- In the toilet they make an elevation in the form of a step, which will replace a full-fledged toilet. Cut a hole in it to install the seat. Now the floor in the toilet is covered with boards, covering them with plywood or chipboard.
- In the shower, you need to make a slope of the floor for high-quality water drainage. To do this, the floors are poured with concrete, tilting towards the drain at about 2 degrees per meter of shower.
- Connect a plastic drain pipe and lead its second edge into the cesspool.
- They install the roof on the shower, starting with the installation of vertical supports and placing ridge beams on them. Now the rafter legs are placed, the length of which should extend 20-30 cm beyond the walls of the shower and toilet, forming a canopy. The pitch between the rafters is 60 cm.
- Slate or metal tiles are laid on the sheathing of boards, secured with self-tapping screws.
- Glass is inserted into the windows and doors are hung. A water tank is fixed on the roof of the shower.
Ventilation of toilet and shower
It would seem that the toilet and Summer shower ready. But that's not true - a high-quality building must be equipped with a good ventilation system, otherwise gases from the cesspool can truly “poison the lives” of the inhabitants of the dacha.
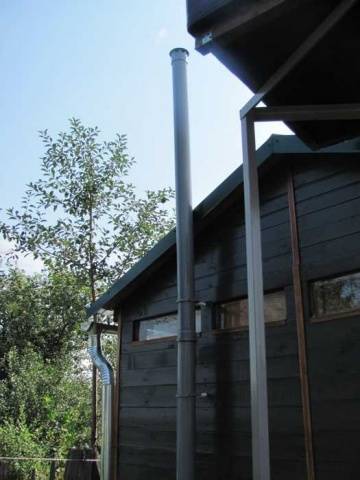
To ventilate the shower and toilet, a hole is made in the cesspool hatch, a pipe is inserted into it and its edge is brought out onto the roof of the toilet and shower. The top point of the pipe should be 20-40 cm above the ridge line. Only in this way will the necessary draft arise and gases will not penetrate inside the shower and toilet.
Another air duct needs to be inserted into the wall of the toilet; for this, a hole with a diameter of about 10 cm is made in the upper part of the outer pipe. The pipe is brought out parallel to the first one. The edges of the pipes are covered with special umbrellas that protect from precipitation.
A simple toilet and shower for a summer house under one roof are ready. Creating a modular bathroom should not cause difficulties even for a novice builder; just using this example, the owner can practice before building a permanent house on the site.
A video about the construction of a shower and toilet in a summer cottage can help a non-professional:
