Content
Turnip is a healthy, unpretentious root vegetable that is often grown in the garden. Early and late ripening varieties are grown. Early varieties are used to prepare salads, soups, they are added to pies and they are used to make sourdough for kvass. Late-ripening ones have good shelf life, but in order to preserve freshness, aroma and beneficial properties for a long time, you need to know how to properly store turnips at home.
Features of storing turnips for the winter
To enjoy the vegetable all year round, you need to know the technology of growing and storing turnips. Storage nuances:
- turnips can be kept with other products, as they do not absorb foreign odors;
- Only smooth vegetables without mechanical damage are subject to long-term storage;
- store in a dark, cool place;
- when stored in the refrigerator, root vegetables are placed in plastic bags;
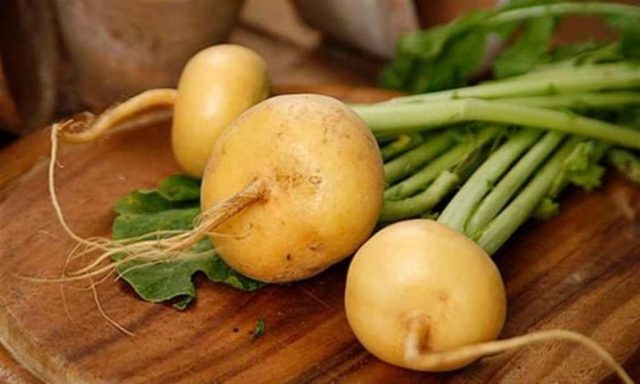
- turnips are better stored if the tops are cut to at least 2/3 of the length;
- Before storing the vegetable, do not wash it, but only clean it of soil;
- To increase shelf life, when stored in a box, it is better to wrap each root vegetable in a paper napkin or newspaper.
The best temperature conditions for storing turnips for the winter are considered to be from 0 to + 3 °C with an air humidity of 90%. Root vegetables can be stored in the basement and cellar for about six months, in the refrigerator for no more than 1 month, at room temperature for 10-14 days.
How to properly prepare turnips for storage
The main aspect for long-term storage is proper harvesting and the chosen time:
- a ripe vegetable should be 5 cm in diameter and slightly rise above the ground;
- unripe root vegetables can be eaten, but they are not suitable for long-term storage;
- An overripe turnip acquires hard, low-juiciness pulp.
If brine was purchased in a store, then you need to make the right choice:
- A ripe vegetable should appear weighty, which means there are no voids.
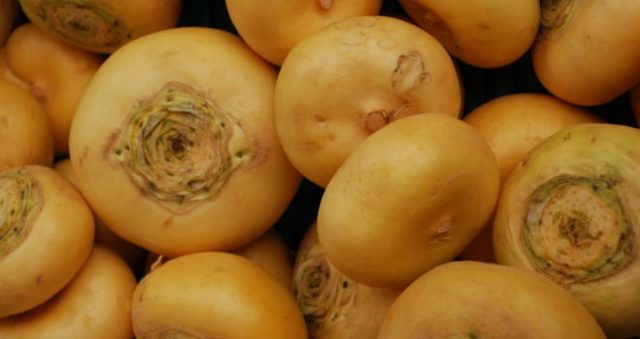
- The root vegetable is yellow and white. When choosing a yellow variety, the pulp will be juicy and fleshy, but the dietary fiber will be coarse. White varieties have a mild aroma, but the pulp has soft, not hard fibers that are quickly absorbed by the body. White varieties are recommended for use in preparing baby food.
- When choosing root vegetables, it is better to give preference to small fruits, since the pulp of large root vegetables has a bitter taste.
- A high-quality product must have a smooth peel, free from rot and mechanical damage.
Before storage, the vegetable is thoroughly washed, dried under a canopy in the open air and immersed in paraffin or wax for 1-2 seconds. The wax shell will increase the shelf life up to 6 months. To prevent rotting of the top, turnips are dusted with chalk before storage.
There are several storage options and you can choose the method you like best if you wish. Each method differs in timing and location.
How to store turnips at home
If you don’t have a cellar or basement, you can store turnips for the winter at home. There are several ways:
- on the balcony;
- in a refrigerator;
- freezing;
- drying;
- conservation.
If a large harvest is harvested, but there is no cellar on the plot, then it can be stored on the balcony. To do this, the turnip, cleaned of dirt, is placed in a box covered with straw. Each layer is sprinkled with wet sawdust or sand. To prevent it from freezing in winter, the box is wrapped in a blanket.
If the harvest is small, it can be stored in the refrigerator. Before storing turnips, cut the tops and wrap each root crop in a paper napkin. The prepared turnips are laid out in plastic bags or plastic containers and placed in the vegetable compartment.
Turnips do not lose their beneficial properties, aroma and juiciness when frozen, dried and preserved.
Before freezing, the product is washed, peeled and cut into small pieces. The prepared cubes are blanched for 2-3 minutes and immediately immersed in ice water. The dried cubes are placed in bags or containers and placed in the freezer. Thawed product cannot be re-frozen.
Dried turnips do not lose their aroma and beneficial properties for 6 months. You can dry it in the oven or using an electric dryer:
- The product is washed and peeled.
- The vegetable is cut into slices, the thickness of which should not be more than 5 mm.
- The slices are poured with boiling water and dried.
- The prepared turnips are placed in the oven or in an electric dryer.
- When drying in the oven, the door should be slightly open for better air circulation.
- Drying lasts about 5 hours at a temperature of + 40 °C.
- The dried turnips are placed in linen bags and stored in a dry, dark place.
Preservation for the winter
Only fully ripe vegetables, without signs of rot or mechanical damage, are suitable for fresh storage. If the product has begun to rot, it can be stored for the winter in canned, pickled or salted form.
Pickled turnips with apples
You will need:
- water – 1 l;
- sugar – 250 g;
- salt – 50 g;
- apple cider vinegar – ½ tbsp.;
- cinnamon – 1 tsp;
- green apples and turnips - 1 kg each.
Preparation:
- Turnips and apples are washed and, alternating with each other, placed in a prepared container
- Add sugar, salt, and cinnamon to the water and bring to a boil. At the end of cooking, vinegar is added to the marinade.
- The marinade is cooled to room temperature and poured over the prepared apples and turnips.
- The preserved food is placed in a warm place for marinating. To prevent the ingredients from floating, you need to place a weight on the container.
- After 2 weeks, the product is ready for use.
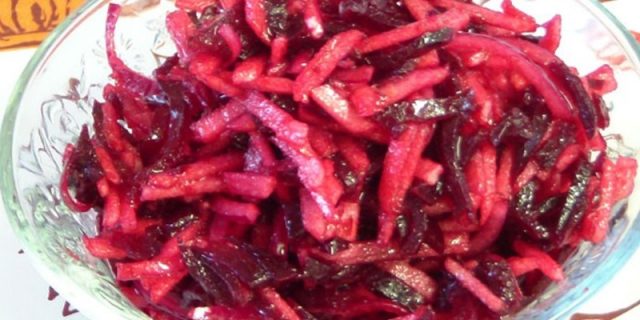
Canned turnips with beets
Products for procurement:
- small turnip – 1 kg;
- beets – 1 pc.;
- vinegar – 150 ml;
- garlic – 6 cloves;
- water – 1.5 l;
- salt – 5 tbsp. l.
Preparation:
- The turnips are thoroughly washed, cut into slices, and sprinkled with 3 tbsp. l. salt and leave for 4 hours until the juice is released.
- At the end of salting, the slices are washed under running water and placed in sterile jars.
- Garlic, cut into small slices, and beets, cut into slices, are placed in jars.
- Bring the water to a boil, add salt and vinegar.
- The resulting marinade is poured over the vegetables and covered with nylon lids.
Salted turnips for the winter
For preparation you will need:
- turnip – 1 kg;
- coarse salt – 500 g;
- cumin – 200 g;
- cabbage leaves – 5 pcs.
Cooking method:
- Root vegetables are washed, peeled and cut into slices.
- In a separate bowl, mix salt and cumin.
- The resulting slices are placed in layers in a prepared container with a wide neck, sprinkling each layer with a mixture of salt and cumin. In this way all the vegetables are placed.
- Vegetables are poured with boiled water to the very top, covered with cabbage leaves, and a wooden circle and weight are installed.
- The workpiece is stored in the refrigerator for 2 weeks.
- After 2 weeks, the pickles are ready to eat.
How to store turnips in the cellar in winter
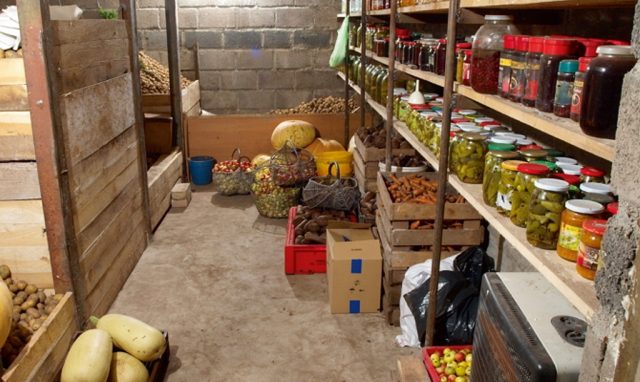
In the cellar, at a temperature of + 3 °C, turnips retain freshness and aroma for six months. In this place it can be stored in several ways:
- In sand – vegetables are laid out in a box so that they do not touch each other, in 2-3 layers. Each layer is sprinkled with moistened sand. The topmost layer is covered with wet sawdust.
- In clay - each fruit is dipped into a clay mash. Dried turnips are placed in prepared boxes or placed in a single layer on shelving shelves. The good thing about this method is that the clay crust protects the turnips from premature drying out and rotting.
- In the ash – each turnip is dusted with wood ash. The alkaline environment that forms after processing will protect it from premature rotting. Prepared vegetables are laid out in wooden or paper boxes, pre-lined with polyethylene to retain moisture.
To prevent mice from gnawing on vegetables, elderberry branches are placed next to the boxes. This plant has a pungent odor that repels rodents.
Tips and tricks
If there is no cellar on your personal plot, then the collected turnips can be stored in ditches. Storage method:
- A ditch 70 cm deep is dug on a dry hill.
- The bottom is covered with straw, on which the harvested crop is placed so that the vegetables do not come into contact with each other. Each layer is sprinkled with dry sand.
- The ditch is filled with sand so that the embankment is up to 30 cm high. To prevent rainwater from causing the root crop to rot, longitudinal trenches are dug nearby.
- Before the onset of frost, the mound is covered with a layer of 10-15 cm of rotted compost, straw or fallen leaves.
Turnip is a versatile and very healthy vegetable. You can use it to prepare a variety of dishes that will appeal to both adults and children. Use of turnips in cooking:
- It is suitable for preparing vegetable caviar; it is stuffed with mushrooms.
- Add to salads. It goes well with sour apples, cabbage, pumpkin and carrots. The best dressing for salad with turnips is sour cream, unrefined butter, natural yogurt with the addition of citric acid or apple cider vinegar.
- The root vegetable is added to millet porridge, soups, and pie filling.
Conclusion
You can store turnips in several ways; you just need to know the rules for collecting and storing the vegetable. By listening to the advice of experienced gardeners, the root crop can be kept fresh and aromatic for six months.
