Many owners of private apartments and houses in modern Russia are forced to use wood or coal for heating. Wooden stoves are used quite widely today for heating various rooms. To prevent the winter from being cold, it is necessary to prepare firewood.
If you have health and time, you can use an ax; however, if you don’t have the opportunity, you can use your imagination and make wood splitter from an old washing machine.
Design selection
Compared to manual chopping of firewood, working with a wood splitter is much easier and more convenient. For such work, it will not require much effort to lift the chocks and swing a heavy tool. When working with a wood splitter, you only need to feed the hemp. All the hard work is done by the mechanism. Before assembly DIY wood splitter You should familiarize yourself with the instructions and features of the work. First you need to decide on the design of the device. There are several common options:
- wood splitter equipped with a hydraulic system;
- a device having a rack-and-pinion mechanism;
- wood splitter with a stepped-screw design.
After all the options have been considered, we can come to the conclusion that a screw log splitter can be made more simply and quickly. It is compact and easy to assemble.There are not many elements in it, the splitting process is characterized by high speed. Thanks to the presence of a screw splitter, work can be significantly speeded up. First you need to understand the design of the wood splitter.
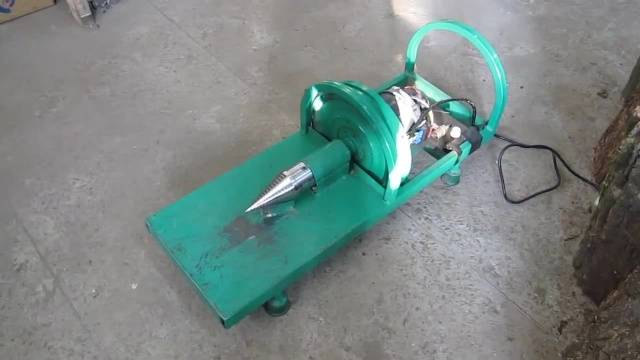
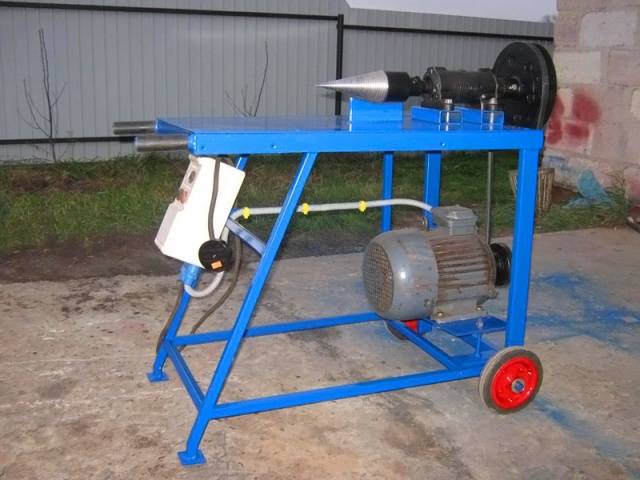
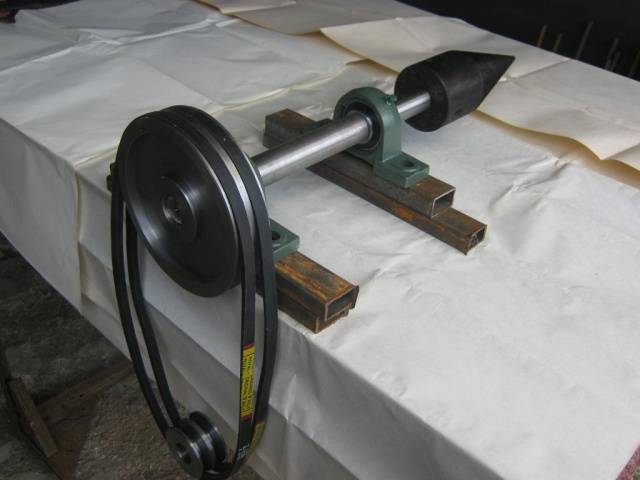
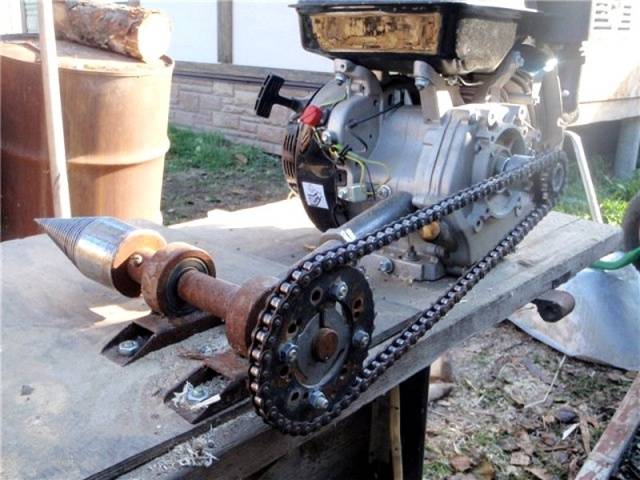
Such a device has several main parts:
- frame;
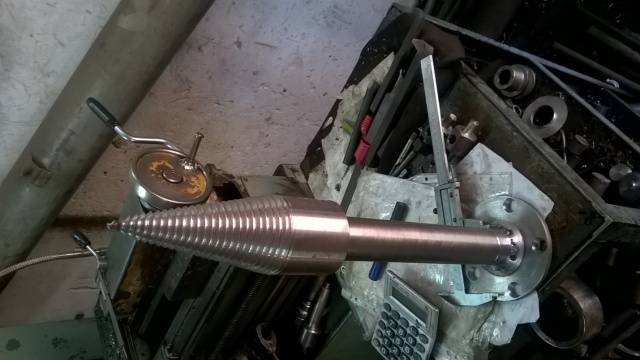
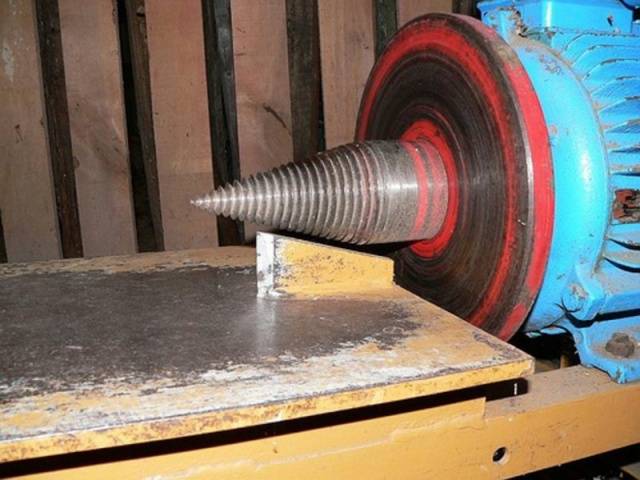
- cone;
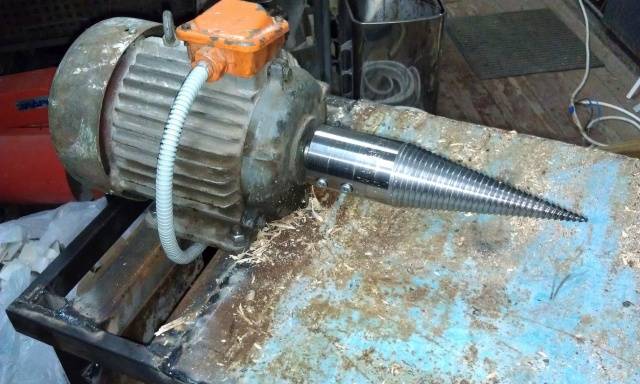
- motor borrowed from a washing machine;
- drive mechanism.
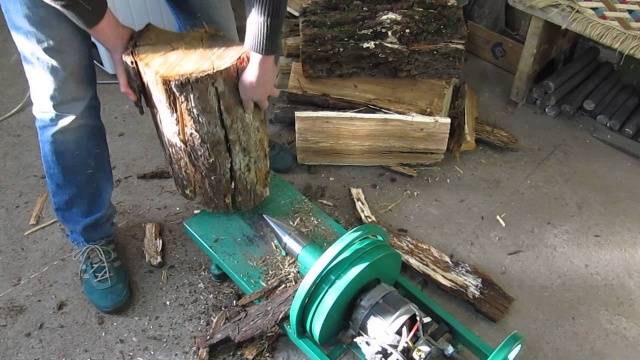
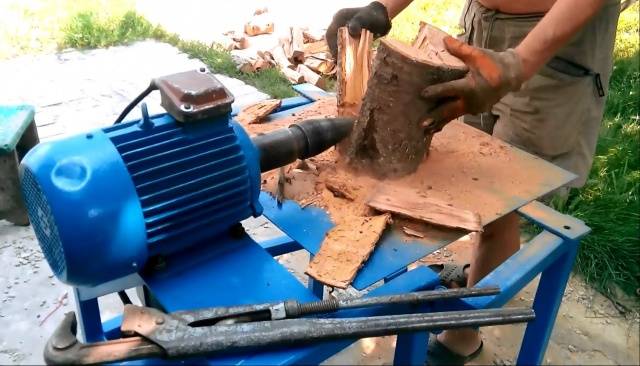
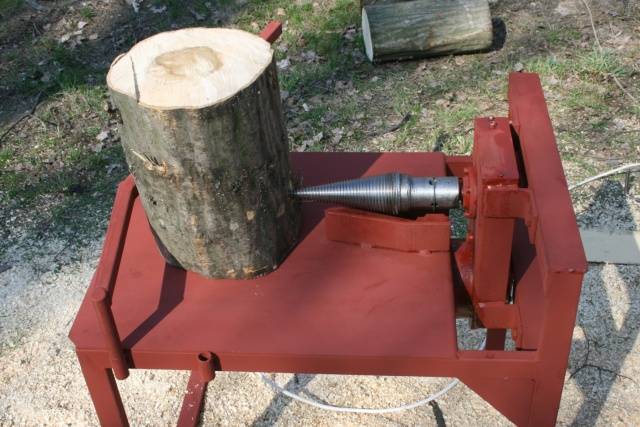
The operating principle of a homemade wood splitter is very simple. The motor from the washing machine will transmit force to the small pulley. The stump is pushed onto the cone sideways. As a result, it splits in half. The design is easy to assemble with your own hands. However, before starting work, you should select certain materials.
Selection of materials
To complete the work you will need to prepare a small list of tools. In addition, you must have basic skills in working with electric welding equipment. The tools you need to prepare are:
- welding machine and electrodes;
- pliers;
- drill;
- anvil and vice;
- ruler;
- grinding wheel;
- files and screwdrivers.
Finding all the suitable materials will be more difficult. One of the main design details is the cone. This item is usually not sold in stores. However, creating it at home is quite problematic. First, this part must be turned, threaded on a cone, kept in an oven and cooled in water. This technology creates certain difficulties for making a cone with your own hands. However, there is another option. In any city you can find stores that sell cones designed specifically for homemade wood splitters.In addition, there you can find all the necessary spare parts for such a device. You should purchase a large and small pulley, bearings, gearbox and shaft.
In addition to such elements, you will need to create a strong frame. It can be welded from metal corners. In addition, for the frame you will need a steel sheet and a gimbal hanger from an old car. It can be purchased on sale for a symbolic price. To ensure that the wood splitter can be moved comfortably, you will need to attach wheels to the frame. It is better that they come from a gurney or a bicycle. It remains to find one more part - the motor. It can be taken from an old washing machine. Without a motor, the device cannot operate. For this reason, you should find an old washing machine and remove its electric motor. To make sure it is working, you should use a multimeter. In addition, to fasten the parts together, you will need to stock up on bolts and nuts.
Assembling a wood splitter
You can make a wood splitter with your own hands quite quickly. Thanks to this device, you can forget about the grueling work of chopping wood. You should start work by making a strong bed. To do this, use a grinder to cut a corner:
- 2 parts – 1.4 m each;
- 4 parts – 20 cm each;
- one piece – 45 cm.
After this, you need to lay 2 parts of 1.4 each on the floor in parallel. They must be placed at a distance of 45 cm. The ends of the long corners are welded in a “P” shape. Then you should step back 90 cm from the welded joint and weld a gimbal part between the corners. Then the steel sheet is laid and welded. All that remains is to make the legs. They are located at the edges of the bed. Subsequently, wheels are attached to them. After this you can work on the gearbox. A shaft should be inserted into the suspension element.Pulleys are put on it.
The most responsible is the next stage. The small pulley is then placed on the motor shaft. The motor must be secured in such a way that it is installed as securely as possible. This is due to the fact that vibration of the wood splitter is inevitable during operation. The pulleys are connected using a belt. “Eared” bearings should be placed on the free end of the shaft. And securely screwed to a metal sheet. After this, the engine is connected to the machine. You can subsequently connect a network cable to it. Once this work is completed, you should check how the motor works in tandem with the gearbox. If no jamming or slipping is noticed, you can install a cone.
A screw wood splitter is an excellent helper in the household. It saves time and effort. When using it, you can forget about the hard work of harvesting firewood. To avoid confusion during assembly, you can draw an approximate design diagram.
