Content
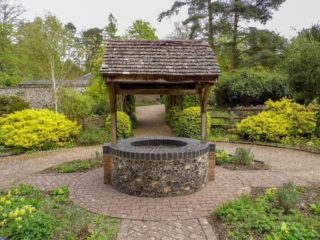
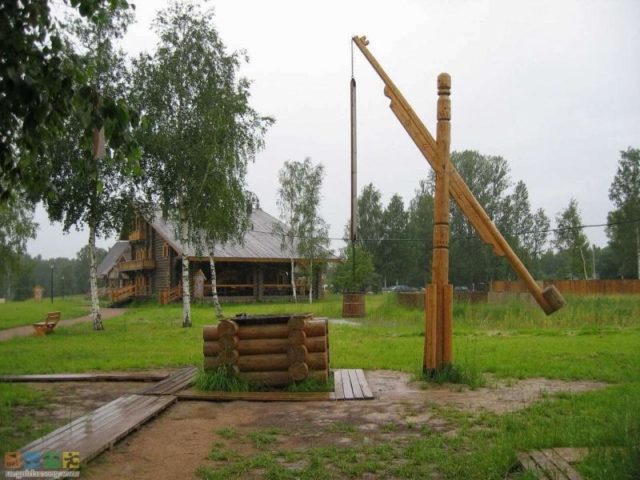
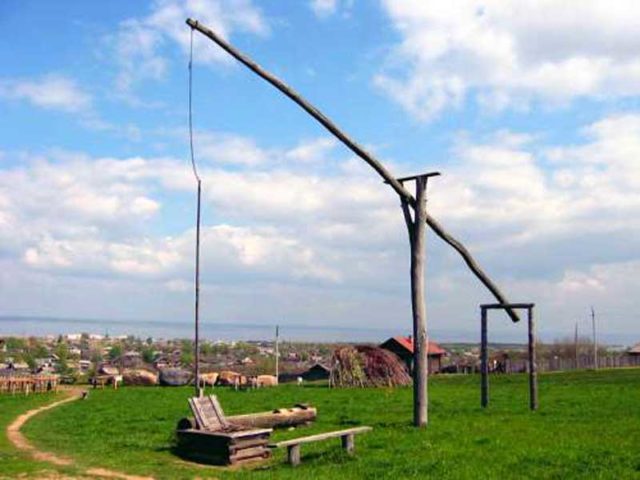
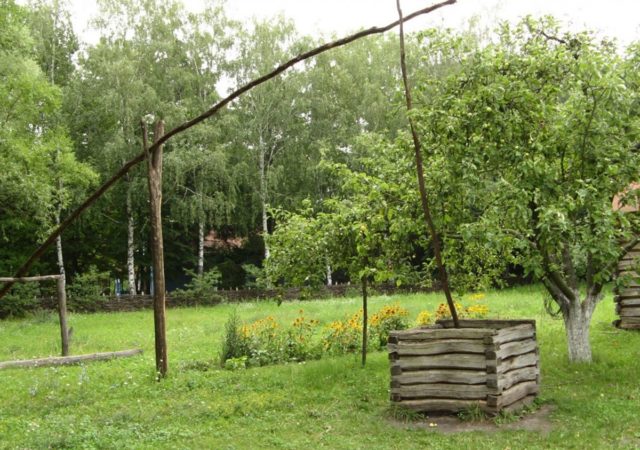
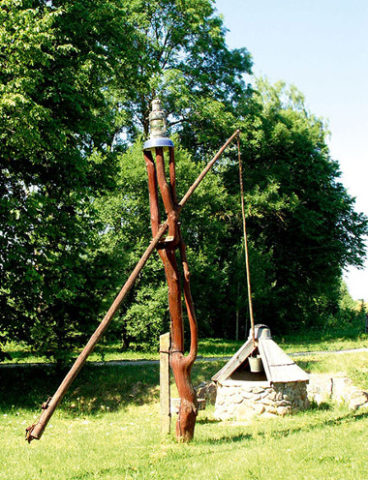
A well on the site is a practical and convenient option for providing access to drinking water to the house and garden. With proper execution and the imagination of the master, a well-equipped above-ground part of the well becomes a decoration of the landscape. There are many ways of external construction that not only perform a practical function, but also become a landmark of the site, as can be seen in the photo of the crane well.

What is a crane well
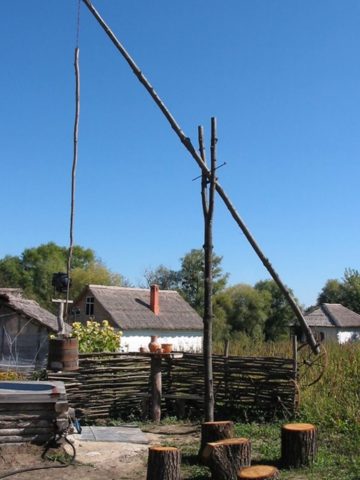
Of the variety of methods for arranging the external part of the water intake on a site, the crane well is perhaps the most romantic and at the same time functional tool for facilitating the rise of groundwater. It differs from all other structures only in the lifting mechanism, which is similar to a crane due to the long movable well lever. It is secured to a base fixed in the ground.A bucket is attached to one side of the rocker, and a heavy counterweight to the other, which allows you to lift the container with water with a slight movement of the hand. Before making a choice in favor of this device, you should familiarize yourself with its features.
Advantages of a crane well
The main advantage of the design is ease of use. A bucket of water can be lifted with virtually no physical force, unlike a standard well gate, which involves rotating a drum with a suspended heavy bucket. Due to this factor, the time for water extraction is significantly reduced. In addition to its simple practical application, the crane well makes the design of the entire site completely different. The unique spirit of antiquity in the form of a crane well will naturally fit into any landscape.
Disadvantages of a well with a crane
For those who need to get water from the deepest layers of the soil, such a device is not suitable. It is considered optimal to draw water from a crane at a depth of 4-5 m. When increasing the length of a well, the boom of the crane will also lengthen, and this entails an increase in the free area for the lever to move in the area, which is not always justified. Also, the forced increase in strength due to elongation of the rocker arm will give the entire structure a bulky character.
Many users believe that another significant drawback is the impossibility of sealing the head when designing a crane. Due to the vertical movement of the pole with a bucket, it is not possible to make a house over the shaft. The need for such access to the well forces the water to be covered with a removable lid or even left open. This often leads to contamination of the liquid with small debris, leaves or sediment.
Despite some of the features of the crane well, it can be used by a person of any age and build due to the simplicity of the design. Its attractiveness lies not only in the ease of obtaining water, but also in the pleasant emotions that the crane well evokes in people, as in this video.
Construction of a crane well
The construction of a crane well is simple and consists of several parts.
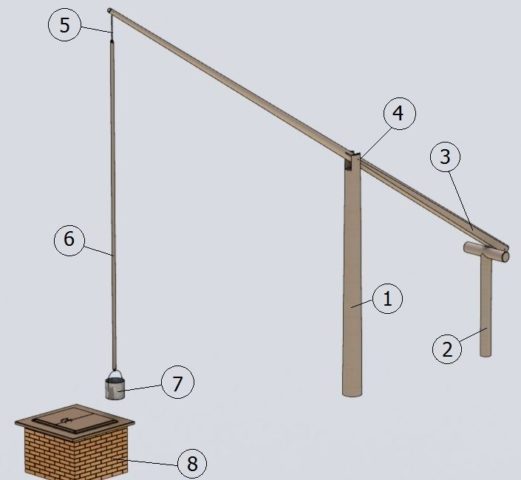
Each part of the structure performs a specific function:
- The vertical base is a thick support post anchored in the ground. This is the strongest part of the crane well; it is tightly fixed into the ground at a distance from the head according to calculations.
- The counterweight support is a kind of travel limiter; in most models it is not necessary to install.
- A short arm with a counterweight - a heavy load attached to the short side of the boom. It acts as a ballast to balance human forces and the gravity of the water bucket when lifting.
- Rocker (boom) - a lever that is attached to the base using hinges or angles. Usually it is made from a solid, thin log, pipe or strong pole.
- Chain is the fastening part of the boom and pole; galvanized links are usually used.
- The pole is attached to the long part of the boom with a chain and corresponds to the depth of the well.
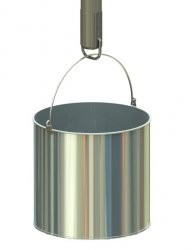
- Container for collecting water - a bucket or tub.
- The head of a crane well is the outer ground part of a well, round or square in shape. It protects water from contamination and freezing. It is usually made of stone, a concrete ring, brick, boards or beams.
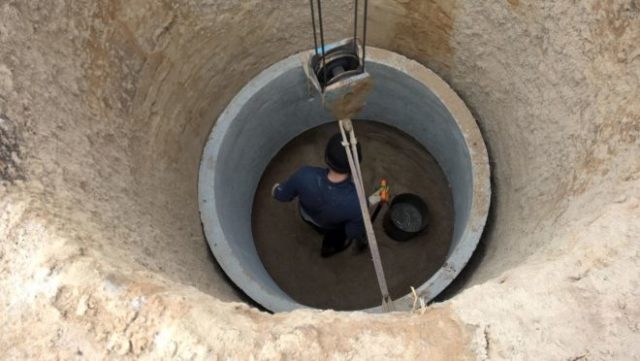
The shaft itself - the underground part of the well, which is filled with water, is formed at the location of groundwater. As a rule, the inside is lined with concrete rings or lumber.
Previously, in villages, a fork of a thick tree was chosen as a support, onto which a lever with a bucket was attached. If there was no suitable tree near the well, it was dug up from the forest and planted next to the well shaft as a basis for a rocker. Now there is a large amount of high-quality material for constructing a base and convenient fasteners for fixation. This allows you to easily make a well crane on the site with your own hands if you have a functioning shaft and head.
How to make a crane for a well with your own hands
The construction of a crane for a well includes several stages of work. Proper calculation, compliance with all technological processes and step-by-step implementation of the plan will allow the well with a crane to become not only a place for collecting water, but also a pleasant addition to the landscape.
Preparation of material
To make a crane with your own hands, you need to prepare the necessary materials:
- wooden blocks with sections 5*10 and 5*5 cm;
- pipes for support;
- thin duralumin pipe;
- self-tapping screws;
- chain;
- corners;
- mounting studs M 10 and M 8;
- bucket weight;
- concrete solution;
- two metal bars.
When forming the structure, you will need the following devices and tools:
- garden auger;
- sandpaper;
- wrench;
- screwdriver;
- shovel.
Crane calculation
The parameters of the lever, as well as the installation location of the supporting part, depend on the depth of the well. Approximate dimensions can be found in the table.

When calculating all the parameters of a well crane, simple formulas are used. To make it easier to understand, each indicator is indicated by letters:
- H – shaft depth;
- L – pole with chain;
- h1 – rack height;
- l1 – length of the large lever arm;
- l2 – length of the small arm;
- h2 – distance from the main stand to the center of the well.
To determine the main indicators, the following formulas are used:
- h2 = H - 0.7 m;
- h1 = H/2 + 2.4 m;
- L=H + 150 cm;
- l1 = N - 0.2 m;
- l2 = N - 0.8 m.
When measuring the depth of the well, it is necessary to take into account the fact that when drawing water, the bucket should not fall closer than 30 cm to the bottom of the shaft. With an average well depth of 5 m and a water tub volume of 8-10 liters, you need to count on a counterweight on the short side of the sleeve weighing at least 15 kg. A more accurate weight of the load is determined empirically when installing the well crane.
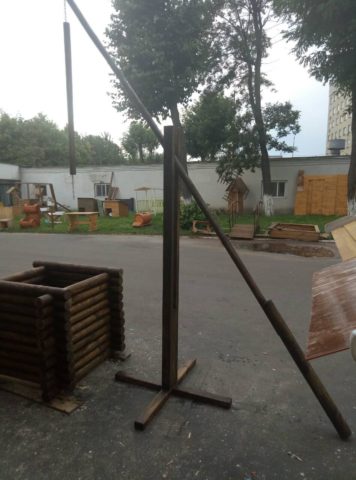
Installing a crane support
Before installing the base at the distance from the well selected according to the formula, it is necessary to isolate it from contact with the ground. To do this, pipes are attached to the main beam with mounting pins, which will become a continuation of the base in the ground. After this, a hole 1 m deep is dug or drilled with a garden drill. The width should be such that after installing the pipes there is a distance of 20-25 cm between them and the ground. A support is installed in this hole so that about 15-20 cm remains from the wooden base to the soil. The pipes are leveled and the hole is concreted.
Installation of balancer
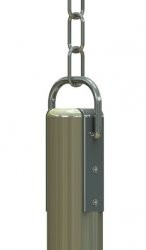
Installation of a crane balancer for a well can only begin after the solution has completely hardened. The 50*50 cm beam, which goes on the boom, is strengthened at the point of fixation to the support with an overlay made of a block of wood of the same thickness. Using a pair of steel angles and an M10 mounting pin, the boom is fixed to the support. The corners are attached to the stand with M8 studs.
Hanging a pole with a bucket
One of the best options for a pole that holds a bucket is a 2.2 m duralumin pipe. It is covered with a moisture-resistant film to prevent corrosion.
The tube is attached to the long end of the balancer with a meter-long chain.
A 0.5 m chain with a bucket is fixed to the other side of the pole.
A weight is attached to the top of the bucket, which will force the container to turn over when it comes into contact with water and go to the bottom.
Installing a counterweight
The last thing to attach to the crane is a counterweight on the short side of the balancer. Two iron bars, giving a total weight of 15-18 kg, are attached to the boom with mounting pins. After the structure is completely assembled, the exact weight of the balancer is determined by checking the lifting of a bucket of water.
Crane design
A decorative crane well at the dacha, made with your own hands, will become a full-fledged design element of the landscape of the site. For a beautiful design, you need to take into account other buildings and components of the local area.
To decorate the supporting part of the crane with plants, dig a flower bed around it. They fertilize it with humus and plant climbing plants. For example, a simple bean will decorate a crane support with beautiful flowers, twining around the base.
Decorating the ground part in the shape of a crane is a popular option for a well of this type.
In addition to the famous bird, befitting the name of the well, it is often decorated in the form of other animals: giraffe, fox, baby elephant, stork.
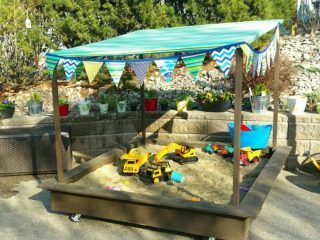
Children will love the execution of the crane well in the form of fairy-tale characters or cartoon characters.
Tips and tricks
When building a well crane with your own hands, experienced craftsmen recommend carefully following safety rules:
- All materials used in the structure must be checked for integrity and suitability for long-term use. Reject items with cracks, signs of deformation or other damage.
- Before installation, the lever itself is checked as follows: install it at a low height and hang a load on the long edge. With a weight equal to the sum of a bucket of water, a pole and chains, the deformation of the lever should not exceed 5% of its length.
- Chains and poles are checked separately for strength. To do this, hang a load twice the weight of the water container.
- Near the well, the crane removes all objects and plantings that interfere with the free movement and movement of the rocker.
Photos of crane wells
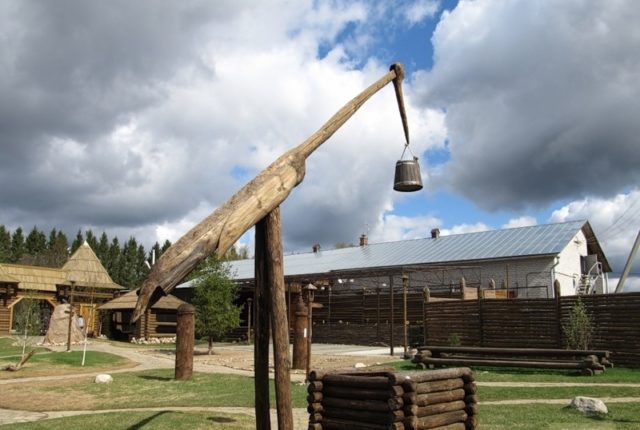
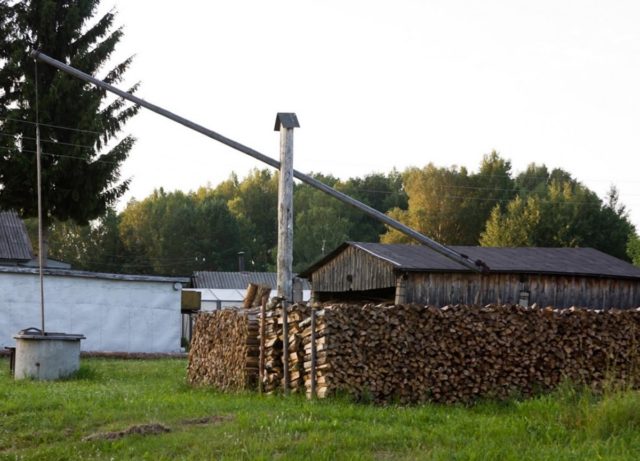
As a rule, hand-made crane wells naturally fit into the natural landscape of the site
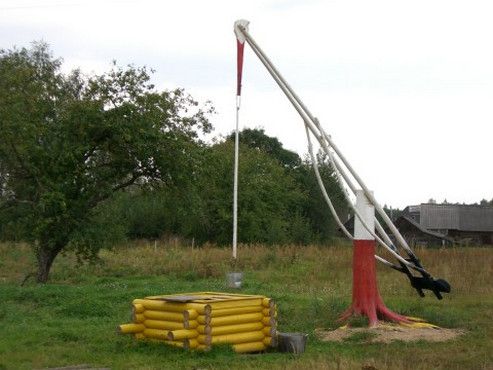
There are ready-made models that can be purchased in carpentry workshops and installed in the country house.
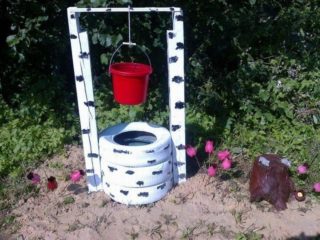
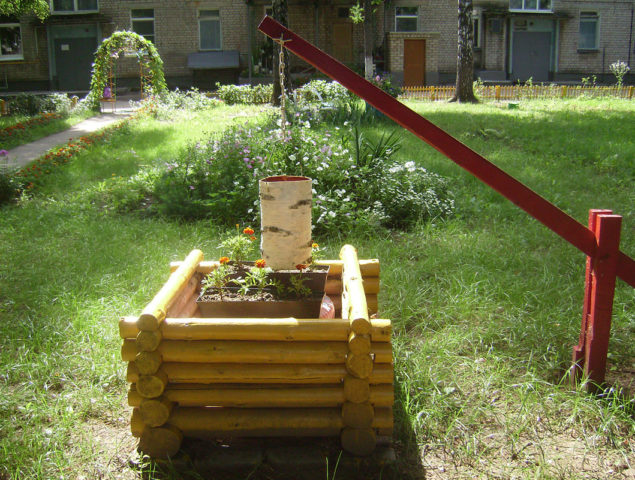
Sometimes the simplest decor turns a composition into an original design project.
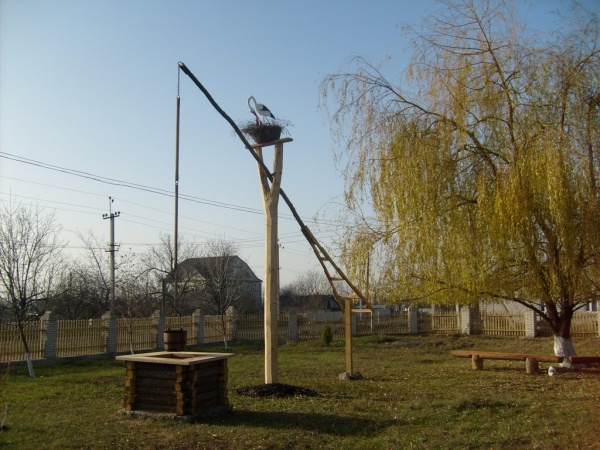
The very idea of a crane well can be implemented on a site in the form of a landscape decoration without the functionality of collecting water.
Conclusion
Photos of a crane well will help realize the idea of an ancient method of collecting water at the dacha. Compliance with the principles of the device, correct calculation and the imagination of the master allows you to competently arrange the landscape of the site using a well crane.