Content
It’s rare that anyone at their dacha builds a major shower out of brick or cinder block. Typically, its use is limited to the three summer months, and then only during planting a vegetable garden, as well as harvesting. For such a short period, it is enough to build a lightweight booth from any sheet material. A good option is a polycarbonate garden shower with a dressing room, which is easy to design and manufacture yourself.
Why is it better to choose polycarbonate for shower casing?
Polycarbonate is not the only material for covering a country shower. Corrugated sheeting or lining will be suitable for this task. It’s just that today we decided to focus on this beautiful and durable material.
Let's look at the advantages of using polycarbonate for shower casing over other similar materials:
- You can cut out integral fragments of a shower stall from large sheets of polycarbonate. This allows you to quickly sheathe the frame. If you skip the time needed to make the foundation, you can easily install a shower stall in your dacha in one day.
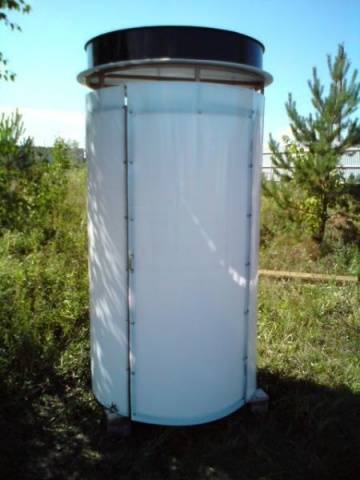
- The flexibility of the sheets allows you to create shower stalls of different shapes from polycarbonate. A round or oval design will look aesthetically pleasing on a summer cottage.
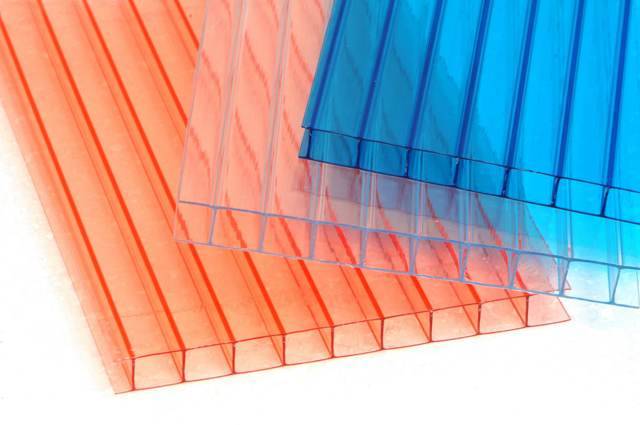
- To cover the shower stall, opaque polycarbonate with a thickness of 6–10 mm is used. The material is characterized by increased strength. Such a shower will withstand even strong hurricanes. According to GOST, the strength of polycarbonate is five times greater than that of ordinary glass.
- Polycarbonate can withstand large temperature differences from -40 to +120O C. The weight of the sheet is several times less than that of other cladding materials.
- The aesthetic side is also important. Polycarbonate is produced in different colors. If you wish, you can build a beautiful shower at your dacha from a combination of multi-colored sheets.
If the arguments for the advantages of polycarbonate convince you, we move on to the next stage of constructing a shower for a summer house.
A few important tips regarding the development of a project for a country shower with a dressing room
Even such a simple construction as a polycarbonate shower for a summer house requires the creation of a project. There is no need to create complex drawings, but a simple diagram can be sketched. Here you immediately need to decide for yourself what kind of shower you want to build. You can very quickly make a lightweight booth and simply place it on the ground. It is more difficult to manufacture showers on a foundation with heated water, but this design will last longer. In addition, you can bathe in the cold in the country shower.
So, let's start developing the project ourselves:
- The construction of a country shower begins with determining its location. It is important to note that water must be constantly added to the tank. Carrying it in buckets from afar is inconvenient and difficult. It is better to place the shower stall near the water intake.
- If many people will bathe in the country shower, it should be located as close as possible to the cesspool or septic tank.Installing a country shower close to the cesspool will allow you to save on laying sewer pipes, but it is advisable not to move the cabin closer than 3 m to the sewage reservoir. On hot days, bad odors from the sewer will penetrate into the shower, creating an unpleasant atmosphere while bathing.
- The water in the summer shower tank is heated by the sun. The booth should be placed in the sunniest place, where there is no shadow from trees or tall buildings.
- Lighting must be provided inside the polycarbonate shower and changing rooms so that you can swim at night. You just need to take into account that the lanterns must have a high degree of protection against water ingress. It is optimal to place shower stalls in the country at the back of the house. The closest sewerage and water supply lines are located here, and the electrical cable for lighting is not far away.
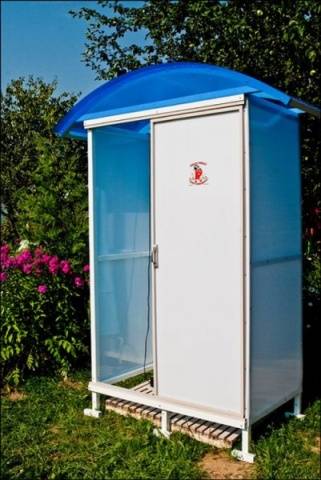
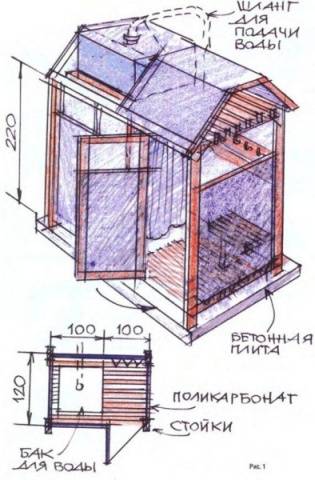
- Having decided on the location of the country shower, we begin to draw up a diagram of the polycarbonate cabin itself. Initially, it was decided that the country shower would have a locker room. If the standard dimensions of a shower stall are 1x1x2.2 m, then a length of about 0.6 m will have to be added to the locker room. In this case, the width of the structure will be 1 m and the length – 1.6 m. If the owners are obese people, then the width of the shower stall will be with a locker room it is better to increase to 1.2 m.
- A demarcation is provided inside the shower stall. The locker room is separated by a threshold and a canvas curtain. They will prevent water from getting your clothes and shoes wet.
- If desired, a locker room can be organized in the dressing room. Then additional racks are installed separately near the shower stall, onto which polycarbonate sheets are attached. The size of the dressing room depends on the preferences of the owner.Sometimes summer residents build large dressing rooms where, in addition to the locker room, they set up a resting place. Benches and a table are installed inside.
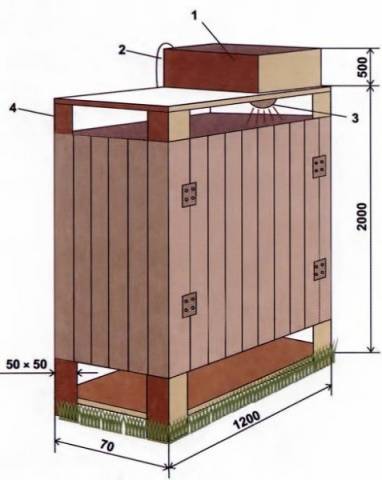
- The total height of the shower stall from the ground to the roof is at least 2.2 m. Together with the tank, it can reach 2.5 m, and even higher. The height inside the shower stall will be lower. A wooden pallet will take up part of the space below, and a watering can with a tap will hang from above by at least 15 cm.
Taking into account all these nuances, they sketch out a diagram of a shower with a polycarbonate changing room on a sheet of paper, after which they begin to build it.
Construction of the foundation and drainage
A country shower with a dressing room is considered a more complex structure than a traditional cabin measuring 1x1 m. For such a building, it is advisable to make a foundation. Polycarbonate is a very light material, but you need to take into account the weight of the tank. A container with 100–200 liters of water will create strong pressure on the foundation, and it must withstand it.
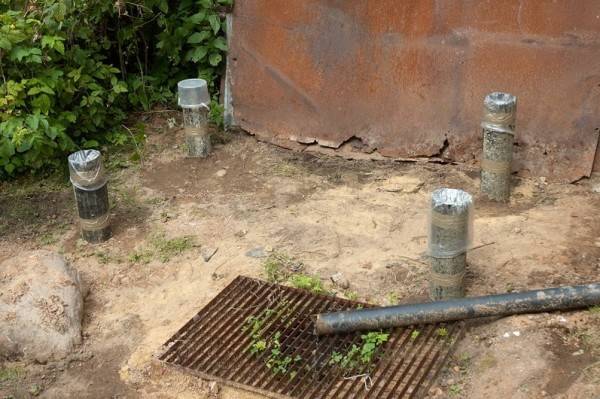
There are many types of foundation, but if Summer shower for a dacha, it is made of polycarbonate, then it is enough to drive piles in the corners where the cabin will stand. To do this, four holes 1–1.5 m deep are drilled with a drill. Pieces of metal or asbestos pipe with a diameter of 100 mm are lowered into the holes. The space around the pipes and inside is filled with concrete, and before pouring, an anchor pin is installed inside each pipe. In the future, the frame of the shower stall will be attached to this pin.
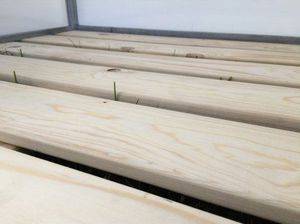
Now it's time to install the drain. If the soil at the dacha is loose, and few people will bathe in the shower, then it is easier to make a drainage hole. A layer of soil 50 cm deep is selected right in the shower. The hole is filled with any stone, and on top with small crushed stone. A wooden pallet with large slits is placed under the feet.Wastewater from the pan will pass through the layers of stone and be absorbed into the soil.
A full drain from the shower will be more effective. To make it, you will have to concrete the sewer pipe from the bends into the floor. Moreover, the entire floor plane is made with a slight slope towards the waste funnel. The sewer pipe is connected to the general dacha sewer system or discharged into a drainage well.
It will be easier and more aesthetically pleasing to organize a drain from a country shower using an acrylic tray. The finished product is simply installed on the floor inside the shower stall, and the drain is connected to the sewer.
We make a country shower cabin with a changing room
So, if we build a shower for our dacha with our own hands without a dressing room, but with an internal dressing room, then we make a solid frame. It should be noted right away that a wooden beam made of polycarbonate is not suitable for a shower. In addition to the fact that wood rots quickly, it has the property of “playing” due to changes in humidity and temperature. Similarly, polycarbonate “plays” due to temperature fluctuations. The end result is a country shower with wrinkled casing.
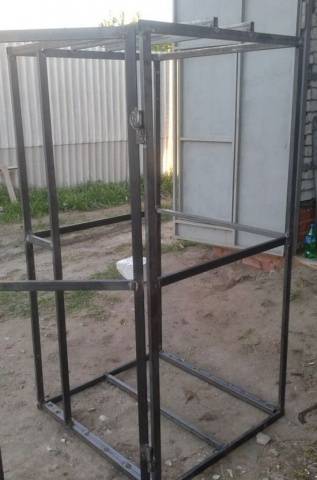
To make a shower frame, it is optimal to take a profile with a section of 40x60 mm. A metal corner will also work, but with a minimum shelf width of 25 mm. The shower frame is welded separately from the foundation. The main racks are placed in the corners, and two additional ones in front for hanging doors. The sash frame is also welded from the profile. It is attached to the door post with hinges.
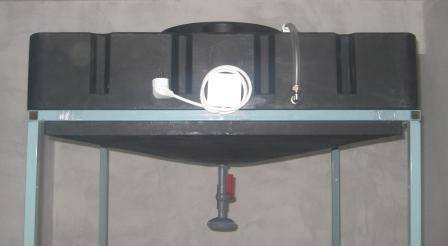
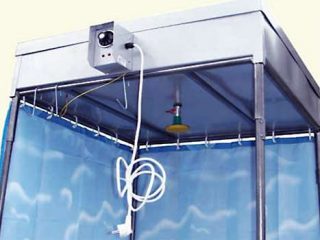
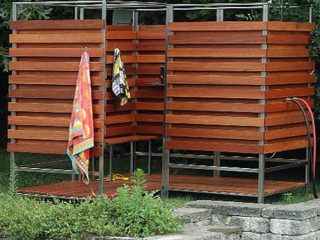
Two additional jumpers are welded on top of the frame to install the tank. Here you can use a little trick. If you buy a square-shaped shower tank in a store, you can attach it to a frame instead of a roof.Thus, you will be able to save a little on the installation of a polycarbonate roof for a summer shower. In the photo you can see an example of a finished shower stall.
The welded shower frame is installed on a pile foundation. Now is the time to remember the abandoned anchor pins. Holes are drilled in the profile of the lower frame trim, the metal structure is installed on studs and tightened with nuts. Now the frame of the summer shower is securely in place, and you can begin covering it with polycarbonate.
A large sheet of polycarbonate is cut into fragments to fit the shower walls. It is better to cut with a jigsaw. Holes for hardware are drilled in polycarbonate and metal profiles, and the diameter of the hole on the cladding material should be 1 mm larger than the thickness of the screw. The polycarbonate is secured to the frame using special hardware with an O-ring.
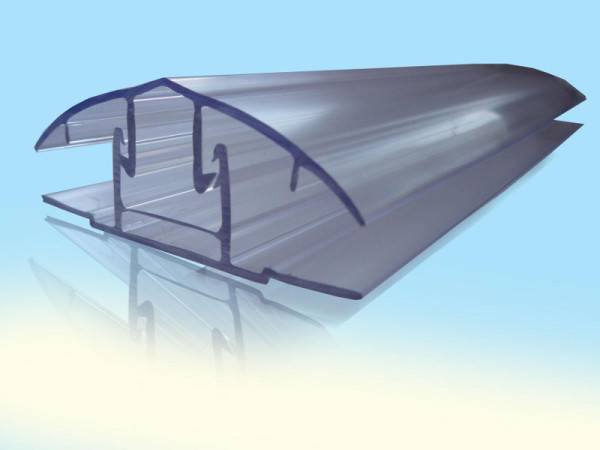
If there are joints between two polycarbonate sheets, a profile is used for connection. The tightness of the joint inside the profile is ensured by embedded silicone.
When the covering is finished, the protective film is removed from the polycarbonate. By the way, you must not forget to put plugs on all ends. They will prevent dirt from getting into the polycarbonate cells.
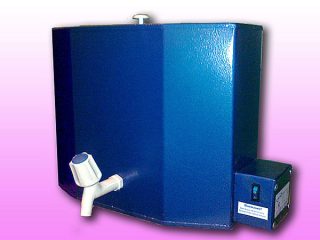
The final step in the construction of a country shower with a dressing room is the installation of a tank. It is better to use a factory-made heated plastic container. A 100 liter tank is enough for a family of five.
The video talks about a summer shower made of polycarbonate:
A self-made summer shower with a changing room made of polycarbonate will serve the owners for at least 20 years. You just need to remember to drain the water from the tank in the winter.
