Content
Few would argue that wine made with your own hands at home is in no way inferior to most store-bought wines, and often even superior to them. Indeed, among the rich assortment of wines in the store, it is difficult for a non-specialist to distinguish real wine from numerous fakes. And homemade wine, if prepared correctly, is unlikely to harm your health. And if you still have a plot of grapes, then you should definitely try to create a homemade wine delicacy from it that will warm you on cold winter evenings.
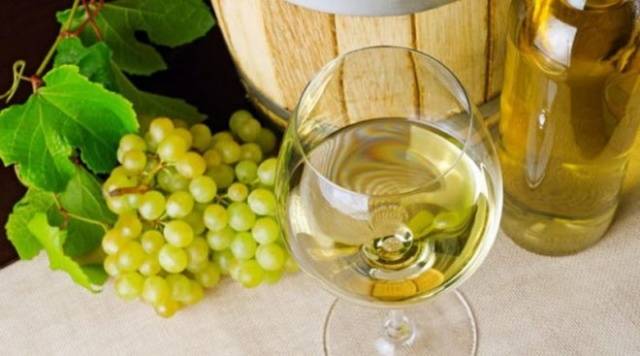
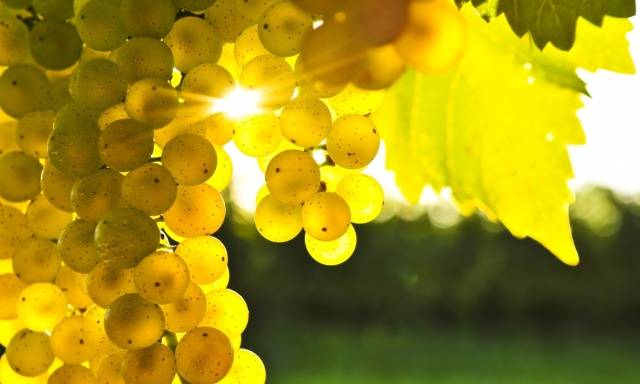
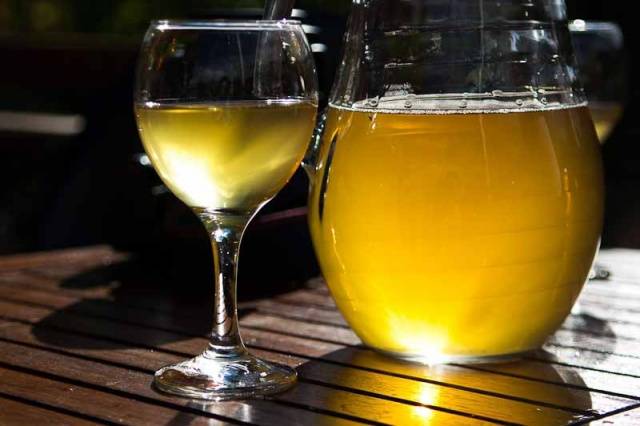
This article will focus on making homemade wine from green grapes. It produces a delicate-tasting and very light white wine.
The best varieties of green grapes suitable for winemaking are currently considered:
- Muscat white;
- Riesling;
- Aligote;
- Firstborn of Magarach;
- Chardonnay;
- Feteasca;
- Silvaner.
But even if you don’t know the name of the grape variety that grows in your area, don’t be upset. You can make high-quality wine from almost any grape, as long as it contains at least a little sweetness. But if your grapes are not ripened enough and their acidity makes your cheekbones ache, even in this case there are techniques for making decent-tasting homemade wine.
Harvesting and preparation of raw materials
It is best to use ripe grapes to make wine. Unripe berries contain too much acid and not enough sugars, and in overripe grapes, acetic fermentation can begin, which will subsequently turn all the squeezed juice into vinegar.
Unfortunately, in many regions of Russia, in some years the grapes do not have time to ripen to the desired condition. In these cases, a technique is used that reduces the acidity of grape juice. To do this, it is diluted with water in an amount of no more than 500 ml per liter of juice obtained.
Keep in mind that diluting grape juice with water will always detract from the taste of the finished wine, so use this technique as a last resort only if your grape juice is so sour that it tingles your tongue. In all other cases, it is better to correct the acidity of the juice by increasing the amount of sugar added when making wine.

It is also undesirable to use fruits that have fallen on the ground to make wine, as they can give the finished drink an unpleasant aftertaste.
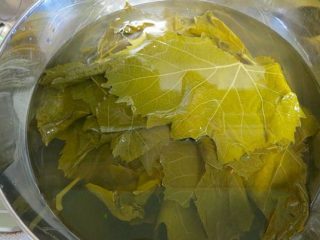
In general, it is advisable to pick grapes in sunny and dry weather. In addition, you need to decide on the timing of the grape harvest so that there is no rain 3-4 days before. This is necessary so that the grapes retain a coating of yeast, which plays a fundamental role in the fermentation process. It is for this same reason that grapes are never washed before being processed into wine.
The collected berries must be used within two to three days after collection.
But sorting the berries is a more than necessary procedure. It is imperative to remove all rotting, damaged, moldy or unripe fruits. Leaves and twigs are usually also removed. Although in some recipes some of the twigs are retained so that the wine has a more pronounced taste of the variety to which the grapes belong.
Requirements for glassware for winemaking
It is very important to understand that to prepare wine, all containers must be perfectly clean and completely dry. This is necessary in order not to introduce various inappropriate microorganisms into the future wine, which can completely ruin its taste. If possible, buckets, barrels and bottles are even smoked with sulfur, as this is done in industrial production. But at a minimum, they must be treated with boiling water or high temperatures and dried.
Try not to use containers in which dairy products were previously stored to make wine, as it is very difficult to completely wash them of traces of milk bacteria.
The material of the dishes with which the juice and wine comes into contact is also important.
The best materials that can be used in the wine making process are ceramics, glass and wood. It is advisable to use only food-grade plastic, since the alcohol formed during the fermentation of wine can come into contact with plastic utensils and form compounds that are toxic to humans.Even to press the grapes and mix the juice, only wooden devices are used. You can also perform these actions with clean hands.
Extracting juice and starting fermentation
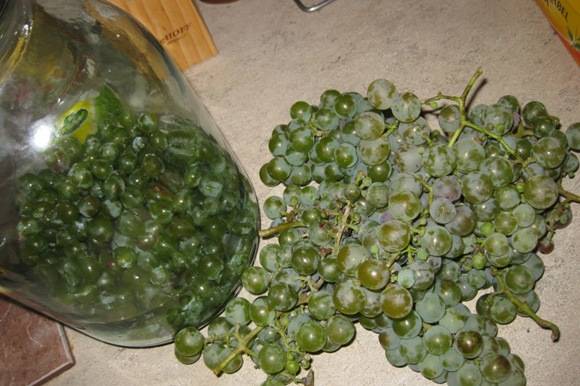
Having placed the sorted grapes in a container of suitable volume, they must be crushed to obtain juice. If the volume of berries is not very large, this procedure is best done manually. This way, you will not damage the seeds, which contain the bitter substance, and avoid splashing of the juice. For large quantities of berries (more than 10 liters), you can use a wooden masher to mash them.
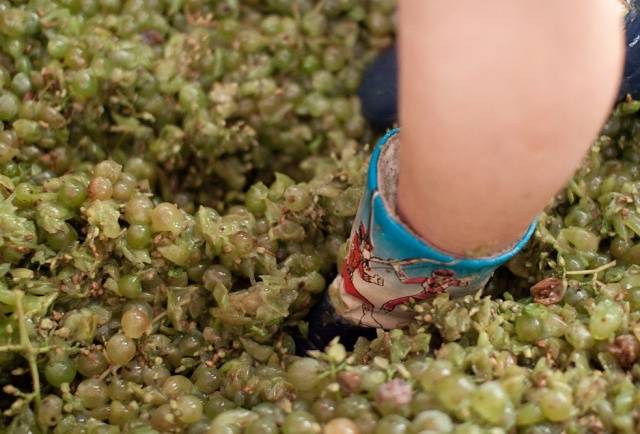
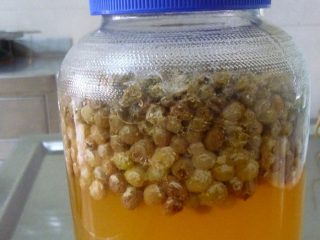
As a result, you will get pulp (pulp with seeds and peel) floating in grape juice. The container with juice and pulp must be covered with a clean cloth to protect the future wine from insects. Then place it in a dark place with a constant temperature of at least +18°C, or better yet even warmer, up to +27°C.
The juice should begin to ferment the very next day, and this process is difficult not to notice - a foamy cap of pulp forms on the surface. Several times a day it is necessary to stir the juice, dissolving the foamy head, using a wooden stick or simply by hand. After 3-4 days, the pulp should lighten a little, a peculiar aroma will appear and a slight hiss will be heard - this is the release of carbon dioxide. At this stage, the juice must be squeezed out from the pulp. The top foamy part is carefully removed with a plastic colander and squeezed thoroughly. The pulp can then be thrown away.
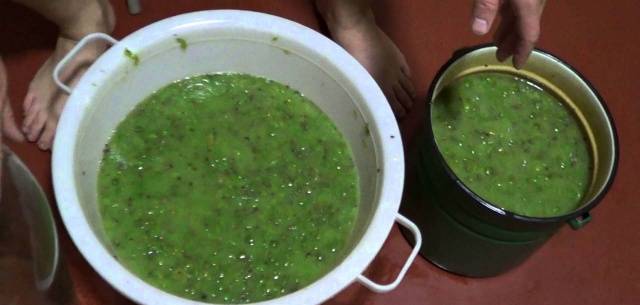
The remaining juice is filtered several times through several layers of gauze or other suitable cloth until only clear and light juice remains.Repeated straining not only helps to get rid of excess particles, but also saturates the juice with oxygen, which allows the wine yeast to immediately start working.
Adding sugar and active fermentation
Why is it good homemade grape wine, this is because, except for the fruits themselves and sugar, it does not require anything for its production. But the required amount of sugar greatly depends on the grape variety, or more precisely, on its sugar content. Most recipes use 2 to 3 kg of sugar per 10 kg of grapes. But experienced winemakers advise adding sugar in portions, waiting until it is completely processed during the wine fermentation process. That is, initially approximately 30% of the amount of sugar prescribed in the recipe is added to the juice, cleared of pulp. 3-4 days after the start of active fermentation, the future wine is tasted, and if it seems sour, it means that the sugar has already been processed and needs to be added.

How to do it right? It is necessary to pour 1-2 liters of fermenting juice into a separate container and stir the required amount of sugar in it. You need to proceed from the fact that about 50 grams of sugar are added at a time to 1 liter of total juice. Then pour the resulting syrup into the juice again and ferment again. This procedure must be repeated 3-4 more times during the first three weeks of fermentation of the future wine.
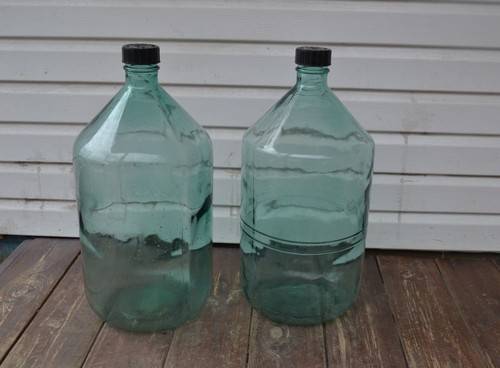
And what is done with the juice initially after the first portion of sugar has been added to it?It is poured into special containers for fermentation - usually glass jars or bottles with airtight lids play their role.
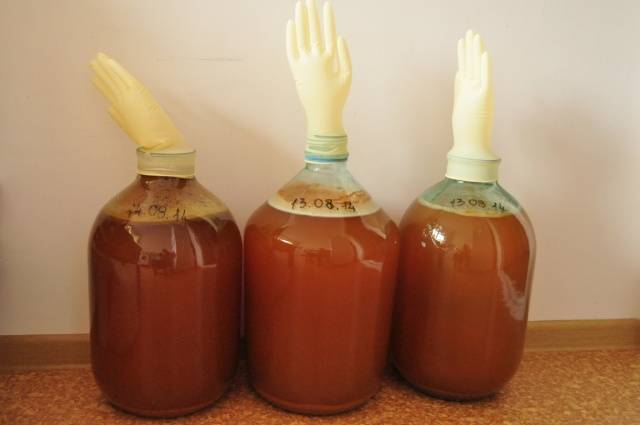
After that, a water seal is installed on the container with juice. It is needed for the free release of carbon dioxide formed and at the same time protecting it from interaction with oxygen. Most often at home, instead of a water seal, they use a sterile rubber glove by puncturing a small hole in one of the fingers. It is placed on the neck of a jar or bottle and firmly and hermetically secured to it, coating the outside with wax or plasticine.
For good fermentation, the container with the future wine is placed in a room with a temperature of at least +15°C. For wine made from green grapes, the optimal temperature conditions will be +16°C+22°C.
Under these conditions, homemade wine can ferment for 30 to 60 days.
The fact is that dead bacteria accumulate in the sediment, and if this is not done, the wine may later become bitter.
Wine maturation
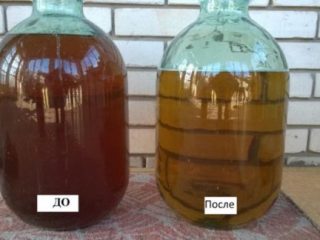
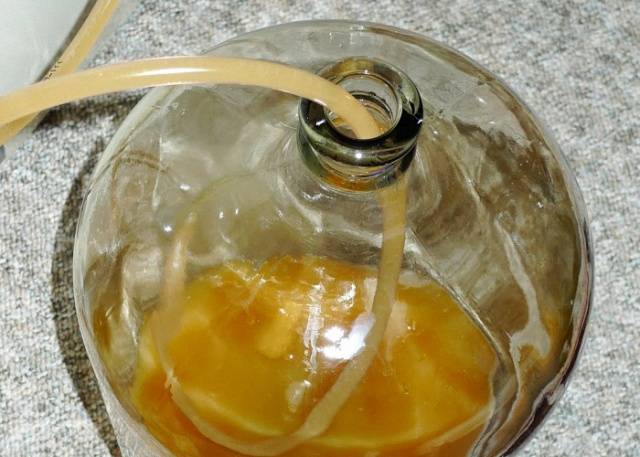
The signal for the end of fermentation of the wine is the lowering of the glove. A loose sediment should form at the bottom and the wine should be drained without touching it. To do this, place it in advance on a higher place and place one end of a transparent tube in a container with wine, without bringing the sediment closer than 3 cm. The other end is placed in a clean and dry bottle where you will pour the wine.At this point, taste the wine and, if necessary, add sugar one last time.
If there is no need to add sugar, then bottles with bottled wine are tightly corked and placed for maturation in a room with a temperature of +5°C to +16°C. The most important thing is that when young wine ripens, there are no daily temperature fluctuations. The wine ripening stage itself can last from 40 to 360 days. During the ripening process, if you see sediment accumulation at the bottom of the bottle, you need to pour the wine into another container using the same straw. This must be done until the precipitate practically ceases to form.
The wine can be considered completely ready. It can be stored in suitable conditions for up to 5 years.
The process of making homemade wine may seem complicated only the first time. But if you do all the procedures correctly at least once, you should not have any difficulties in the future.