Content
Despite the fact that it is winter outside, gardeners and flower growers are not sitting idle. February is the ideal time to decide on the assortment of flowers that will decorate your garden plots during the season. Most often, the choice of gardeners is influenced by such factors as ease of cultivation, duration of flowering and beauty of inflorescences. One of the popular flowers that many gardeners must plant is Dimorphotheca. Growing this extraordinary and beautiful plant from seeds is not particularly difficult.
Brief description of the plant
Dimorphotheca is a low plant intended for growing on a personal plot, in flowerpots, ridges, on loggias or balconies. But before you grow Dimorphotheca from seeds, it is important to familiarize yourself with the rules of planting and subsequent care.
Flowers belonging to the Asteraceae family are native to South Africa. Occasionally, because the baskets of Dimorphotheca look similar to Calendula flowers, it is called “Cape marigold” or “Cape daisy”. Dimorphotheca appeared on Russian garden plots relatively recently.But flower growers have already noted the advantages of this unique plant, which are as follows:
- ease of cultivation;
- long flowering period;
- resistance to many diseases and pests;
- versatility.
In its historical homeland, Dimorphotheca, growing in the wild, is a perennial. But flower beds and flower beds are decorated in most cases with annual plants bred by breeders.
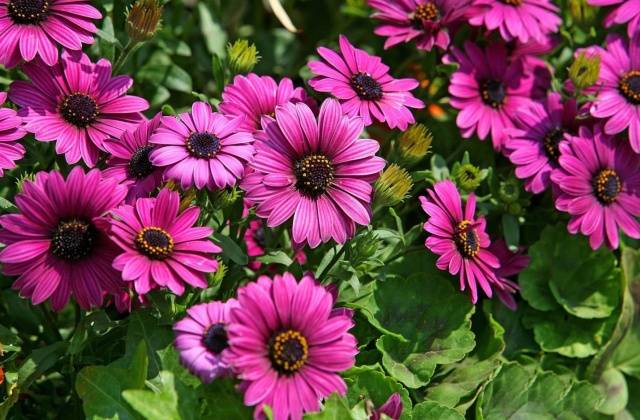
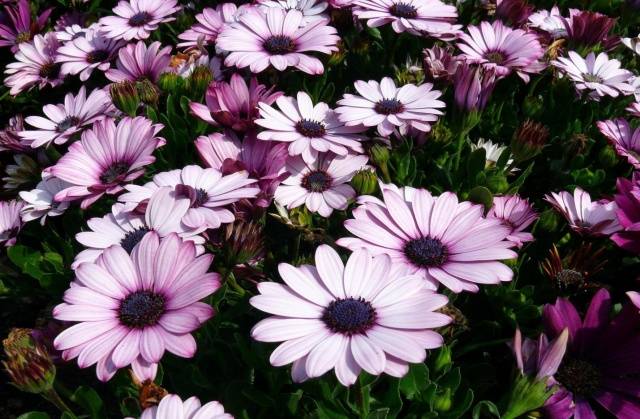
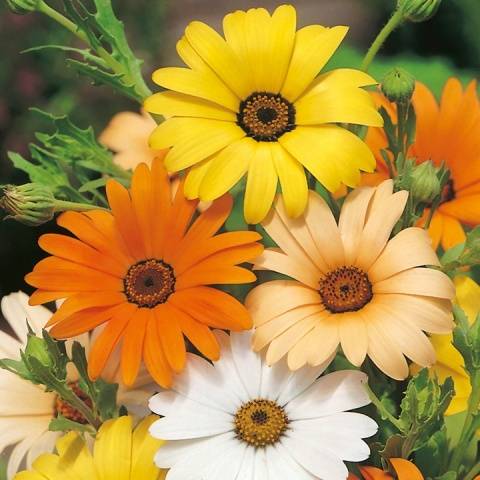
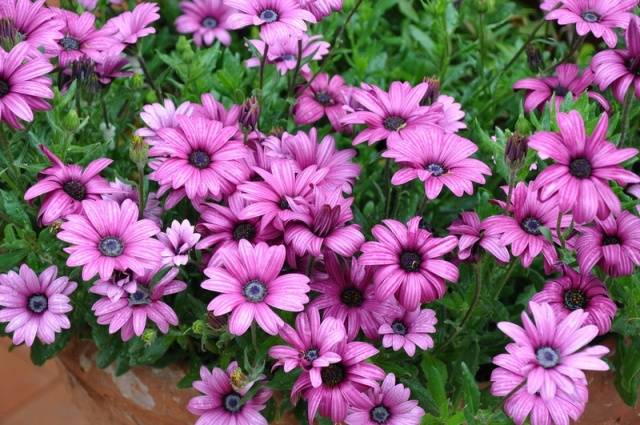
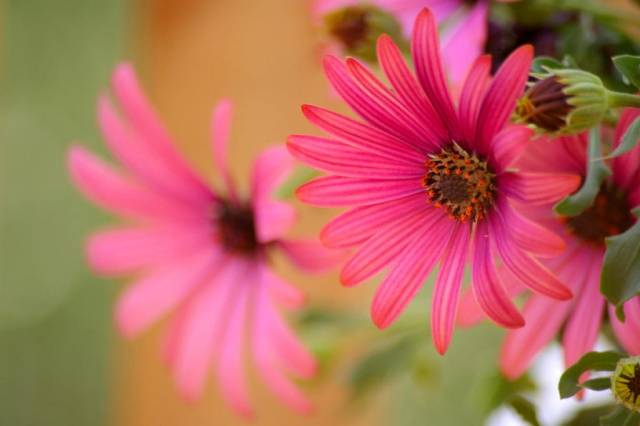
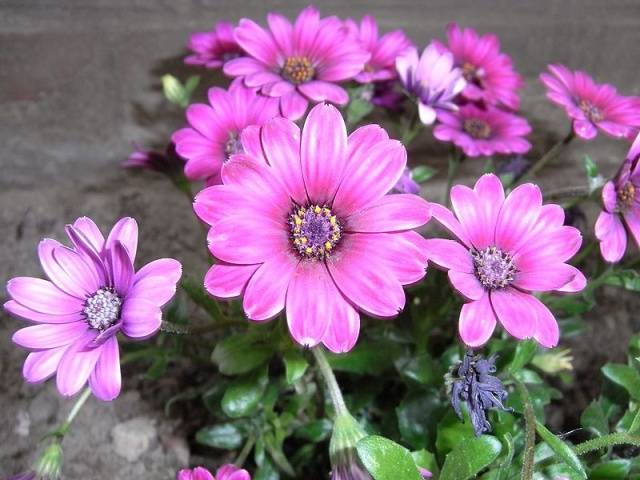
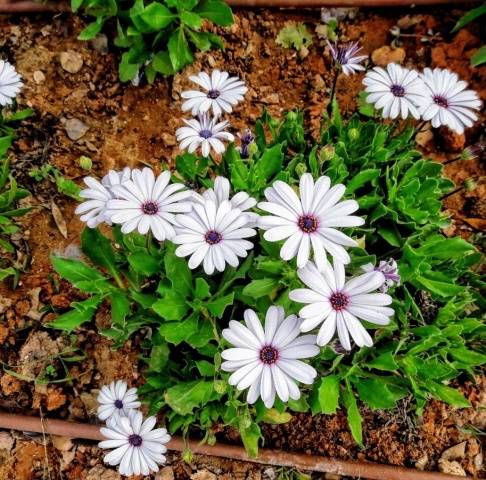
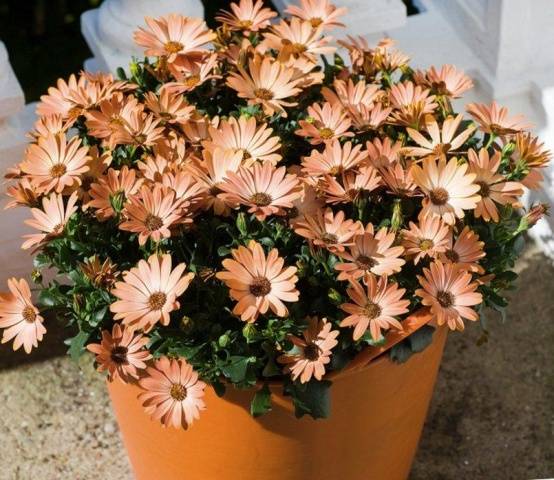
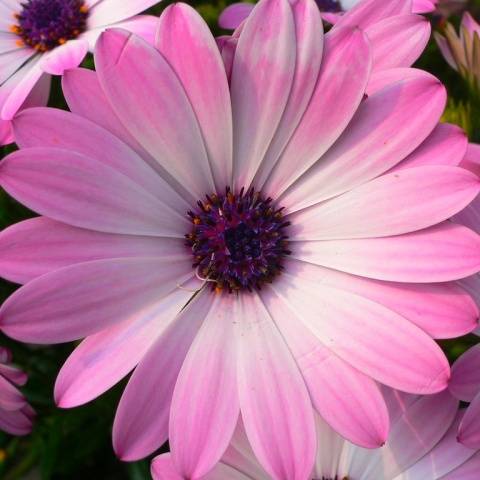
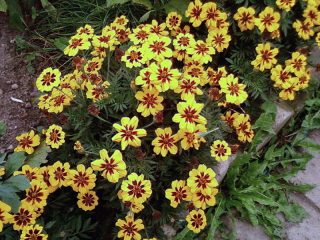
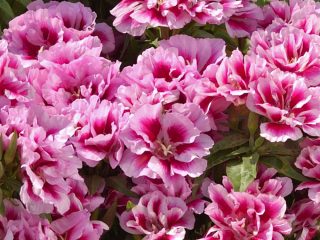
Dimorphotheca flowers resemble modest, but beloved large garden daisies. But the color range of reed petals is represented by a variety of colors. They can be snow-white, soft cream, yellow, orange, pink, burgundy, lilac. The centers of flowers are usually several shades darker than the petals.
The first buds appear on Cape Marigolds 3 months after planting the seeds. Dimorphotheca blooms wildly in sunny weather. Bright, beautiful flower beds look like a fairy-tale carpet. In cloudy weather and as evening approaches, the inflorescences close.
The height of Dimorphotheca varies from 20 cm to 40 cm depending on the variety. The size of the flowers is from 6-7 to 10 cm in diameter. Dimorphotheca, grown from seeds, will delight flower growers with its lush and long-lasting flowering from mid-June to the end of August.
Thanks to the tireless work of breeders, over the last decade more than 20 species of Dimorphotheca have been bred, the color range of which is simply amazing. But only three species are currently most widespread in Russia:
- Dimorphotheca emarginata.It is distinguished by its unique leaf shape. Plant height is 30-40 cm. Flower size is up to 7 cm in diameter. Orange or yellow inflorescences with a dark brown center. Dimorphotheca blooms very profusely, covering garden plots with a bright, luxurious carpet.
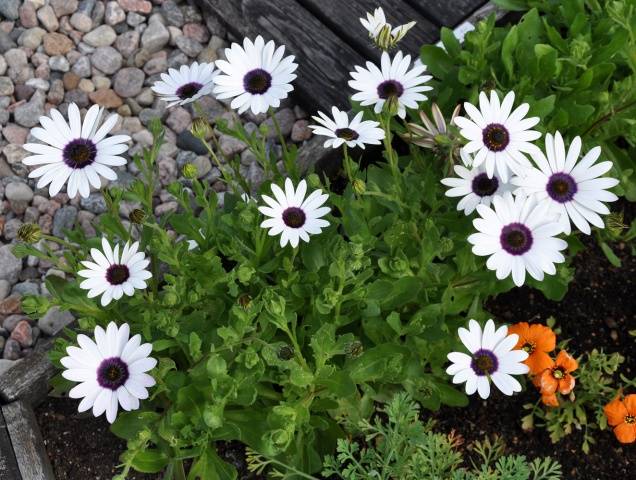
- Dimorphotheca rain. Plants are almost twice as low, up to 20 cm in height. The petals are white, dark purple at the base. The underside of the petals is also purple. The size of the inflorescences can reach up to 10-12 cm in diameter.
- Dimorphotheca hybrida. An annual plant with a height of 15 to 40 cm. Flower baskets up to 7 cm in diameter can be of the brightest colors: yellow, azure, pink, soft lilac, orange, purple. Most often, seeds for growing Dimorphotheca hybrida are sold in mixtures.
Look how beautiful Dimorphotheca flowers are
Growing methods
Dimorphotheca annua is a self-pollinating plant and reproduces mainly by seeds. You can plant flowers directly in open ground in early to mid-May or grow Dimorphotheca as seedlings.
With the seedless method of growing Dimorphotheca from seeds, the first inflorescences appear on the bushes a month later than with seedlings. That is, you will be able to enjoy the beautiful view of the first flowers only in mid-to-late July.
Dimorphotheca also reproduces well by self-sowing in central Russia. The seeds tolerate winter frosts well, and in the spring the first shoots appear in the flower garden, which only need to be thinned out.
If you wish, you can choose the most beautiful and favorite flowers, and as soon as the buds fade, darken and dry out, cut off the flower baskets. Dimorphotheca seeds should be dried well in a warm place and stored. Seeds remain viable for two years. Subsequently, the germination percentage decreases significantly every year.
Seedless method
This growing method is not suitable for all regions. Mostly, it is possible to grow Dimorphotheca from seeds directly in open ground only in the southern and central regions. But in areas with a more severe climate, where spring comes several weeks later, it is still better to plant Dimorphoteca as seedlings. You will learn from the article when to sow seeds and how to care for plants.
When growing Dimorphotheca in open ground, it is important to adhere to several rules:
- The place for the flower garden should be sufficiently illuminated by sunlight.
- Dimorphotheca is critical to waterlogging.
- The seedlings will require care for several weeks after sowing.
Loose and fertile soil is a prerequisite for abundant and long-lasting flowering of Dimorphotheca. The selected area must be carefully prepared in advance - apply fertilizer and dig.
In mid-to-late May, the ideal time comes when it is time to plant Dimorphotheca in open ground. The main thing is that the air temperature at night is firmly established at around +8˚С +10˚С.
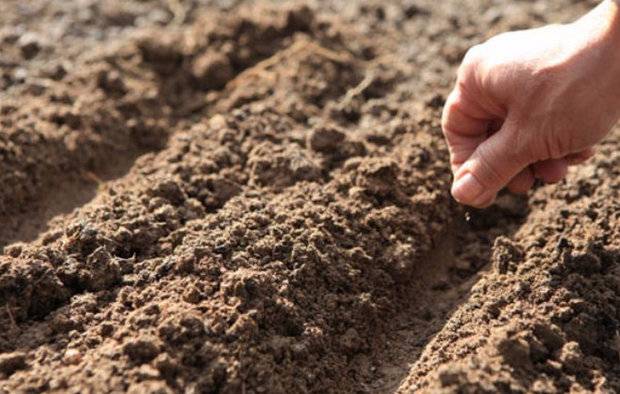
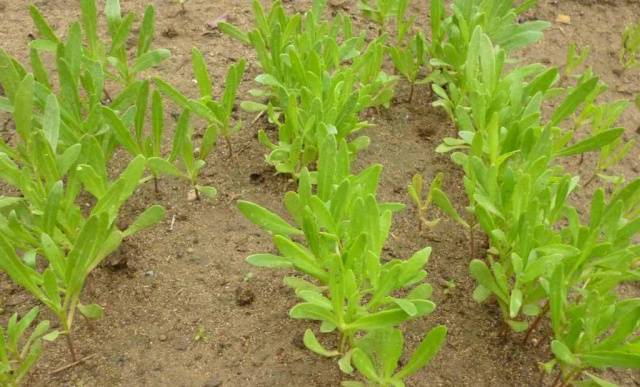
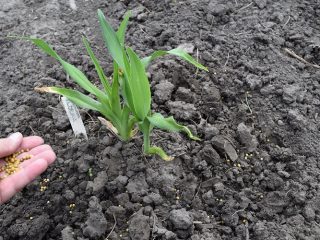
Dimorphotheca seeds should be sown in furrows, the distance between which should be at least 15-20 cm.Do not deepen the seeds too much, otherwise the germination process will take too long. The optimal depth is 3-5 mm. Water the flower bed generously with warm, settled water. The first shoots of Dimorphotheca should appear in 1.5-2 weeks.
A couple of weeks after germination, remove excess seedlings so that the plantings are not too dense. Further care when growing Dimorphotheca from seeds involves carrying out standard procedures for each grower:
- watering;
- weeding;
- loosening;
- feeding
In mid-to-late April, the ideal time comes when you can plant Dimorphotheca in greenhouses or greenhouses. After sowing, the soil must be covered with film or lutrasil. When the seedlings grow, they need to be transplanted to a permanent place.
Water the flowers as needed, taking into account that Dimorphotheca does not like waterlogging. Feed Cape daisies with mineral complex fertilizers 2-3 times until the first buds appear. Subsequently, it is better to refuse fertilizing.
As you can see, growing Dimorphotheca from seeds is a simple process that does not require any special skills or abilities.
Sow Cape marigolds for seedlings
Growing Dimorphotheca from seeds to seedlings is the most common method used by most gardeners. And this method has many advantages:
- flowering begins several weeks earlier, in early June;
- seedlings grown at home are much stronger and more resilient than Dimorphotheca planted directly into the ground;
- By growing Dimorphotheca seedlings at home, you will protect your seedlings from the destructive invasion of insect pests, for which young shoots are a favorite delicacy.
In addition, you can carefully plan and plant these unpretentious flowers in your garden plot without haste. And even a novice gardener can cope with growing Dimorphotheca from seeds at home.
Landing dates
So that the first flowers decorate your flower beds at the beginning of June, the optimal time to plant Dimorphotheca seedlings is in late March - early April. In this case, transplantation into open ground is planned for mid-to-late May.
Residents of the southern regions can sow Dimorphotheca seeds a couple of weeks earlier. And in areas with a harsh climate - on the contrary, a couple of weeks later. On average, at least 1.5-2 months should pass from sowing to transplanting into open ground. This time will be enough to grow strong and healthy Dimorphotheca seedlings.
Therefore, when determining the timing of when to plant Dimorphotheca, focus on the climate of your region. It is important that at the time of transplanting the seedlings the threat of spring frosts has passed.
Preparing suitable containers and soil
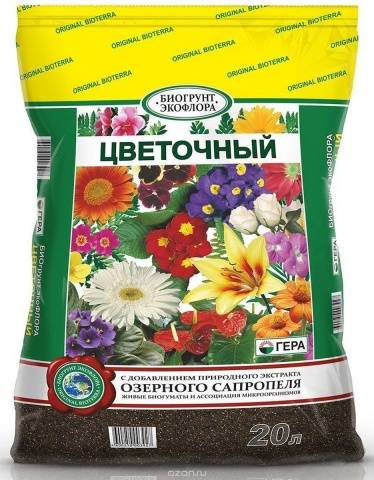
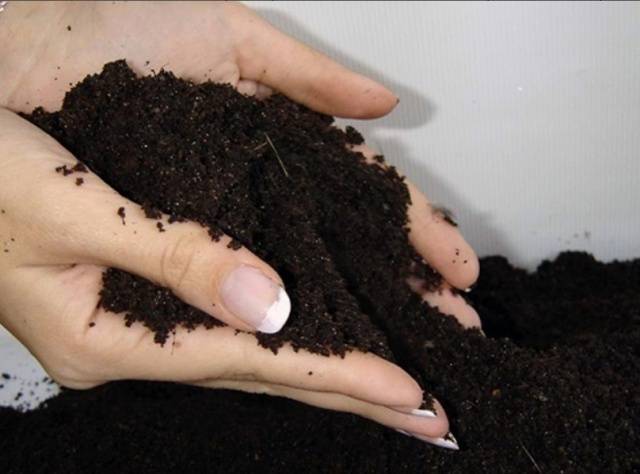
When growing Dimorphotheca from seeds at home, it is important to properly prepare the soil. The composition of the soil should be soft, loose and fertile, with good ability to pass excess moisture.
The soil purchased in specialty stores is perfectly balanced in the composition of minerals and nutrients and does not require additives or treatment before sowing.
But garden soil needs pre-treatment before sowing Dimorphotheca seeds. First of all, the soil needs to be disinfected. This can be done in two ways.
The first is to water the soil abundantly with a pink solution of potassium permanganate. After this, the soil should be left at room temperature for several days. The second method is to bake the soil in the oven for 30-40 minutes. Water and leave to settle for a day.
Be sure to add peat and sand, as well as humus, to the garden soil. Optimal ratio per 1 kg of garden soil:
- peat – 0.5 kg;
- sand – 0.8 kg;
- humus – 0.5 kg.
Mix the soil mixture thoroughly, water it and let it sit for 24 hours.
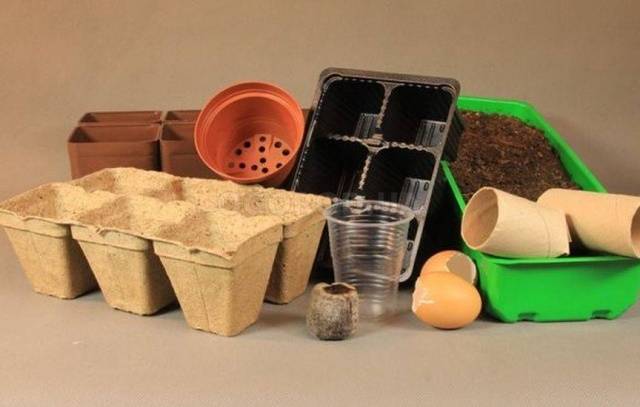
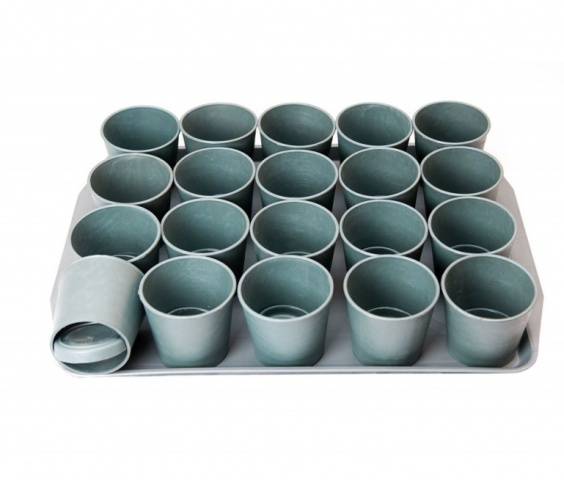
There is only one requirement for a container for growing Dimorphotheca seedlings from seeds - the presence of drainage holes. For the rest, you can choose containers from the “whatever happened to be at hand” series. Disposable tableware, plastic and plastic cups, cut-off bottles, containers - you can use anything.
When growing Dimorphotheca of various varieties, it is advisable to select different containers and label them in accordance with the name of the variety and the day of planting.
Dimorphotheca seedlings grow well in peat pots or tablets, which will allow you to eliminate the picking process and make it easier to subsequently transplant to a permanent place.
Place a small layer of drainage on the bottom of the prepared containers and fill 3/4 of the volume with prepared soil. Place Dimorphotheca seeds on the surface at a distance of 2-2.5 cm from each other. Sprinkle a very thin layer of sand or earth on top, purely symbolically. Moisten the plantings with a spray bottle, cover with film or glass, and place in a warm place.
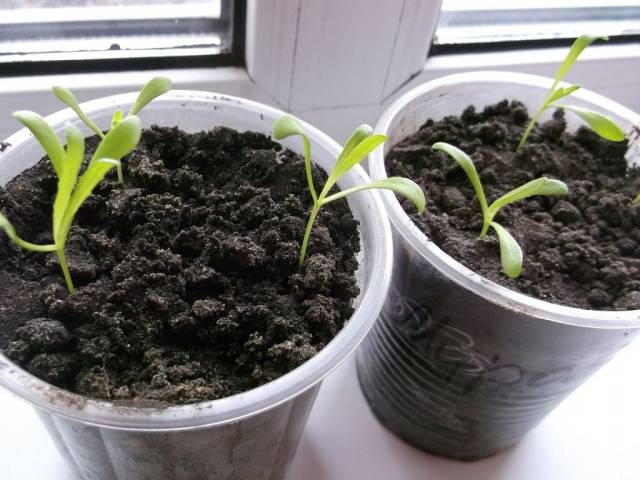
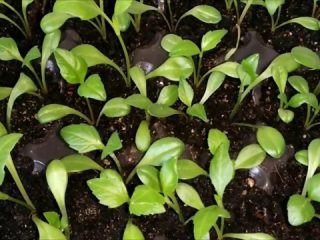
The temperature in the room where Dimorphotheca seedlings are grown should not fall below +16˚С +18˚С. Plantings need to be ventilated daily and moistened as needed. As soon as the first green shoots appear, that is, 7-10 days after sowing, remove the cover and place the container with Dimorphotheca seedlings on the windowsill.
Picking up seedlings
Before starting the dive, it is worth mentioning that Dimorphotheca at any stage of cultivation is difficult to tolerate transplantation. Therefore, you need to pick flowers as early as possible and with extreme caution so as not to damage the root system.
Dimorphotheca, grown from seeds at home, despite its unpretentiousness in cultivation and care, has a very weak root system, which is difficult to recover even after the slightest damage.
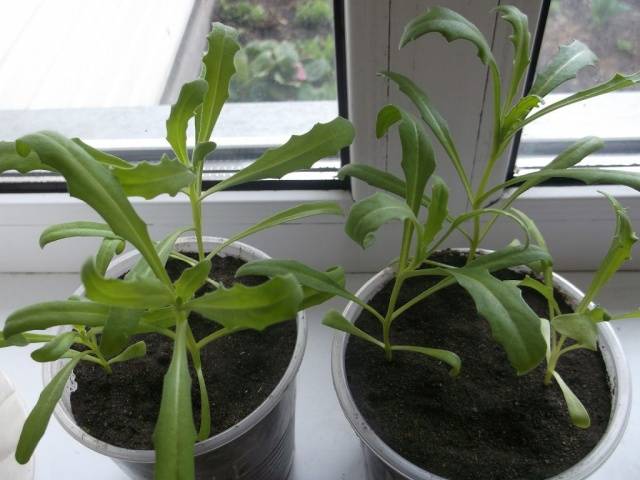
It is advisable to start picking Dimorphotheca when 2-3 pairs of true leaves appear on the seedlings. The day before transplanting, moisten the seedlings so that the picking process goes without complications.
Prepare the soil and large containers or disposable cups with drainage holes in the bottom in advance.Seedlings should be picked exclusively by transshipment, that is, together with a lump of earth.
When picking Dimorphotheca seedlings grown from seeds into boxes or containers, the distance between seedlings should be at least 10-12 cm. In general, Dimorphotheca picking is not much different from traditional transplanting:
- pour prepared soil into containers with drainage at the bottom;
- make a small hole and pour some water into it;
- carefully remove the plants with a lump of earth, trying to preserve the roots, and place them in the finished hole;
- fill the free space with soil and irrigate the soil again with a sprayer.
Immediately after picking, containers with Dimorphotheca seedlings should be placed in a relatively bright and cool room. Bright sunlight should not fall on young plants. After 3-4 days, when it becomes clear that the seedlings have taken root, you can transfer Dimorphotheca to the windowsill.
Further care involves performing the usual activities:
- moderate watering 1-2 times a week;
- fertilizing with mineral fertilizers;
- maintaining an optimal indoor microclimate.
When growing Dimorphotheca from seeds at home, plants are often affected by fungal diseases. To prevent this from happening, it is important to follow recommendations regarding watering, planting patterns and the microclimate of the room where the containers are located.
Transplantation into open ground
In mid-to-late May, when good weather finally sets in and the threat of spring frosts has passed, Dimorphotheca seedlings grown from seeds at home are ready to be transplanted into open ground.But before that it is necessary to carry out preparatory work:
- choose the right place for Dimorphotheca
- prepare the soil;
- harden the seedlings.
The ideal place to grow Dimorphotheca will be a well-lit area. Flowers react relatively calmly to piercing winds. But pay attention to the occurrence of groundwater. Those places where groundwater passes too close to the soil surface are not suitable for a future flower bed.
Before planting Dimorphotheca seedlings, the soil must be fertilized, sand and humus added if necessary, and thoroughly dug up.
Dimorphotheca seedlings grown at home need to be hardened gradually. Take containers with seedlings outside every day. In the first days, the hardening time should not exceed 1-1.5 hours. It is advisable to place boxes with young plants in the shade so that the bright sun does not burn the delicate foliage.
Now you can start transplanting Dimorphotheca into open ground. The optimal distance between planting holes should be at least 15-20 cm. Cape daisies grow well.
Transplant Dimorphotheca seedlings using the transshipment method. Remove the plants from the container along with a lump of earth, place them in the prepared holes, and fill the empty space with soil. Lightly compact the soil at the base of the seedlings and water the flowers with warm water.
Dimorphotheca can be grown not only in flower beds or flower beds, but also in discounts, flowerpots, containers.Abundantly and long-flowering plants will decorate gazebos, loggias, and balconies for a long time.
Further care
Subsequent care for Dimorphotheca grown from seeds differs little from standard work in a flower garden.
Flowers need regular weeding and loosening. Weeds can cause not only a decrease in flowering, but also the occurrence and spread of fungal diseases.
Dimorphotheca should be watered as needed. Carefully monitor the condition of the soil. Plants tolerate drought well. But the slightest stagnation of moisture immediately affects their condition.
Dimorphotheca, grown from seeds at home, requires regular fertilizing with mineral fertilizers for lush flowering. Fertilize the flowers for the first time 10-15 days after transplantation. Subsequent feedings are carried out with a break of 3-4 weeks. With the appearance of the first buds on the Dimorphotheca bushes, fertilizers should be abandoned.
Diseases and pests
When growing Dimorphotheca from seeds, insect pests avoid flower beds and flower beds. But fungal diseases can often affect these beautiful and unusual plants.
The main causes of gray or root rot are non-compliance with the rules of agricultural technology and the recommended planting scheme. If the first signs of disease appear, immediately stop watering and thoroughly loosen the soil in the flower garden.
Heavily affected parts of the plant must be removed from the site. If necessary, thin out and treat Dimorphotheca with Bordeaux mixture or preparations containing copper.
Conclusion
Growing Dimorphotheca from seeds in a personal plot is an interesting and exciting activity. Even a novice florist can cope with this simple task. And the reward for your work and care will be a colorful and delightful flower carpet stretching out at your feet.
