Content
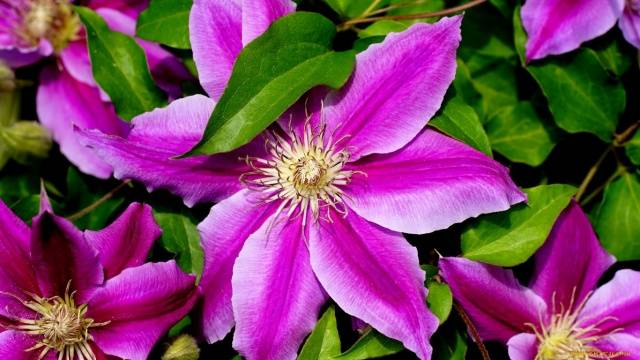
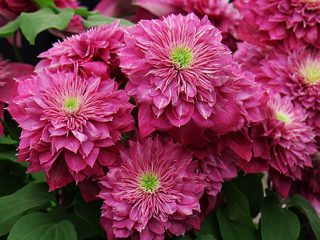
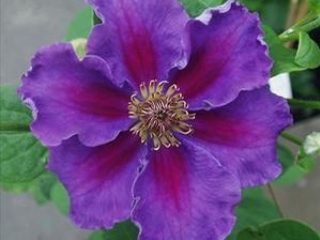
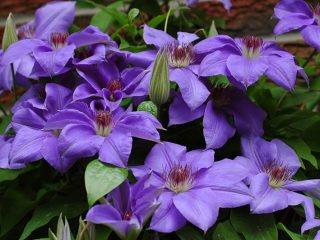
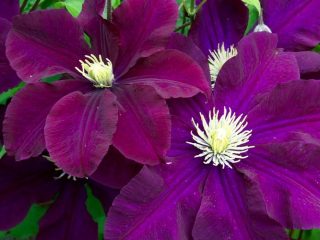
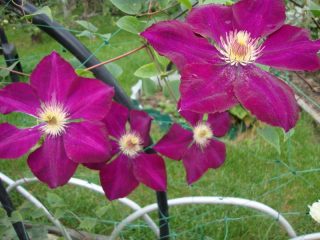
Inimitable and incomparable clematis continues to win the hearts of gardeners. More and more often it can be found in personal plots. Its luxurious flowers decorate gazebos and attics, arches and fences. The variety of varieties and species of this wonderful plant is growing every year.
With the arrival of spring, every gardener tries to propagate existing flowers or grow new varieties of flowers. Before propagating clematis, it is important to familiarize yourself with information about what propagation methods exist and what rules must be followed so that in a year or two the area will be filled with an abundance of colors and flowers.
Origin and varieties
The first mention of clematis dates back to the 15th century. It began to be grown in Western Europe in the 16th century. The name of the flower is translated from Greek as “climbing plant.” And clematis lives up to this word, since almost all types and varieties are vines.
The widespread distribution of clematis began after a flower exhibition, which took place in 1860. G. Jacquemin introduced the first hybrid to flower growers, which was later named after the English gardener. The popularity of this type of flower continues to this day.
The genus of clematis has about 265 species and more than 2000 varieties. Depending on the variety, the height of the plant can reach 18-20 m, however, some types of flowers have erect stems and grow no higher than 1-1.2 m. The size and color of the inflorescences range from 1-25 cm.
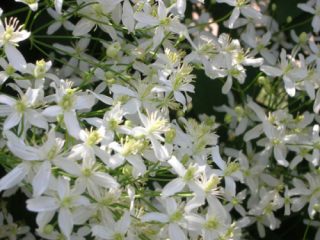
The variety of colors and shapes of flowers can amaze even the most experienced gardeners. Clematis foliage also varies in shape depending on the species. The plants are so unpretentious that they can grow in almost any climatic conditions. The only exception is Antarctica.
Thanks to Clematis, you can decorate any garden plot with bright, fragrant flowers. And you will learn about when and how clematis reproduces from the article.
Reproduction methods
Clematis is an unpretentious plant. The variety of new varieties and hybrids has noticeably increased the number of flower propagation methods. Most hybrids are propagated primarily by vegetative methods, guaranteeing the preservation of the species and varietal characteristics of the original plant. Clematis can be propagated:
- cuttings (green or woody);
- dividing the bush;
- rooting of cuttings;
- seeds;
- vaccination.
Each method has its pros and cons. The first three methods are the simplest and most effective. But grafting is a rather troublesome method that requires special skills. Most often it is used by professionals for grafting rare, hybrid varieties of clematis.
Growing Clematis from seeds
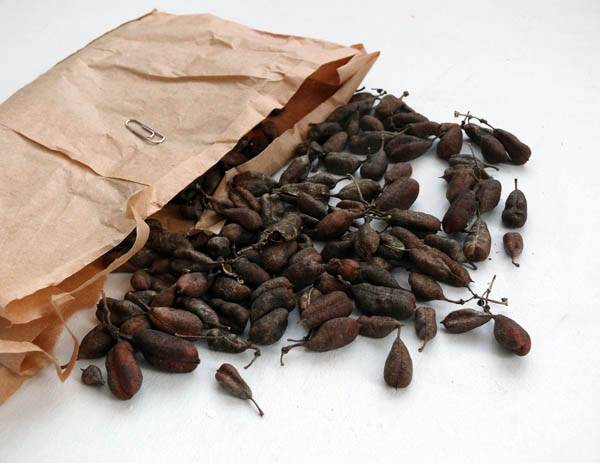
Clematis seeds are propagated extremely rarely and only by species and small-flowered varieties. This method is also used by breeders when creating new hybrid varieties.
Clematis seeds come in three types:
- Small ones. Germinate within 3.5-4 months, high percentage of germination.
- Medium sized seeds. The first signs of germination appear only after 1.5-6 months, depending on the type of plant. They germinate together and evenly.
- When sowing large clematis seeds, you will have to be patient, since the first shoots can only be seen after a year. Uneven germination and low germination of seeds of this group are noted.
When propagating clematis by seeds at home, the composition of the soil is of great importance. Light, loose, fertile - these are the main requirements for the soil. The ideal composition is earth and sand in a ratio of 2:1.
Containers with drainage holes are filled with soil prepared in advance. Seeds are laid out on the surface in increments of 4-5 cm, which are covered with a thin layer of sand. The thickness of the top layer should not exceed the diameter of the seed multiplied by three.
Plantings need to be watered using sprinkling methods. A spray bottle or small strainer is perfect for this purpose. When propagating clematis by seeds, the containers should be in a warm, ventilated area.
Subsequent care consists of regular watering.
Dividing the bush
It is advisable to propagate clematis by dividing the bush in the autumn, in mid-late September. This is due to the fragility of the buds, which easily break off in the spring and fall off after transplantation. In autumn, after flowering, the plant has sufficient reserves and easily tolerates the division process.
This simple event will not take much of your time and effort and will allow you to preserve all the varietal characteristics of the flowers. The algorithm for dividing a clematis bush is as follows:
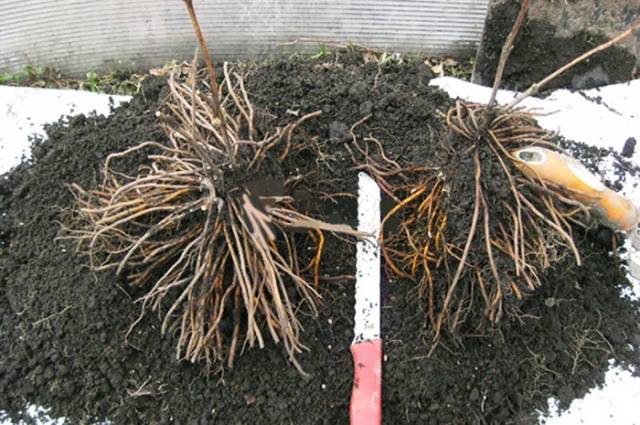
- Carefully, trying not to damage the root system, dig up the bush and place it in the shade for 2-3 hours. Fragile roots will wither a little during this time and will not break.
- Rinse the roots well in warm water to remove the soil.
- Using a sharp, disinfected garden knife, divide the bush into equal parts. Each division should consist of 2-3 healthy, full-fledged shoots and adventitious roots.
- The cuttings are kept in a pink solution of potassium permanganate for 2-2.5 hours, and then planted in a permanent place.
Only healthy clematis should be propagated by dividing the bush. This method is ideal for propagating flowers that are at least 4-6 years old.
The author of the video will share with you the secrets of proper propagation of clematis by dividing the bush:
Cuttings
Propagation of clematis by cuttings is the easiest, most accessible and effective method, allowing you to obtain a large amount of planting material at once. On average, the result of rooting green and lignified cuttings is at least 90-95%, provided that all recommendations of experienced gardeners are followed.
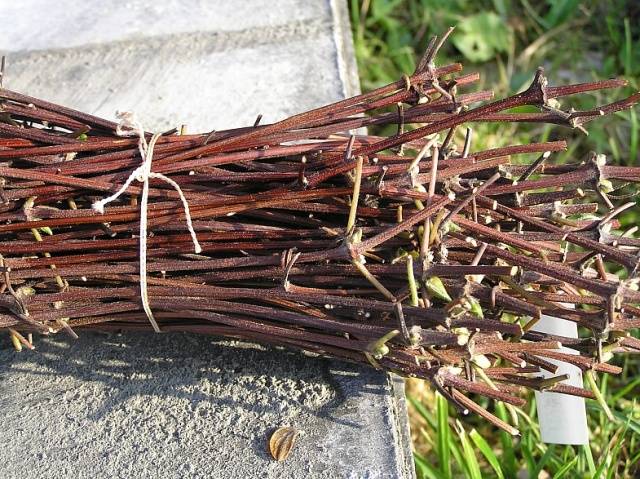
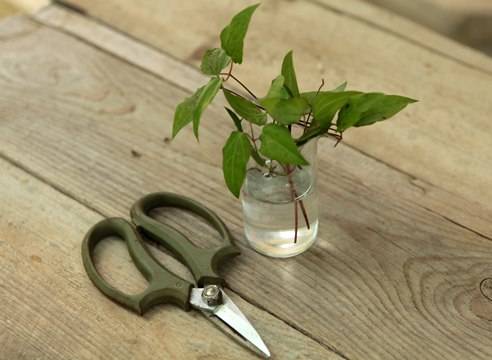
Clematis can be propagated from both green and woody cuttings. The point of this method is to cut the required amount of planting material and create favorable conditions for rooting.Root clematis cuttings in water or in soil of a suitable composition.
Green cuttings are cut from the side shoots of a growing plant. When cutting the material, please note that there should be no buds on the selected shoot. Remove the tip of the shoot and cut the remaining clematis branch into equal cuttings. Each cutting should have 2 internodes.
Lignified cuttings are cut before the plant enters the budding phase or at the end of flowering. The requirements for planting material are identical to those for propagating clematis by green cuttings.
The lower cut on the cutting should be oblique and located 2-3 mm below the internode, the upper cut should be straight, at a distance of 1-1.5 cm above the upper internode. The upper leaf plates are cut off by 2/3, the lower pair of leaves is cut off completely.
The lower part of clematis cuttings must be immediately treated in a stimulator for the formation and active growth of the root system. Further actions depend on the rooting method you choose.
Rooting in water
If you decide to root a clematis cutting in water, select a suitable container in advance. The main condition: only the lower part of the cuttings should be in the water. Containers with planting material should be placed in a dark place. Window sills located on the sunny side are completely unsuitable for this purpose.
The water in containers with cuttings must be changed 2-3 times a week.The first signs of the formation of a root system on clematis cuttings when propagated at home should appear no earlier than in a month and a half.
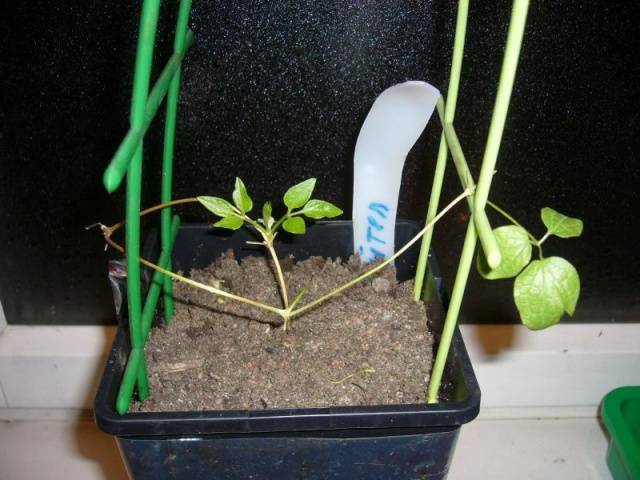
Subsequently, the cuttings, whose roots grow to 4-5 cm, are transplanted into prepared soil, in separate containers, and grown at home until planted in open ground.
Rooting in the ground
The soil for cutting clematis at home must be prepared in advance. The optimal soil mixture consists of:
- earth – 2 hours;
- sand – 1 hour;
- peat – 1 hour.
If you wish, you can add a small amount of perlite to the soil. Disinfect the soil in any way convenient for you. Place a five-centimeter layer of sand on top of the prepared soil.
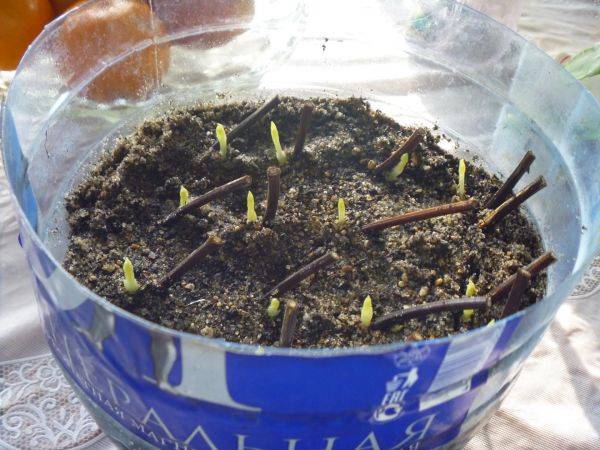
Clematis cuttings cut and treated in a growth stimulator are planted at an angle of 30˚-40˚. The lower buds are buried no more than 1 cm. When planting cuttings with one node, the depth rate is identical.
Containers with clematis cuttings must be placed in a shaded place. The room must be regularly ventilated so that the plants receive a sufficient amount of clean air.
Particular attention should be paid to soil moisture. Before the first signs of rooting appear, the plantings are sprayed at least 3-5 times a day from a spray bottle with warm water. You can subsequently refuse this procedure. Rooted clematis seedlings are provided with proper care until transplanted into open ground.
After the first young shoots appear, move the containers with flowers to a lighted place.
Reproduction using layering
This method of propagating clematis is ideal for both beginners and busy gardeners. Simplicity of implementation, the ability to obtain several healthy rooted seedlings at once with minimal labor costs are its main advantages.
Any type and variety of clematis can be propagated by layering. Rooted seedlings perfectly retain all varietal and species characteristics of the mother bush. Moreover, this method is ideal for propagating hybrid clematis varieties.
When propagating clematis by layering, there are no special requirements or recommendations regarding the variety or timing for work in the garden. It is advisable that the bush be at least three years old. The algorithm of actions will look like this:
- dig a shallow ditch from the bush in any direction;
- Place the shoot in it and pin it with U-shaped wire pins, leaving the top 7-10 cm above the ground;
- Carefully fill the ditch with soil and water.
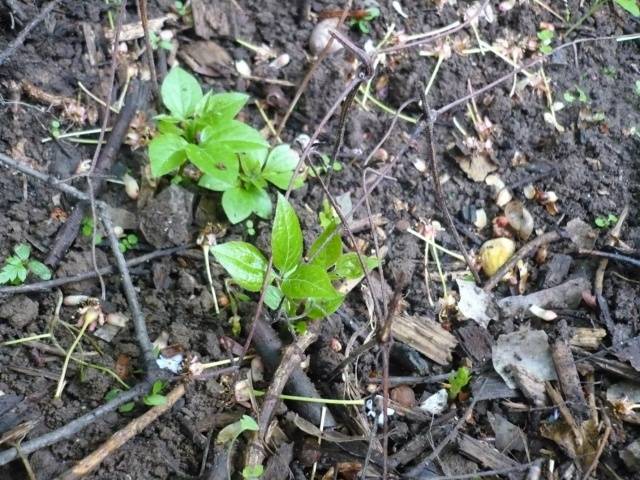
The main thing is to remember to water the ditch regularly. The soil must be kept moist at all times. After 2-3 months, the first shoots of young seedlings will appear. Let them get stronger a little, and only then transplant them to a permanent place.
The author of the video will tell you more about how to propagate clematis by layering in the spring.
When can you cut flowers?
To the question: when can you start cutting clematis - in spring, summer, or autumn - there is no definite answer. You can root flower cuttings all year round.Only one feature should be taken into account - to obtain a full-fledged seedling it will take at least 4-6 months.
This factor is of great importance when choosing a method of propagating clematis, as well as the conditions in which the planting material will take root. In spring and early summer, cuttings can be planted in open ground, in a specially equipped bed. By autumn, the root system will have already formed, and under cover the plant will calmly endure winter frosts.
In the second half of summer and autumn, clematis should be propagated by cuttings at home. Before spring, the seedlings will take root, grow, and in the spring they can be safely planted in open ground. In addition, when preparing bushes for winter in the autumn, you can use pruned vines for subsequent propagation.
You can start propagating clematis by layering in spring or early autumn. In the first option, rooted seedlings are planted in a permanent place in early to mid-autumn, in the second - in spring.
Clematis seeds can be propagated at home at any time of the year.
Rules for caring for flowers
With any method of clematis propagation, the condition of the planting material and the final result depend entirely on further care of the plantings. Seedlings and cuttings must be watered regularly, at least 2-3 times a week.
Flowers should be fed with nitrogen fertilizers or complex mineral fertilizers no more than 1-2 times a month. From time to time, carefully loosen the soil around the flowers, trying not to damage the delicate root system of the clematis.
Maintain optimal conditions for growing flowers indoors:
- air humidity at 30-50%;
- air temperature within +18˚С +24˚С;
- regular ventilation.
If you follow all the recommendations, in a few months there will be several more clematis bushes in your garden.
How to root clematis cuttings in open ground, you will learn from the video
Conclusion
Now you know how to grow clematis from cuttings, and you have also become familiar with other ways to propagate this beautiful and luxurious flower. With a minimum of effort, you will soon be able to proudly enjoy the fruits of your labors, and your garden plot will turn into a small piece of paradise.
