Content
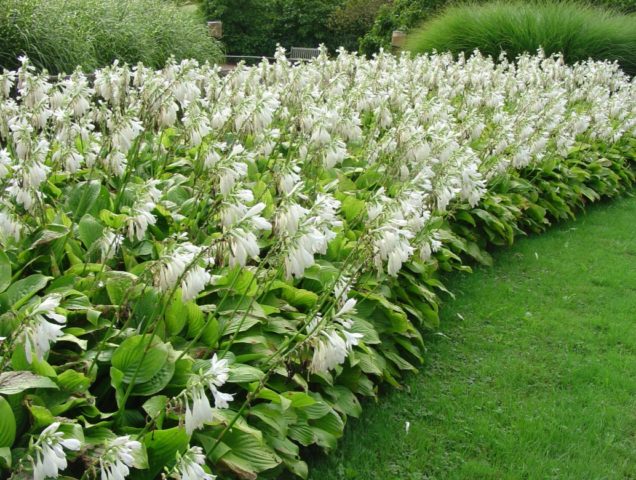
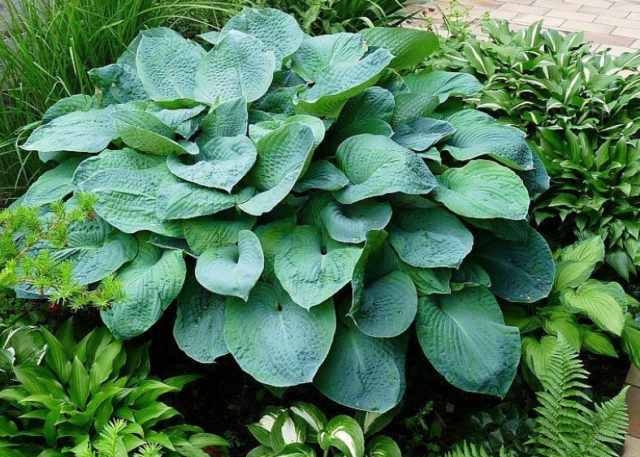
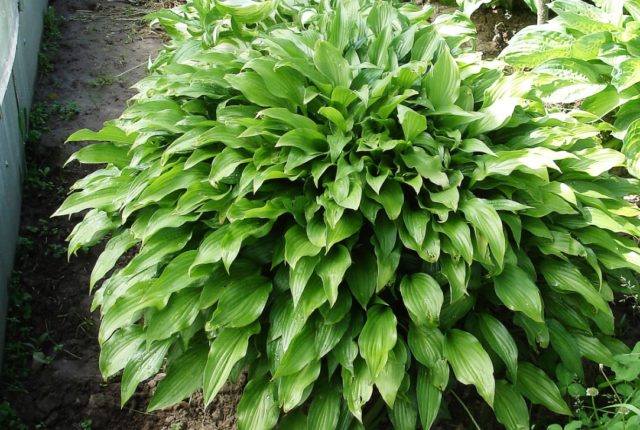
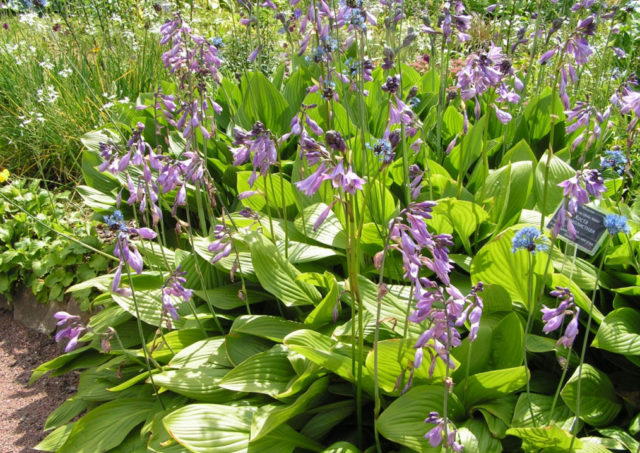
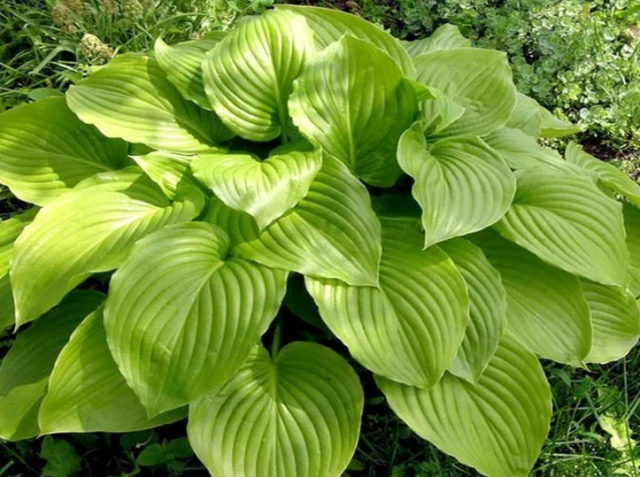
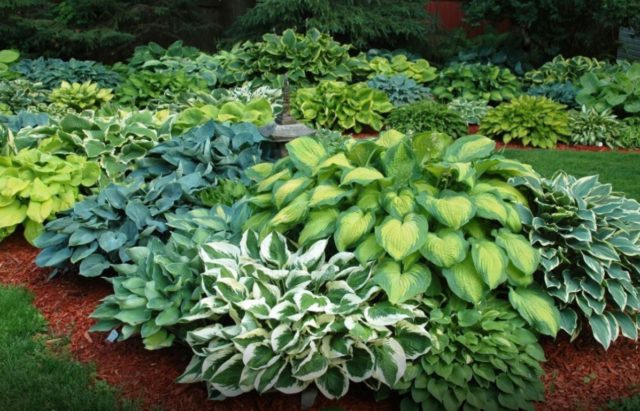
Growing hosta from seeds is a very labor-intensive and time-consuming process. This is a favorite plant of many gardeners. Due to its luxurious head of leaves and high decorative value, the plant is often used in landscape design. True, in order to preserve the varietal attributes of the flower, it is necessary to grow it from seeds. In the future, it can be used to decorate the garden and house area.
Is it possible to grow hosta from seeds?
The main method of dividing hosta is vegetative (cuttings, division of rhizomes). But in the process of such cultivation, the plant gradually loses its main varietal prerogatives: the color and shape of the leaves, frost resistance. The solution is to grow by seeds. In this matter, gardeners need specific knowledge of the agrotechnical process.
However, it is possible to grow hosta from seeds at home, although its germination rate will not exceed 80%. To increase this value, you will have to use special containers, sterile soil and growth stimulants.
Pros and cons of propagating hostas by seeds
The seed method of growing hosta is considered the least popular among existing ones. There are several reasons for this:
- A long time from the moment the seeds are planted in the ground until the desired bush is obtained.
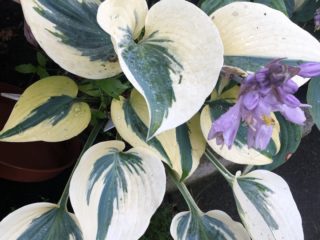
- The inability of a flower to retain the main varietal characteristics - the resulting offspring are distinguished by a variety of different colors.
The seeds produce healthy and strong hosts with excellent external characteristics.
Growing hostas with seeds also has positive aspects:
- At the end of summer, seed pods appear on almost any flower bush, from which it is easy to collect seed.
- The health and quality of the bush depends entirely on the gardener.
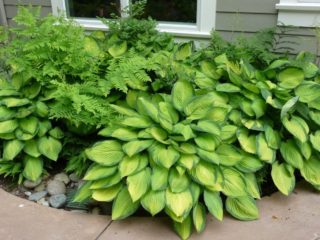
- Great for decorating shady corners of the garden.
What varieties of hostas can be grown from seeds?
Almost any type of flower can be grown from seeds. But there is a list of the most favorite hosta species among gardeners that deserve special attention:
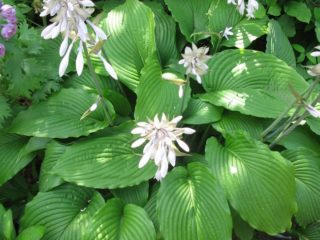
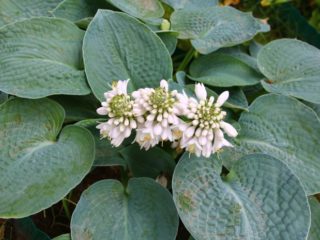
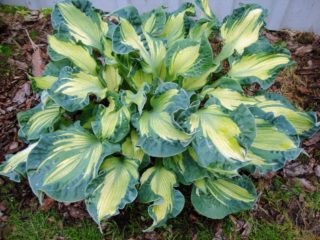
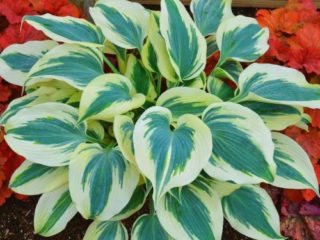
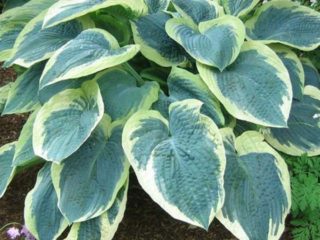
- Wavy - a variegated, bright variety with wavy, large leaves.

- Bloated – colorful hosta with heart-shaped greenery.

- Siebold – a waxy variety with heart-shaped leaves.

- Lanceolate - a dense but very compact bush with narrow stems.

- Small – a low variety with a developed rhizome.

- Erectifolia – hosta with vertical and narrow leaves.

- Ovoid - a flower with wide leaves and a massive bush resembling a ball.


It is better not to experiment with growing hybrid varieties of flowers - bushes with different characteristics can grow from such planting material.
What hosta seeds look like + photo
In order not to make a mistake with the right planting material, you should know what it looks like. The seeds of the described plant resemble a small dark brown raisin with a diameter of no more than 1 cm. They are located in the place of faded buds in yellow dry boxes.
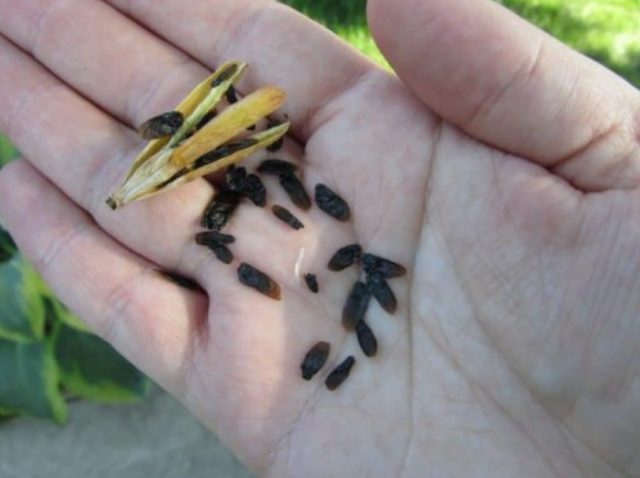
Mature seeds can be collected in August-September
How to collect hosta seeds
To collect planting material for further cultivation, you need to wait until it ripens. This happens in the second week after pollination of the flower. A more precise time is the end of August or the first week of September. It is very important not to miss the moment when the hosta seed pods acquire a rich brown color, dry out and open. It is at this moment that you need to start collecting seeds, having managed to carry out the procedure in a maximum of 5 days.
Drying and storing hosta seeds
Before sowing hostas with seeds, you need to properly prepare them: dry them, send them for storage until planting and cultivation begin. To do this, the collected material is dried at high temperatures (300 degrees) for about 10 minutes, then placed in the refrigerator for 30 days.
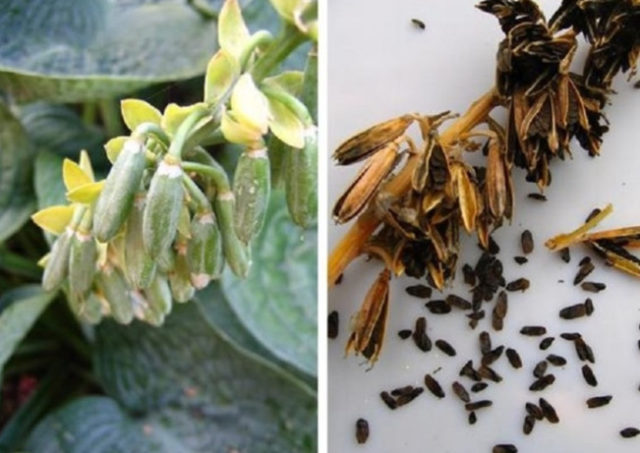
The seeds should be oblong and dark brown, shelf life - no more than 2 years
It is better to store hosta grains in small bags or paper towels. The main condition is the absence of direct sunlight and a temperature of at least 10 degrees.
Planting hosta seeds at home
To grow hosta yourself, you first need to sow it. To do this, you will have to take into account the appropriate planting time, select a container of the right size, prepare the soil and stimulate the seeds.
When to sow hosta seeds
There is no big difference when exactly to sow hosta seeds. To ensure that the seedlings are strong enough to be transplanted into open ground before consistently warm weather, it is recommended to carry out this process in the first ten days of January.
Selection of container and soil preparation
The key to quickly and successfully growing a flower is using the right soil and suitable containers. It is best to plant the seeds in a small plastic pot with a few holes in the bottom.
The soil for planting will need to be prepared. To do this, equal parts of perlite, peat and vermiculite are combined in a large container. The finished composition is placed in the oven for some time (1-2 hours), then placed in the freezer for 24 hours.
A less time-consuming option is to treat the soil with a solution of potassium permanganate and wipe the inside of the pot with regular medical alcohol.
Preparing hosta seeds for sowing
Growing a flower begins with preparing its seeds. To do this, planting material should be placed in the freezer for stratification for 30 days, then soaked in aloe juice for 30 minutes.
How to plant hosta seeds
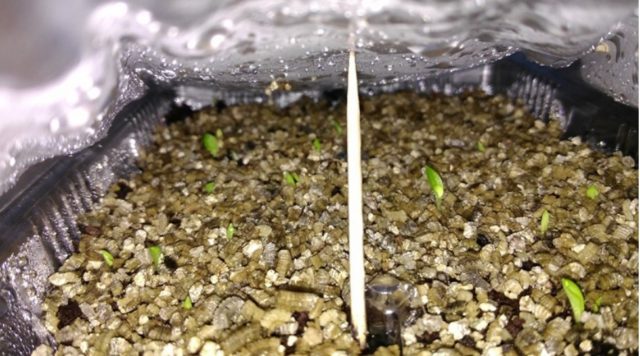
The next stage of cultivation is embedding the prepared elements into the soil. You just need to scatter the seeds over the surface of the prepared container, cover them with a small amount of soil and lightly moisten them.
Next, the blanks are covered with polyethylene or glass is placed on top, and transferred to a room with a temperature ranging from 18 to 25 degrees. The first hosta shoots will appear after 21-25 days.
It is important to choose soil for growing hostas.
To prevent young shoots from getting sick, it is important to prevent direct sunlight from hitting them. The stem develops very slowly, so it will require mandatory picking. 14 days after the emergence of seedlings, you need to begin to harden them little by little - take the hosta out into the fresh air.
How to grow hosta seedlings from seeds
In order for green shoots to turn into healthy and strong planting material, you need to properly care for them. Hosta cultivation should be carried out in accordance with such agrotechnical indicators as the correct temperature, regular watering, picking and the addition of nutrients.
Microclimate
In order for young seedlings to appear on the surface of the earth 3 weeks after planting, they are grown at the correct temperature - from 18 to 25 degrees. This process can be slowed down by an incorrectly selected container: too low or deep. The rhizome of the bush fits perfectly in a pot up to 10 cm high.

While growing hostas, you need to constantly monitor the room temperature.
Watering and fertilizing schedule
To speed up the growth and development of the hosta, it is enough to constantly water it and, if necessary, periodically feed it with nutritional compounds.
It is recommended to moisten the seedlings at any time as the soil dries out. It is better to use filtered, not completely cold water for these purposes. The first sign of fluid deficiency is the appearance of dry rusty spots on the tips of the sheets.The main thing is not to get water on the young shoots of the hosta, but to moisten only their root zone.
According to experienced gardeners, growing seedlings is carried out without additional fertilizing - the plant has enough nutritional components from the soil, if it is correctly composed at the preparation stage. The only thing you need is to mulch the surface with organic compost.
Picking
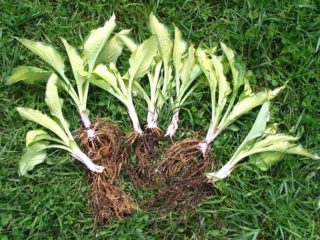
As soon as the first leaf appears on the seedlings, it’s time to pick it. To do this, young bushes are moved to larger, necessarily sterile containers with more nutritious soil. The top layer of earth is covered with a small amount of sand. Subsequently, until the seedlings are transplanted into open ground, the hosts are watered by immersing the pot in a container of water.
Landing in the ground
As soon as the hot July days arrive, hosta cultivation moves to a new stage - moving the grown and strengthened seedlings into open ground.
Stages:
- The area suitable for planting should be located in the shade of the garden.
- The soil needs to be dug up and all weeds removed from it.
- Each seedling will require a sufficient amount of free space, so the distance between individual elements should be at least 50 cm.
- To avoid losing slow-growing plants in the grass, it is recommended to fence them.
- It is necessary to remove all weeds before transplanting the seedlings. In the future, it is better to weed the area weekly, otherwise it is easy to damage the delicate root of the flower.
- In order for young shoots to become well strengthened by the end of summer, you need to constantly water them with warm water (at least 2 times a week in the evening) and periodically loosen the soil.
It is important to understand that planting hosta seeds and then growing it is a long process. Until the end of the growing season, no more than 3-4 leaves will appear on the plant, which is quite normal. It may take at least 3 years for the host to acquire the desired appearance. This nuance should be taken into account before you start growing an ornamental bush on your own.
It should be planted in open ground in July.
Diseases and pests
In order for the plant to always be healthy, it is important to notice and eliminate its problems in a timely manner.
Hosta has several main diseases:
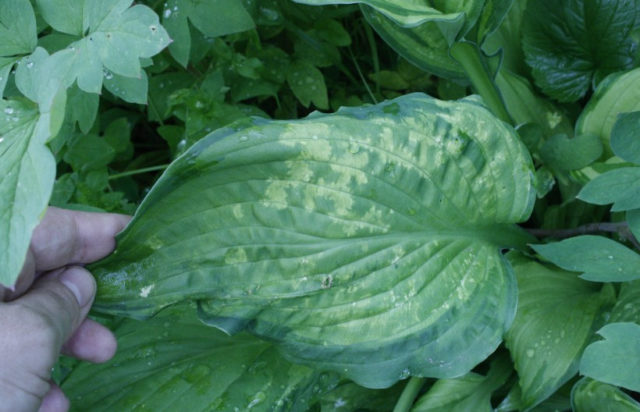
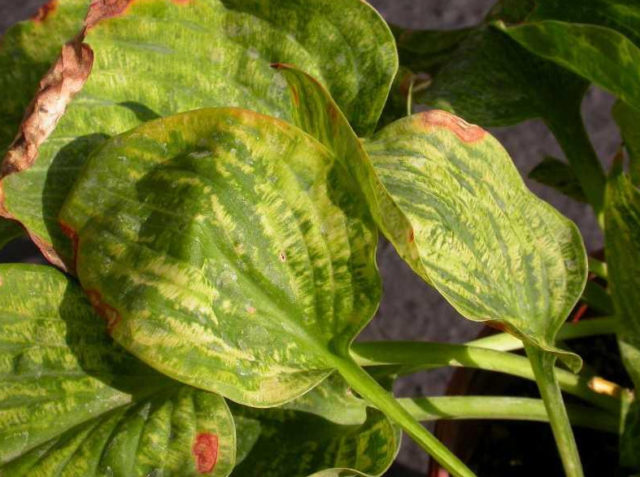
- Virus X and HVX. Small round specks appear on the leaves, quickly growing throughout the bush. It is impossible to cure a flower from a virus. The only solution is to burn the affected plants.

- Botrytis or gray mold. It first attacks the leaves and quickly spreads throughout the entire stem. In the early stages, spraying infected bushes with Bordeaux mixture or cuproxate will help.

- Phyllosticosis. The fungus, which appears as brown spots with a coating, affects both the stems and flowers of the hosta. You will have to get rid of the infected flower elements. To prevent the disease from spreading, the plantings are stopped watered and treated with colloidal silver, potassium permanganate or pharmaceutical preparations.

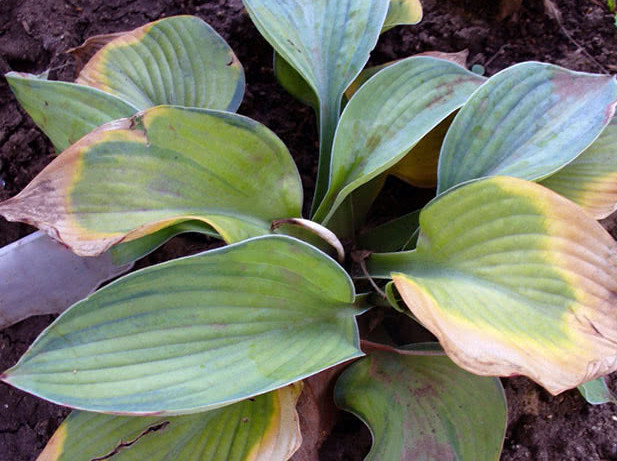
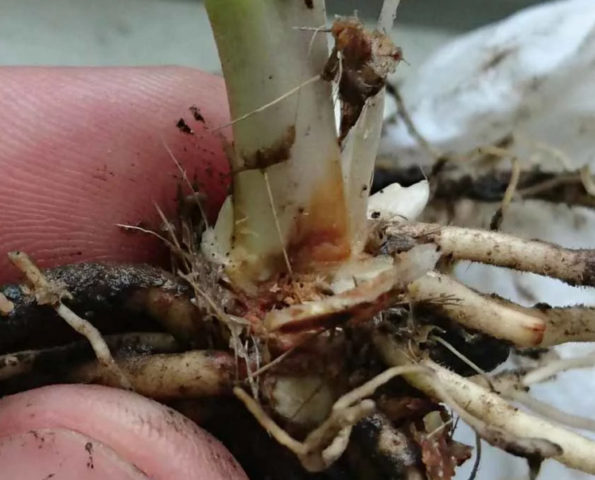
- Root collar rot. An infection that causes hosta leaves to die. Infected parts of the plant should be cut off with a knife, treated with a fungicide and, if possible, the bush should be transplanted into another pot.

- Rust. It appears due to severe dehydration of flowers.

The plant also has plenty of pests:
- slugs – characteristic silver stripes with holes appear on the leaves;

- beetles and caterpillars - insects that quickly destroy the entire bush.Eliminate them using a special insecticide;

- nematodes – small pests that inhabit green stems in large numbers leave behind black stripes. Unfortunately, there is no effective control method, so the infected bush will have to be burned;

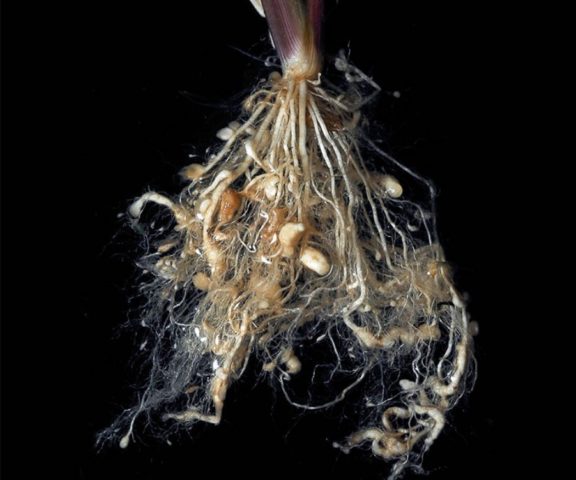
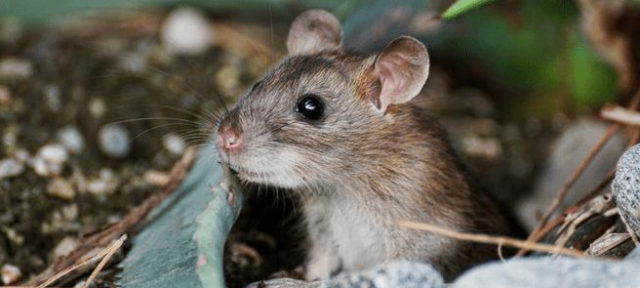
- rodents – affect the roots and damage the stems of the plant, which is why the hosta quickly fades. To eliminate the problem, baits with poison are used.


In order to notice and promptly eliminate the problem that has arisen, you need to periodically check the condition of the flower during its cultivation.
Conclusion
It turns out that growing hosta from seeds, although problematic, is quite possible. You just need to adhere to the basic stages of growing and properly care for the plant. After all, the hosta is unpretentious and feels good even in shaded places.