Content
When raising ordinary laying hens, the owner wants to have a large number of eggs in the future, and broilers are bred to quickly produce meat. However, it is important to remember that achieving a positive result in both cases is possible if you properly arrange the bird’s housing. In a cold coop or if the coop is not sized for the number of birds, egg production will decrease and broilers will slowly gain weight. Now we will look at how to build a chicken coop for 20 chickens, because this is the number of livestock that is acceptable for a small private yard.
Deciding on the design
Even if you are building a small chicken farm in your yard, you need to develop a small project for yourself with a detailed plan. It must indicate the size of the chicken coop, as well as the type of building material. Let's say broilers are most often bred in the summer. This bird manages to grow in a short period of time, and in the fall, before the onset of frost, it is sent to slaughter. In this case, you can make a simple, uninsulated chicken coop. For chicken breeding per egg, you will need to take care of a warm house where the bird will feel comfortable in severe frosts.
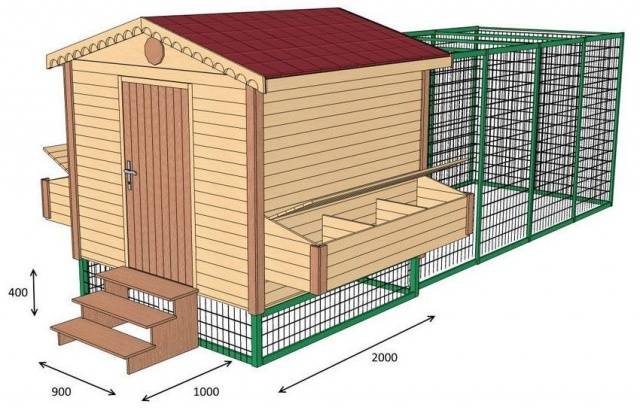
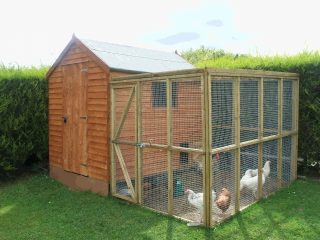
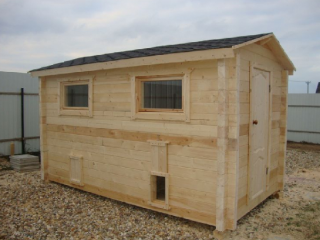
There are different chicken coops, but they are all no different from each other. The appearance of the building resembles an ordinary barn. Although there is one small difference. The photo shows a chicken coop with a mesh walking area. This is the most successful option for both broilers and regular layers.
This chicken coop consists of two parts, including a warm room and a summer courtyard made of mesh. A structure with a walk will take up a little more space on the site, plus it will cost more. But the owner does not have to worry that his chickens will scatter throughout the territory and harm the garden plantings.
Determining the dimensions
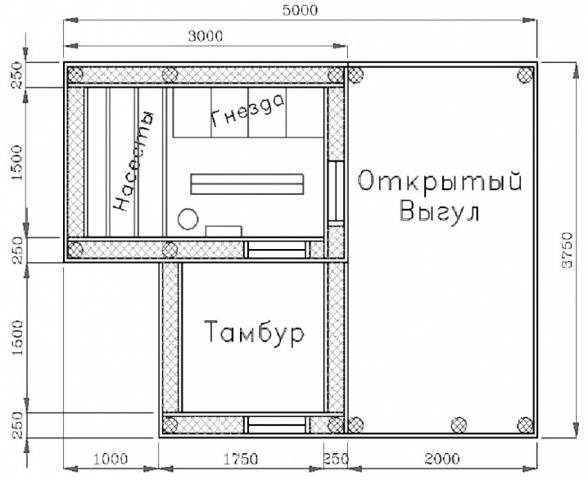
So, we need to calculate the size of housing for 20 chickens, and at the same time provide for additional walking. We must proceed from the fact that inside the chicken coop there should be 1 m2 allocated for two adult birds.2 free space. If you need to make a house for 20 chickens, then its minimum area should be about 20 m2.
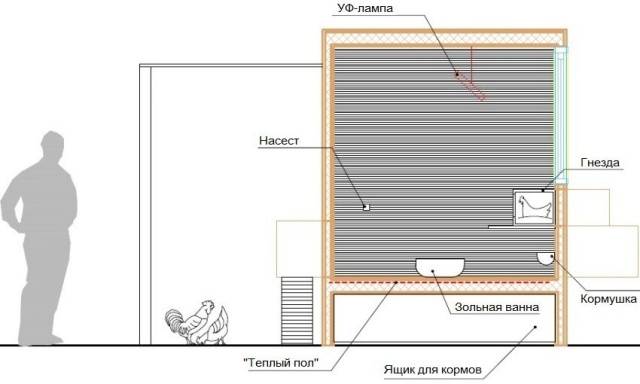
To make it easier to draw your own drawings of a chicken coop for 20 chickens, we suggest looking at a typical diagram in the photo. This option includes an open mesh run.
It is not worth making a greater height because of the difficulty of heating the room in winter. But we must take into account that in a low house it will be uncomfortable for a person to care for chickens. When drawing up a diagram of the house, it is optimal to limit the height to 2 m.
The video talks about the construction of a chicken coop for laying hens:
Features of housing arrangement for broilers
When breeding broilers for meat, the design of the chicken coop changes only on the inside. There is no need to build nests for the birds, since at the age of three months they still do not lay eggs, and they can already be sent to slaughter. Still internal arrangement of a chicken coop for broilers depends on the way they are kept:
- Floor poultry housing is suitable for 20–30 birds. Such chicken coops are equipped with mesh enclosures for summer walking.
- Large farms practice cage rearing of broilers. A similar option is acceptable for households. The cages are placed inside the chicken coop, but it can be made much smaller and without an aviary. When raising broilers in cages, it is important to ensure good ventilation.
Broilers love warmth, but do not tolerate heat or cold well. If you decide to raise poultry not only in summer, then you will need to build an insulated winter chicken coop with heating.
What is needed to build a chicken coop
You can build a chicken coop for 20 chickens in your yard with your own hands from any material. Brick, blocks, adobe, sandstone, etc. are suitable. If there is a shortage of material, the house can be made in the form of a dugout. This option involves removing the walls from the ground by only 0.5 m. Windows with two glasses are installed on the south side of the chicken coop. The roof and the part of the walls protruding from the ground are insulated with any material.
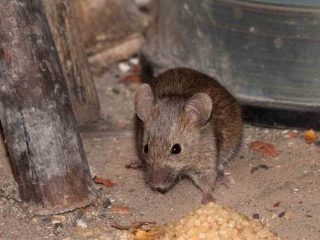
Another budget option for a chicken coop for 20 chickens involves frame technology. That is, the skeleton of a house is knocked out of timber, after which it is sheathed with boards, OSB or other sheet material. Made winter chicken coop should consist of internal and external cladding of the frame, between which thermal insulation is laid. To prevent mice from damaging the insulation, it is protected on both sides with fine-mesh steel mesh.
In regions with a not too harsh climate, you can do without using insulation if you build a chicken coop from logs or timber. In this case, all seams need to be caulked with tow, and wooden strips should be stuffed on top.
The video talks about a winter filled chicken coop:
Construction of a winter chicken coop using a simplified version
So, now we will look at all the steps of building a winter chicken coop with our own hands for 20 chickens, as well as its internal arrangement.
Building the foundation
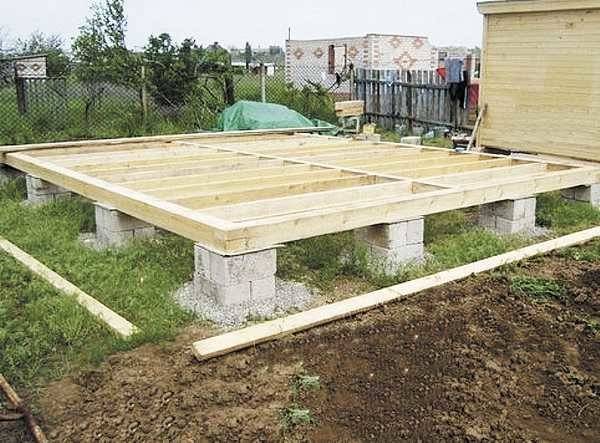
In the photo we see a columnar foundation. This is exactly what you need to make for the chicken coop. It is inexpensive and easy to manufacture. There is a more reliable strip or pile foundation, but both options are expensive. Such foundations are justified when building a house, and a columnar foundation is also suitable for a chicken coop.
So, let's start construction:
- First you need to make markings. Using stakes and rope, determine the contours of the chicken coop. Next, every 1 m, a peg is driven in along the marked markings. It will mark the hole for the foundation pillar.
- Inside the marked rectangle, a turf layer approximately 20 cm thick is removed with a shovel. In place of the driven stakes, square holes 70 cm deep are dug. The width of their walls depends on the blocks used for the foundation.For example, for two bricks, the width of the pit walls is 55 cm.
- Now you need to stretch another cord along the perimeter of the chicken coop foundation above the pits. Its height above ground level should be 25 cm. The height of the pillars will be aligned with this cord, so it is important to pull it on strong stakes strictly level.
- A 5 cm layer of sand and the same amount of gravel are poured into the bottom of each hole. Two bricks are laid on top, cement mortar is applied, after which two bricks are again laid only across. The laying of each pillar is continued until their height reaches the level of the stretched cord.
The pillars are ready, but inside the marked rectangle there is a recess left after removing the turf layer. It is better to fill it with gravel or small crushed stone.
Construction of walls and roof of the chicken coop
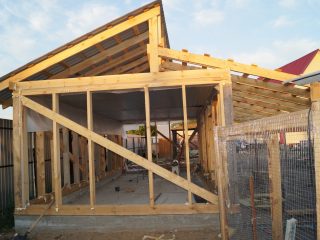
For a simplified version of the chicken coop, it is better to make the walls wooden. First, a main frame is constructed from timber with a cross-section of 100x100 mm and laid on the foundation pillars. At the same time, do not forget to put pieces of waterproofing, for example, from roofing felt. The racks are attached to the frame made of the same timber, after which the top trim is made. In the window and door openings, lintels are attached between the posts. When the frame is ready, begin covering it with the selected material.
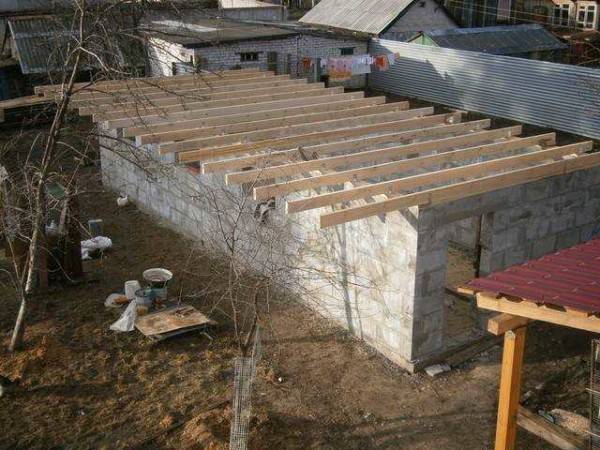
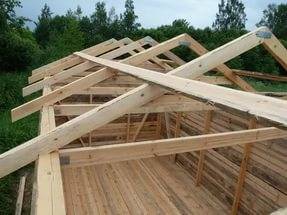
It is better to make a gable roof on the chicken coop. To do this, triangular rafters are knocked down from boards with a cross-section of 50x100 mm. The structures are attached to the top trim of the frame in increments of 600 mm, while all the elements are connected to each other from above by a sheathing made of boards 25 mm thick. For roofing, it is better to choose lightweight materials. Corrugated sheeting or soft roofing is suitable.
Ventilation arrangement
To make the chickens feel comfortable in the house, you need to take care of clean air.The photo shows the simplest version of natural ventilation using a window.
You can go the other way by doing ventilation using one of the following methods:
- Two air ducts lead out of the chicken coop through the roof. They are placed at different ends of the room. The end of one pipe is made level with the ceiling, and the other is lowered 50 cm lower.
- Since the chicken coop built on a columnar foundation is raised above the ground, ventilation can be done directly in the floor. To do this, make several holes at different ends of the room.
All ventilation ducts are equipped with dampers so that in winter the flow of cold air can be regulated.
Insulating the chicken coop
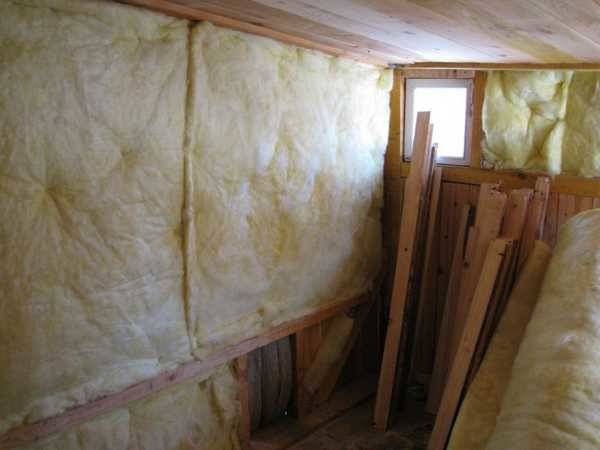
To keep the inside of the chicken coop warm in winter, the house needs to be insulated. Inside the walls, between the double cladding, you can lay mineral wool or glue polystyrene foam. At the same time, the thermal insulation is protected by vapor and waterproofing. A budget option would be sawdust filled between the sheathing. You can use clay with straw.
The ceiling in the chicken coop must be lined with plywood, OSB or other sheet material. Sawdust is thrown on top, but you can use simple dry hay or straw.
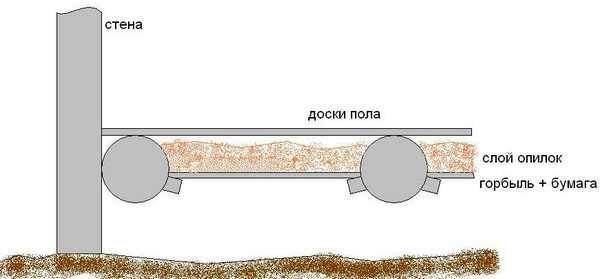
Floor The chicken coop needs to be insulated necessary, because it is from below that the cold enters the room. The photo shows a diagram of a double floor, where the same sawdust is used as insulation.
All elements of the chicken coop need to be insulated, otherwise heat loss will increase and the room will have to be heated more.
The video shows the making of a chicken coop:
Interior arrangement of the chicken coop
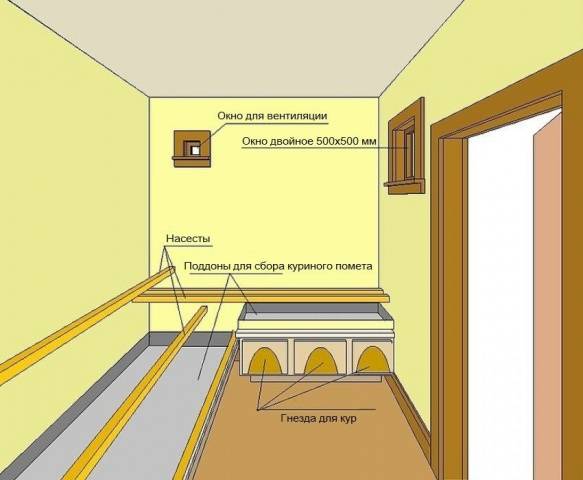
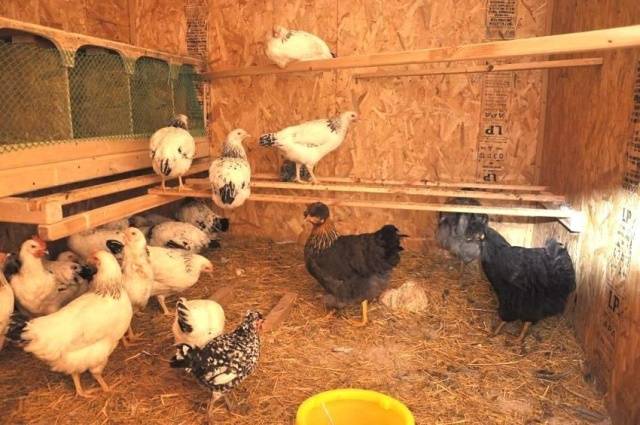
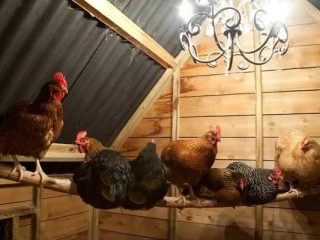
Interior arrangement begins with the manufacture of perches. One bird needs about 30 cm of free space on the perch. This means that for 20 heads the total length of the perch is 6 m, but it should not be made that long.The perch is made of timber with a cross-section of 30x40 mm in several tiers.
For twenty chickens you will need no more than ten nests. They can be made closed in the form of a house or completely open. Nests are made 30x40 cm in size from boards or plywood. Straw is poured into the bottom, but sawdust will also work.
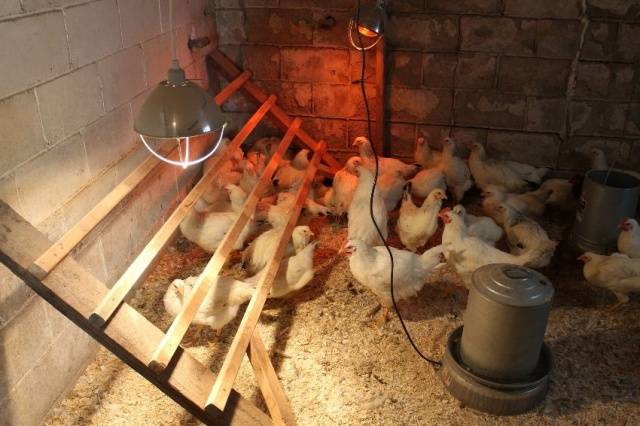
It is important to provide artificial lighting in the chicken coop. Broilers especially need light, as they constantly eat even at night. For lighting, it is better to use lamps covered with a shade.
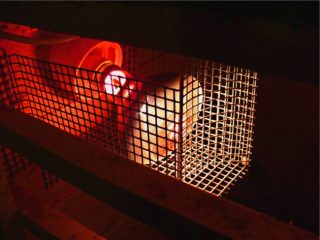
Heating will be required in winter. For these purposes, it is convenient to use fan heaters or infrared lamps. They are installed together with temperature controllers that help automate the process.
Conclusion
If the owner managed to provide the chickens with optimal living conditions, the laying hens will soon reward them with a large number of eggs.
