Content
Before planting garlic, you need to prepare the bed. But preparation time and technology directly depend on the type of plant. For winter garlic we need a bed in the fall, and for spring garlic in the spring. Why is the garlic bed prepared in advance? Planting any crop requires maintaining certain parameters. This:
- temperature regime;
- soil composition and fertility;
- soil preparation (digging, loosening);
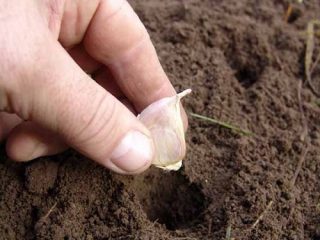
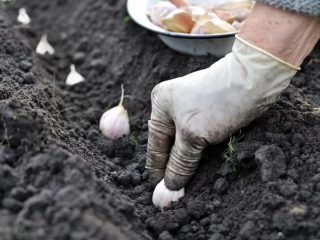
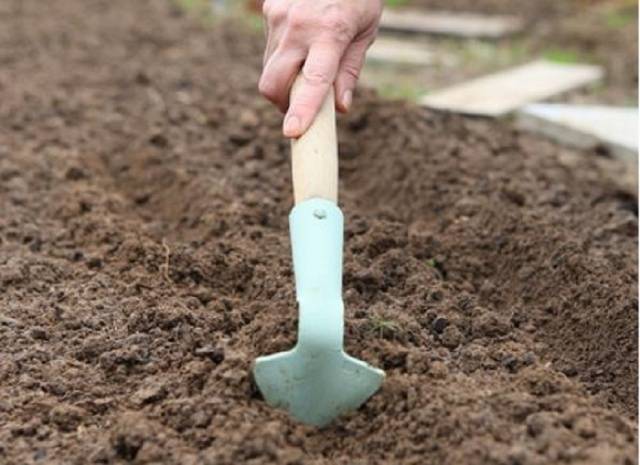
- depth and planting pattern;
- compliance with crop rotation.
Planting bulbs without taking these requirements into account will reduce the yield and quality of mature bulbs.
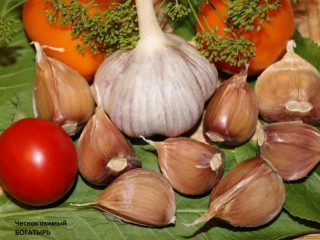
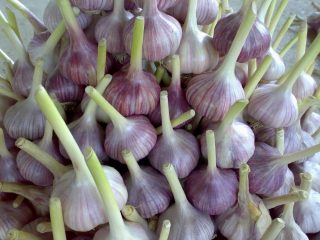
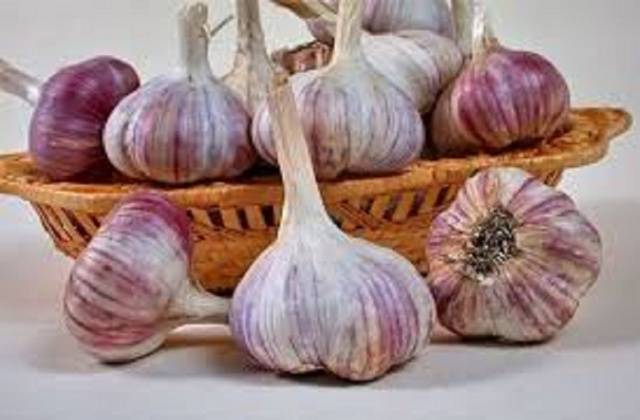
First, we decide what type of garlic we are planting. Many gardeners grow both types. Winter crops will sprout earlier and produce a harvest. The heads will be larger than those of the spring variety, but the keeping quality will be worse. On the contrary, the spring variety stores well, but its bulbs are smaller and it germinates later. Therefore, by planting both species in your dacha, you can fully meet the need for garlic. But take into account the climatic features of the region. In some areas winter grows better, while in others spring grows better. The bed for garlic is prepared depending on the choice of variety.
To avoid mistakes, let's start in order.
Selecting a location
Here it is important to take into account the requirements of the plant in order to place the bed in the most advantageous place. The culture loves sun and moderate amounts of moisture.In the area where the garlic bed is planned, water should not stagnate, especially melted snow. Garlic will behave worse on the shady side of the site, in the lowlands. If the terrain of the site does not allow for a place with the required parameters for planting, then the solution will be in the design of high ridges.
The second criterion when choosing a place for a garden bed is compliance with crop rotation. You should not plant bulbs in the same area for two years in a row. Allow at least three years between plantings in the same bed. It is also important to take into account which crop was the predecessor of garlic in the garden.
Spring grows well on loam, winter prefers sandy loam.
Landing time
The winter species should go into the ground no earlier than 1-1.5 months before the onset of stable frosts. Otherwise, it will sprout before winter, and the seedlings will die from frost.
After planting, the teeth must take root; this process takes 3 weeks. If the root system has managed to form, then the plant is no longer afraid of frost. It is ideal to schedule autumn planting in the middle zone at the end of September or beginning of October. In other regions, the dates will have to be shifted to the end of October - beginning of November. The spring variety should be planted in the spring.
For the formation of the bulb, certain conditions are required. A type of garlic planted at the wrong time will not produce a decent harvest and quality of heads.
Preliminary preparation of beds for planting
The technology for preparing a bed for spring or winter garlic is not fundamentally different. But some nuances still exist. Let's look first at the general requirements.
Preparing a bed for garlic begins with improving the soil structure.
- For clay - add per 1 sq. meter, one bucket of sand and peat.
- Peat requires the addition of sand and loam.
- Sandy - we structure it with two buckets of clay soil and one bucket of peat.
To enrich and increase the fertility of the soil, it is necessary to add organic matter to the garden bed. Compost or humus is suitable for any type of soil. Add chalk or dolomite flour (1 cup), potassium sulfate (2 tbsp), wood ash (2 cups) to it. This composition is necessary when the bed is placed on uncultivated soil. If manure was already applied to the previous crop, then you can do without adding organic matter.
Main events
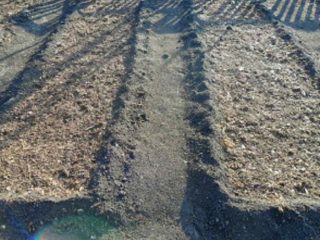
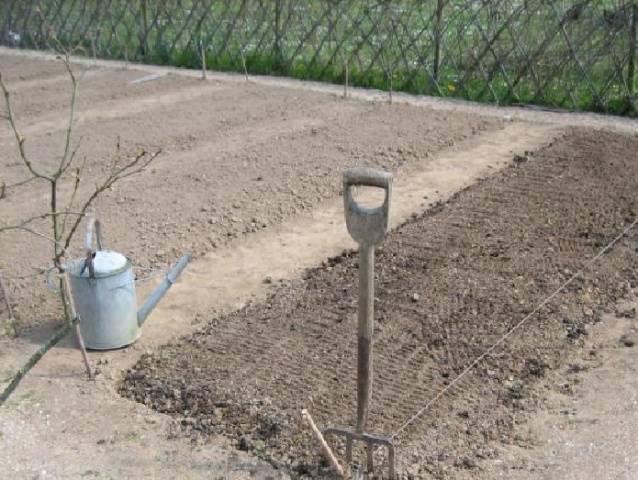
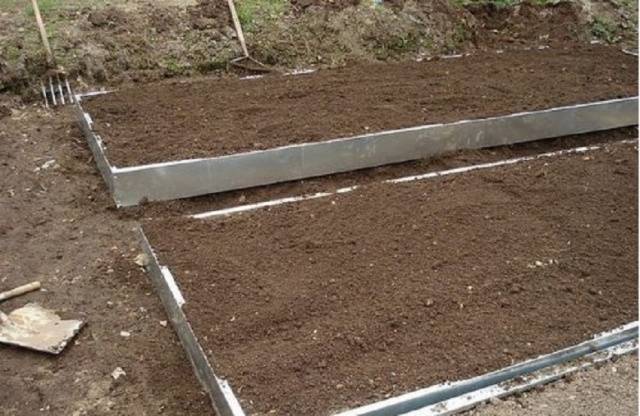
Preparing a bed for any garlic requires digging. Fertilizers in the required composition are evenly distributed over the marked area. Then they dig up the soil to the depth of a spade bayonet, while simultaneously forming a bed for garlic. The optimal dimensions are 1 meter wide, 20 cm high. When digging, immediately remove the roots of weeds so that in the spring the garlic shoots do not get lost among the riot of herbs. Now the soil is loosened and the bed is left for a couple of weeks to settle.
Loosening will help saturate the soil with oxygen, and soil settlement will prevent the cloves from deeper than normal. To help the soil settle better, water the bed under the garlic. Of course, if it rains, you don’t have to do this.
Another recommendation for summer residents. It’s good to spill the soil with an antifungal compound immediately before planting the bulbs. For this purpose, you can take copper sulfate (1 tbsp) and dilute it in hot water (2 l). Then add cold water to the bucket’s volume and water the bed. A bucket will be enough for 2 m2 area.Now all that remains is to cover the garlic bed with film and leave it alone until planting time.
There is another way to prepare beds for garlic using white mustard seeds or a mixture of peas and oats. In this case, the technology is as follows:
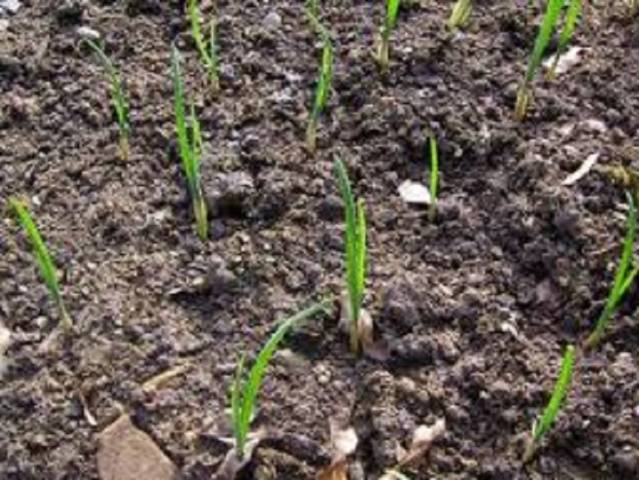
At the end of summer, mineral fertilizers with organic matter are applied. It is better to do this in the second half of August. The amount of nutritional components does not differ from the above. They dig up the bed and spill it with water to quickly shrink the soil. With this method, copper sulfate is not used. After settling the soil, sow the seeds in rows parallel to the intended garlic rows. The row spacing is maintained at 30-40 cm. By the time the garlic is planted, green sprouts will have already sprung up in the beds, and garlic cloves are planted between them. This technology will protect the garlic beds from snow at the beginning of winter.
Two days before planting the bulbs, urea (urea) is spread on the beds. Half a tablespoon per square meter is enough. meter of land. If there is no moisture, water the bed additionally.
It will be much more profitable to prepare a bed for spring garlic in the fall. Preparations begin a little later than for winter crops - at the end of October.
Spread urea over the beds in early spring before planting. This is one of the differences in preparing beds for different types of garlic. The optimal time for spring planting is set for the second half of March - early April. In this case, the crop will be ready for harvest in September.
Additional bed treatments
Proper processing of beds for garlic will allow you to get a healthy, high-quality harvest. Land disinfection is an important point. It helps prevent the development of many diseases.For these purposes, gardeners use:
- antifungal drugs “Fitosporin”, “Topsin-M”;
- antiseptic “Radomil Gold” or “Acrobat”.
In addition to copper sulfate solution, the following is used for soil treatment:
- potassium permanganate, or rather, its strong solution of saturated color;
- Bordeaux mixture, dissolving 100 g of the component in a bucket of water;
- a mixture of boric acid, potassium permanganate, copper sulfate (1 gram of each drug per 1 liter of water).
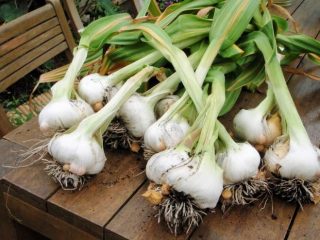
Careful preparation of the soil in garlic beds ensures healthy bulbs. If you follow all the recommendations, this turns out to be not so difficult. For experienced gardeners, nutrition, loosening, bed layout and soil disinfection are commonplace. It remains to be sure not to miss the deadline so that the garlic sprouted and ripened on time. Then the spicy plant will delight you with a good harvest.