Content
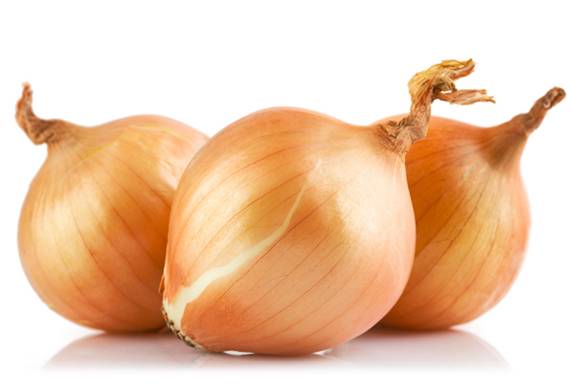
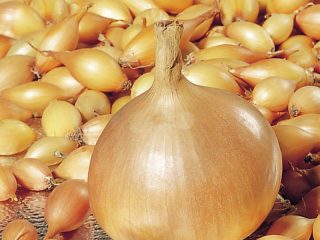
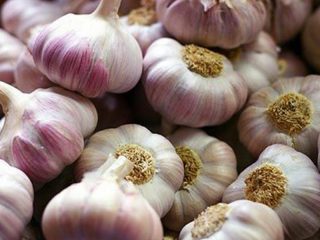
Onions rightfully occupy one of the first places among garden crops. There is probably not a single gardener who could do without them on his plot. The excellent taste, wide range of applications for preparing various dishes, and the healing properties of onions and garlic have led to their extraordinary popularity. Despite all the apparent simplicity, growing these vegetables has its own characteristics. Without knowing the specifics of agricultural technology, you can hardly count on a rich harvest. So how is it made? planting onions and garlic, how to care for the crop?
Varieties of onions and garlic
Onions and garlic are available for sale in a huge range of varieties. However, this diversity can be divided into 2 groups:
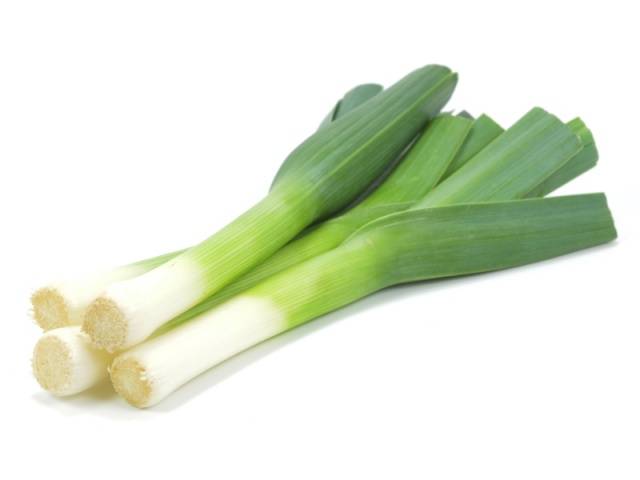
- with the formation of bulbs (garlic, onions, leeks);
- without the formation of bulbs (chives, wild garlic). Only the feathers of the plant are used for cooking.
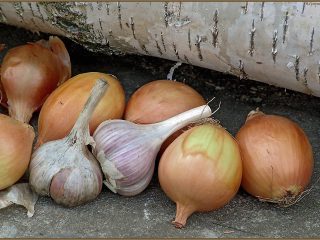
The popularity of onions is understandable. Recently, housewives have been able to appreciate varieties such as leek, chives and others. And leeks, in addition to excellent taste, have excellent keeping quality. This type of onion, like regular turnips, can be stored for the winter.
Now let’s learn more about when to plant onions and garlic.
Boarding order
It is advisable to start planting onions after planting cucumbers and root vegetables.
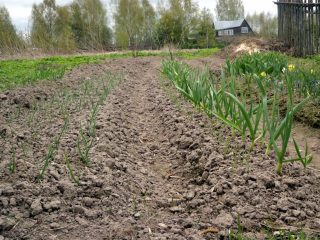
Onions are a heat-loving crop and prefer to be grown in well-moistened soil. Onions are unpretentious in terms of soil composition. It tolerates loam and sandy loam very well. And areas with swampy peaty soil are not suitable for growing onions. The best option for an onion bed is a sunlit area. It is undesirable to create onion beds even near trees, since the shadow from them will interfere with the normal development of the onion.
Growing onions involves the use of mineral fertilizers (per 1 m2):
- nitrogen – 20 g;
- potassium, phosphorus - 30 g each.
If the soil is well manured, nitrogen fertilizers will not be needed. It wouldn’t hurt to use humus for onions (about 2 kg per “square”). The introduction of fresh manure or bird droppings is unacceptable. Plants get sick, and fresh organic matter can get into the soil. weedy plants. For acidic soils, liming with chalk, ground limestone or wood ash is useful.
The specificity of onions is that during the first two months they do not absorb nutrients from the soil. It begins to “feed” intensively only in August. Therefore, the bulk of onion feeding occurs in August.
Planting onions (sets)
Preparation of the sevka is as follows:
- keep the planting material for 15-20 days at a temperature of 20 degrees;
- After this, keep the sowing for 8 hours at a temperature of approximately 35 degrees.
An important point is the disinfection of planting material. The best option is to soak it for 2 hours in a weak solution of potassium permanganate.
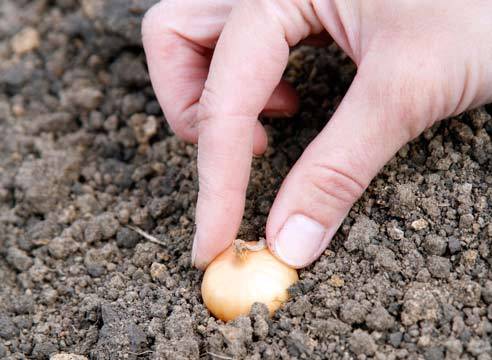
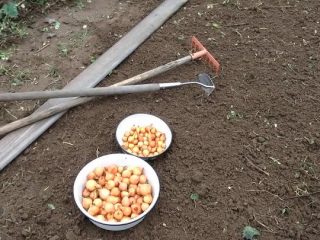
Before planting, the seedlings are thoroughly washed.It should not be planted too deep, preferably 3-4 cm. It is enough to cover the bulbs with a layer of rotted manure and level the soil with a rake. The interval between the bulbs depends on their size:
- up to 10 mm – the distance is approximately 50 mm;
- 10-15 mm – the interval is 80 mm;
- 15-20 mm – 100 mm.
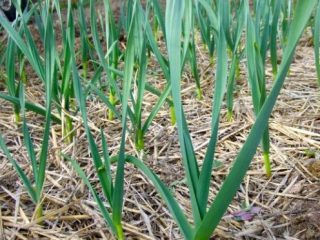
After planting is completed, you need to mulch the bed (the thickness of the mulch is from 2 to 3 cm). Sawdust, peat, straw and even paper are suitable as mulch.
Growing onions will not cause much trouble. In the first week, the bed needs to be watered abundantly, loosen the soil between the furrows and weed out the weeds. The frequency of watering and aeration is once every 7 days. Weeding is necessary because weeds retain water in the ground, and excessive moisture can cause the plant to get sick.
How to grow onions from seeds
The first stage is preparing the beds. The bed for sowing onion seeds, as in the case of sets, is placed in a well-lit place. The height of the onion bed is no more than 150 mm, the width is no more than 800 mm. When preliminary digging the soil, you should add about 3 kg of peat or compost per square meter. From mineral fertilizers - 1 tbsp. l. superphosphate with nitrophoska.
2-3 days before planting, you need to spill the soil with copper sulfate dissolved in hot water (1 tablespoon of vitriol per 10-liter bucket of water). Now the bed for sowing onions is ready.
To avoid fungal infection, seed material is prepared as follows:
- 15 minutes - in water heated to 50 degrees;
- 24 hours – in water 25-25 degrees;
- two days - at room temperature (the seed is wrapped in moistened gauze or cloth).
On average, onions are sown from April 20 to April 25.
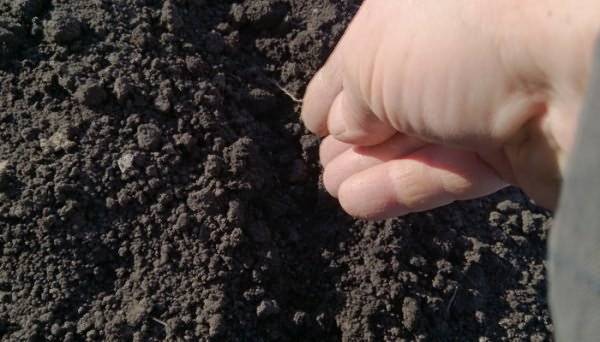
The planting depth is small, no more than 20 mm. The distance between the furrows is approximately 50 mm. Seeds are planted at a distance of a centimeter and a half. After sowing is completed, the onion bed is carefully watered. After the emergence of mass seedlings, it is necessary to thin out the plantings so as to bring the interval between plants to 2 cm. Caring for the emerging seedlings consists of watering them in a timely manner and weeding out the weeds. It is most convenient to weed onions when the soil is moist. You cannot wait until the weeds grow strongly, as when weeding the root system of the crop may be damaged. In June, you need to apply ammonium nitrate as a top dressing.
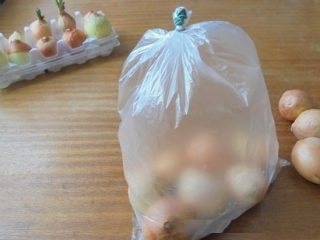
The harvest is harvested from late July to mid-August. The onions are dried near the stove or heating device. With this approach, it will not rot. Small “turnips” are used for winter planting. Larger onions are suitable for eating. The optimal storage temperature for onions is in 10-12 kg bags, at a temperature of 17-18 degrees. At higher temperatures, onion germination occurs. During storage, the product is periodically sorted, removing dried onions.
Specifics of planting garlic
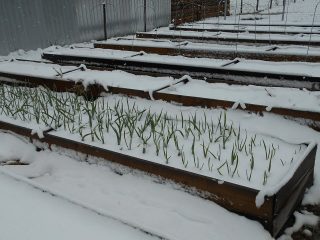
Garlic is planted in autumn and spring. In the first case, the plant is called winter, in the second - spring. Winter plants develop well on sandy loams. Preparing the soil for growing winter winter crops takes place about a week before planting the crop. The soil needs to be dug up and the roots of weeds removed. The next step is the use of fertilizers (per 1 m2):
- humus – 5 kg;
- superphosphate – 30 g;
- potassium salt – 20 g.
The day before planting the cloves, add ammonium nitrate (10 g per 1 m2).
Medium or light loam is suitable for planting spring garlic. If the soil is sandy or peaty, it is mixed with loam. So, there is a greater chance of a rich harvest. The planting date for the crop is April 20-25. Soak garlic cloves before planting in a weak solution of potassium permanganate at room temperature. Even more effective disinfection is sequential holding for 3 minutes. in solutions:
- table salt (2.5%);
- copper sulfate (1%).
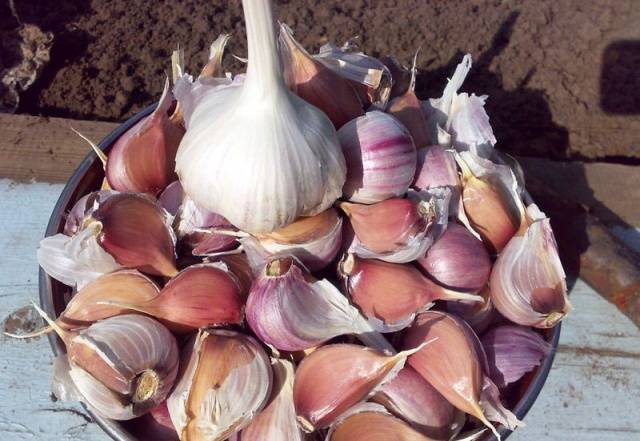
Large, disease-free cloves are selected as planting material. In this case, the mother bottom must be removed so that it does not interfere with the development of the plant.
The distance between rows of garlic is about 25 cm, between plants - 10-11 cm. The planted cloves should not be buried too much: the roots will develop worse. The planting depth is about 4 cm. After planting the garlic is completed, the soil should be mulched with a layer of sawdust or rotted manure. Mulch thickness is from 2 to 5 cm.
Care
Garlic does not need frequent watering. Water it only when the soil is clearly dry. Plants are watered exclusively at the roots. A month before harvesting, they stop watering the garlic. But you need to weed the garden bed regularly. Garlic also needs feeding (one in spring and one in summer). Manure diluted in water in a ratio of 1:15 is suitable as an additional feeding. If the leaves turn out to be light, the plants are fed with nitrophoska (per 10 liters - 2 tablespoons of fertilizer).
Garlic harvest time is late July-early August. You shouldn't keep garlic in the garden for too long. The onion breaks into separate cloves, and the product is stored less well in winter.Before collecting garlic for storage for the winter, it is dried in the sun for 12 days, putting it indoors when it rains. You can dry the heads of garlic in the oven or in a special electric dryer. Garlic can be stored at an air temperature of 17-18 degrees or at 1-3 degrees (the so-called cold method).
The keeping quality of garlic in winter depends on how ripe the bulbs are. Unripe garlic has too loose flesh, while overripe garlic peels into separate slices. In both cases, the product will be stored for a short time. The best option for storing the product is wooden, well-ventilated boxes. Plastic bags for garlic storage are not suitable: the product will rot.
