Content
There are several ways to plant red onions directly in the ground or in a home container. The culture is not too demanding to care for, but certain rules must be followed.
Planting dates for red onions
It is customary to plant red, purple or blue onions in open ground in the spring, but the exact timing depends on the weather and the specific region. In the middle zone and in the Moscow region, the procedure is usually carried out in early May, when the soil finally warms up to 10-12 °C.
In the south, planting red onions in open ground can be done in the second ten days of April if the weather is suitable. In the northern regions, dates often have to be postponed until mid-May due to the late onset of spring.
Soil preparation
Planting red onions should be done in a sunny and well-ventilated area. Ideally, it is recommended to place the crop where legumes, nightshades, cabbage and spinach previously grew.
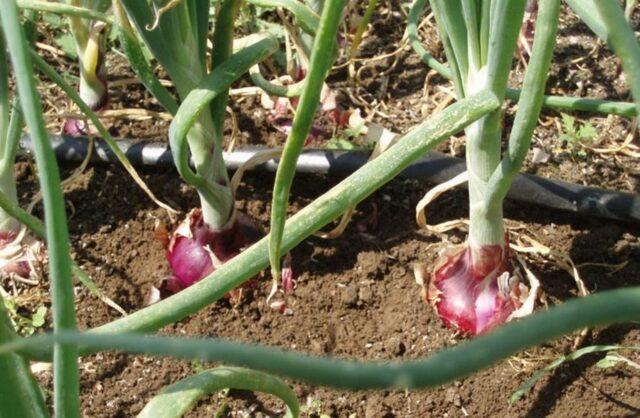
Any other species of the same family are considered undesirable predecessors for red onions.
The plant prefers loamy or sandy loam soil, nutritious but light. The acidity value should be 6.4-7.9 - red onions prefer neutral or slightly alkaline soil. The area for planting the crop is prepared in the fall - the soil is dug up and weeds are removed, compost and humus are added, as well as phosphorus-potassium fertilizers.
Selection and preparation of planting material
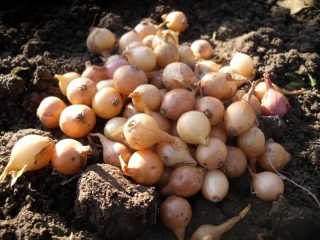
To successfully grow red onions, you need to carefully choose the material for planting. To obtain greens, take the smallest heads no more than 1 cm in diameter. They still won’t turn into large bulbs, but they will be able to bear succulent feathers. Specimens with a diameter of 1-2 cm are grown for turnips.
Preparing the material for use looks like this:
- Before planting, the delayed seedlings are sorted out and damaged or dried out heads are eliminated.
- Red onions are heated at 40 °C for 12 hours to prevent bolting. You can also simply soak the sets for 15 minutes in water at about 50 °C, and then transfer them to cold liquid for the same period and dry.
- The material is disinfected with a slightly pink solution of potassium permanganate for a quarter of an hour, and then briefly soaked in a stimulating preparation.
Similar procedures for red onions are carried out when planting seeds. At the final stage, it is also recommended to germinate the grains - to do this, they are wrapped in a damp cloth and put in a warm place.
How to grow red onions
Planting red onions is done in several ways. You can use both sets and seeds - in both cases the crop demonstrates good germination.
Planting red onion sets in open ground in spring
Planting sets allows you to get a plentiful, fairly quick and tasty harvest of onion turnips. The algorithm looks like this:
- The material for planting is sorted out and spoiled and overdried heads are thrown away.
- The top parts of the remaining small turnips are cut off by about 1/3.
- The bulbs are left to dry for 2-3 hours.
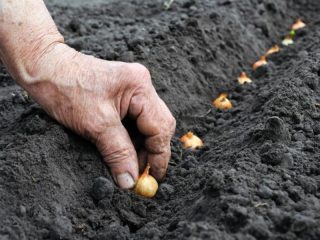
- In the prepared area in the garden, holes are made up to 3 cm deep at intervals of 15 cm.
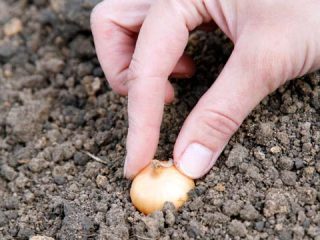
- The seedlings are planted in holes and covered with soil on top.
Approximately 20 cm should be left between the rows of red onions so that the plants do not interfere with each other during development.
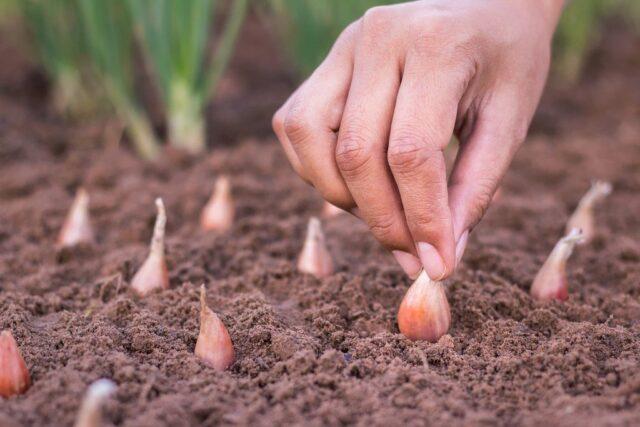
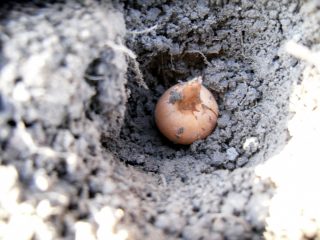
When planting red onions as sets, the tops of the turnips are left above the ground
Sowing seeds in open ground
Red onions can be propagated by seeds, sowing them directly into the ground. Typically, the method is used in the southern regions, where already in mid-spring there are all the conditions for planting crops.
The sowing and cultivation scheme is as follows:
- The area for planting red onions is prepared in the fall, and with the arrival of spring, it is dug up and fertilized again.
- Vegetable seeds are disinfected in a solution of potassium permanganate and germinated in a damp cloth.
- The prepared material is planted in shallow furrows on the beds at intervals of 4-5 cm.
- Sprinkle the seeds on top with soil and moisten them generously with a spray bottle.
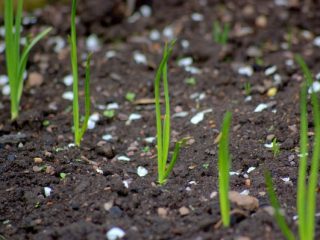
At the initial stage, after planting the crop, it is recommended to cover the bed with film to create greenhouse conditions. It is removed when the first shoots form.
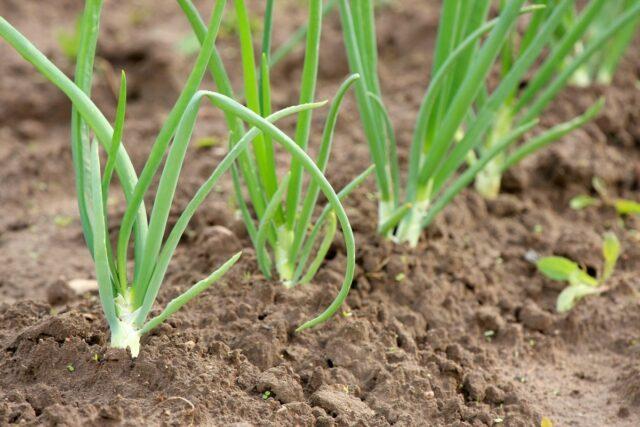
Red onion from seeds germinates best at a temperature of 20-25 ° C
Growing seedlings from seeds in spring
With the late onset of spring, the crop is most often grown as seedlings, and with the arrival of warmer weather, the strengthened seedlings are transferred to the ground. Planting red onions at home is done as follows:
- Seeds are sorted, disinfected and germinated.
- Fill shallow containers with nutritious soil with the addition of sand and humus.
- Place the seeds in shallow grooves at intervals of 2-5 cm.
- Sprinkle with soil and spray with a spray bottle.
- Before emergence, place in a dark but warm place under a film.
After the formation of green sprouts, the shelter is removed from the boxes and the seedlings are transferred to a well-lit room with a temperature of about 15 ° C. As the red onion develops, the seedlings are watered, and ten days before planting in open ground, they begin to harden in the fresh air. Seedlings are usually transferred to the garden at the end of April or beginning of May. By the time it is planted in the ground, the red onion should produce at least three feathers.
Do you plant red onions before winter?
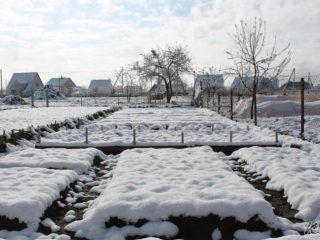
It is recommended to plant purple onion sets in spring. In this case, the underground turnips will definitely not die from frost, and the crop will produce a bountiful harvest towards the end of summer.
However, winter sowing is not prohibited. Cold-hardy varieties of red onions are suitable for planting in the fall. The procedure looks like this:
- The area for the crop is dug up in advance and fertilized with humus and minerals.
- Wait until the ground temperature drops to 5 °C.
- Make furrows about 6 cm deep in the beds with a distance of 20 cm between rows.
- Seeds are planted at intervals of 8 cm, covered with soil and compacted.
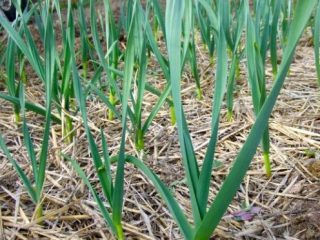
The first watering for red onions is carried out only ten days after transfer to the ground.With the onset of frost, the area is mulched with straw and fallen leaves to protect it from the cold. You need to plant blue onions with seeds before winter using the same algorithm.
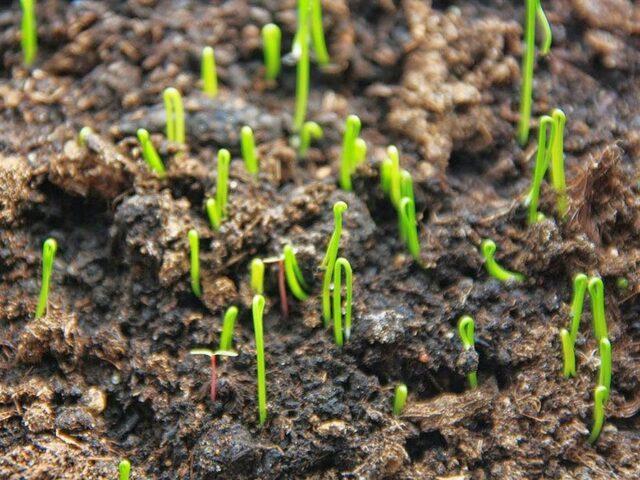
When planting before winter, about 25% of the seeds or heads of red onions may die
Features of care
The features of growing red onions from sets and seeds generally do not differ from the standard ones. The plant requires moderate moisture, periodic fertilizing and control of soil looseness.
Watering
Red onions require regular watering throughout the growing season. In dry weather, it needs to be moistened twice a week, in the presence of natural precipitation - as the soil dries.
If the crop is grown for cutting, then watering is carried out until autumn. When growing red onions for turnips, you need to stop moistening a month before harvesting. Otherwise, the underground heads will turn out to be small, watery and tasteless.
Loosening and weeding
After each watering of red onions, it is necessary to loosen the soil. The procedure provides good aeration for the roots. In addition, in the process you can remove weeds, which take away moisture and nutrients from the crop.
Top dressing
Growing red onions requires periodic addition of nutrients to the soil. Feeding is carried out several times per season:
- In the spring, organic fertilizers containing nitrogen are applied to the onion beds. Bird droppings or mullein diluted with water in a ratio of 1:10 or 1:5, respectively, are best suited.
- During the formation of bulbs, the crop is fed with phosphorus and potassium.Fertilizers are also diluted in a bucket of water, since in liquid form they are absorbed better and do not lead to chemical burns of underground turnips.
It is recommended to repeat fertilizing for red onions after each cutting of the feather, since the culture at this moment needs nutrients for restoration. With regular addition of organic matter, the leaves are especially juicy and have a rich taste. But for underground parts, fertilizing of any type is useful only up to a certain point. Three weeks before harvesting turnips, fertilization is completely stopped.
Diseases and pests
Due to the presence of phytoncides in its composition, red onions are relatively resistant to pests and fungi. Despite this, some diseases and insects can harm it:
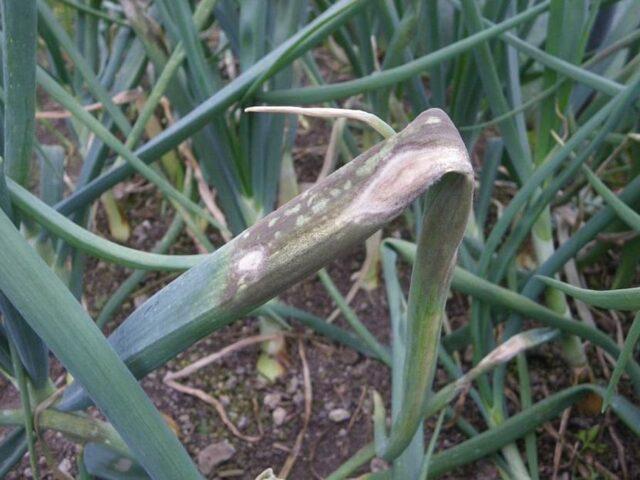
- Downy mildew. When infected with downy mildew, the leaves of red onions become covered with grayish or pale purple spots, and over time, spore spots become visible. Affected plants must be completely removed from the site so as not to infect neighboring plants.
Protection against peronosporosis is ensured by disinfection of soil, seeds and seedlings before planting
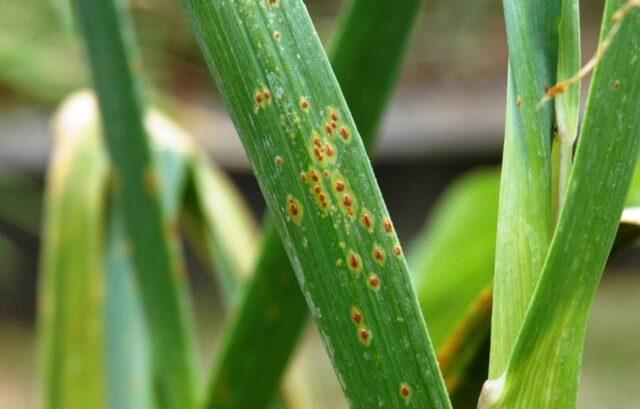
- Rust. Another fungal disease of red onions causes orange spots and growths on the green feathers. In case of serious infection, the plant quickly stops developing and dies. Rust most often occurs when planting on waterlogged soil; the affected bulbs have to be removed from the garden bed.
After destroying infected plants, the remaining plantings should be sprayed with Bordeaux mixture
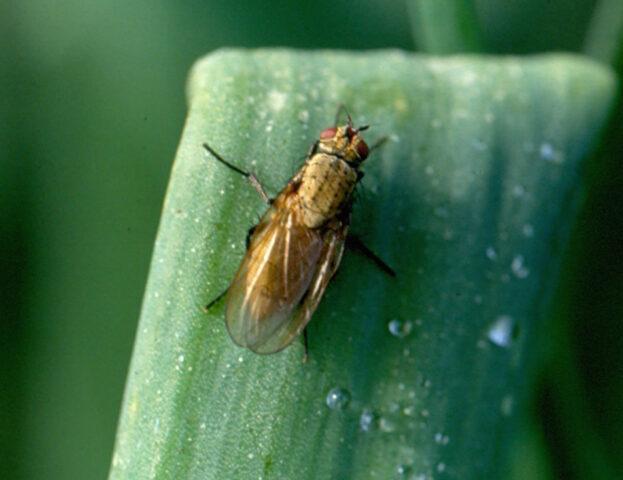
- Onion fly. The pest lays eggs on the plant, and after hatching, the voracious larvae eat away the underground parts of the garden crop from the inside.Red onions become unsuitable for food consumption, and an unpleasant odor often begins to emanate from the beds. All that remains is to completely remove infected plants from the garden and treat healthy plantings with tobacco dust or ash solution.
It is usually impossible to save plants already affected by onion fly.
Fungal diseases and pests are dangerous for red onions mainly when agricultural practices are violated. If you treat the seedlings and seeds before planting, regularly loosen the soil and avoid waterlogging, the crop will develop and bear fruit without interference.
Harvest and storage
The ripening time of red onions depends on weather conditions and the specific variety. But usually the crop reaches ripeness by mid-August or early September. You can tell when it’s time to harvest by looking at the dried and fallen feathers of the plant.
Red onions are not immediately removed from the garden. First, it is simply lifted from the ground with a fork or shovel and the roots are trimmed. Then the bulbs are left to lie in the garden for a week - during this time the turnips will dry out slightly. After another week, the harvest is harvested and the necks up to 10-15 cm and roots up to 5 cm are cut off from the underground heads. This allows you to increase the shelf life of red onions.
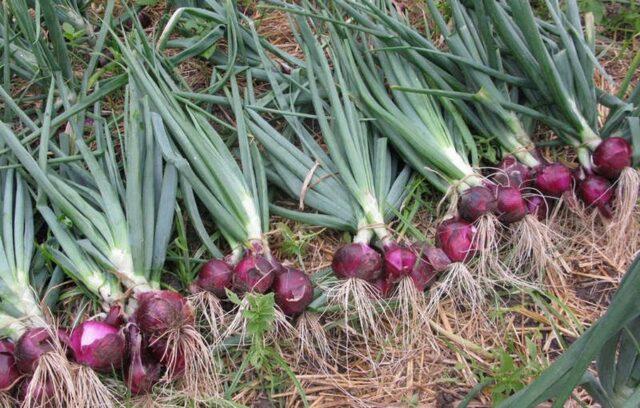
You can leave onions in the beds to dry only in warm weather without rain.
The harvest must be kept in a dry room at moderate temperatures and good ventilation. You can store onions both in the cellar and in the attic, but it is important to protect them from light and not place them close to heating appliances.Cardboard boxes, wicker baskets and dry wooden boxes are well suited as containers for turnips.
Red onions usually retain their valuable properties and taste for five months. For longer storage, it is better to freeze it at sub-zero temperatures, peeled and chopped. In boxes and drawers, turnips need to be sorted out from time to time and rotting specimens thrown away to preserve the rest of the harvest.
Conclusion
You can plant red onions with seeds or sets, in open ground or in a home container. In all cases, it is necessary to thoroughly disinfect the plant material, and then provide stable moisture, loosening and fertilizing for the seedlings.
