Content
Planting and caring for hyssop is quite simple. But before placing a crop on the site, it is worth studying its requirements.
Features of cultivation
Medicinal hyssop (Hyssopus officinalis) is a perennial plant of the Lamiaceae family. It is a branched subshrub, has a woody root stem and numerous stems, glabrous or briefly pubescent. The leaves are opposite, lanceolate, smaller towards the apex. From July to September, the plant blooms in spike-shaped inflorescences consisting of small buds with a blue, purple, pink or white corolla. Four stamens protrude prominently from the center of the flowers. In August, the fruits of the plant ripen - fractional coenobia, consisting of four nut-shaped fruits of a dark brown hue.
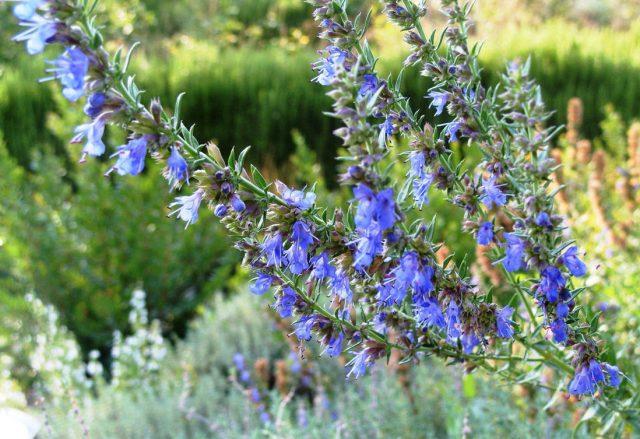
Medicinal hyssop reaches 80 cm above the ground
When planted on a site, medicinal hyssop requires a lot of sunlight. The plant needs well-drained soil with a neutral or slightly alkaline composition. The perennial remains decorative for only 3-4 seasons, after which it is advisable to plant the bushes by dividing.
When and how to plant hyssop seedlings
You can plant hyssop on your site using seeds. Typically, the seedling method is used to grow perennials. During spring, seedlings are kept indoors and then moved into open ground.
Sowing hyssop seeds for seedlings
It is recommended to sow hyssop for seedlings in early or mid-March. Specific dates are chosen in accordance with the climate of the region. In the south, you can plant seeds already in the first days of the month; in Siberia and the Urals, the procedure should be carried out closer to April.
The substrate for hyssop at home is loose, moderately nutritious, with good water and air permeability. You can prepare the soil yourself from garden soil, humus and river sand. You can also buy ready-made soil in a store and add perlite or vermiculite to it for looseness. A box for growing seedlings needs to be wide, but shallow, with sides of only 8-10 cm.
Before planting, plant material should be etched with a solution of potassium permanganate. This will strengthen the perennial’s immunity and protect it from fungal and viral diseases.
Direct planting of hyssop seeds for seedlings is carried out as follows:
- Fill the selected plant box with nutrient substrate.
- Abundantly moisten the soil.
- Scatter the seeds over its surface and press lightly with your fingers.
- Cover the material on top with a thin layer of substrate.
- Spray with lukewarm water.
- Cover the box with film and put it in a warm place.
At a temperature of about 25 °C, hyssop germinates in an average of two weeks. After shoots appear above the substrate, you will need to remove the film and move the container to a well-lit window.
Seedling care
Sowing hyssop for seedlings and caring for it is quite simple. Mainly caring for seedlings comes down to regular watering. The soil in the container is moistened as it dries; a hard crust should not form on its surface. If necessary, the seedlings are illuminated for up to 12 hours a day with a phytolamp so that the hyssop does not stretch.
After the seedlings have formed 3-4 true leaves, you will need to plant them in separate cups. Transplantation is carried out carefully, trying not to damage the sensitive thin roots. Before picking, the seedlings need to be properly moistened, in which case it will be easier to remove the seedlings from the previous container.
When growing medicinal hyssop from seeds, a couple of weeks after transplanting, the crop can be fed for the first time. A solution of complex minerals with a minimum concentration should be used. The selected drug must contain potassium, nitrogen and phosphorus.
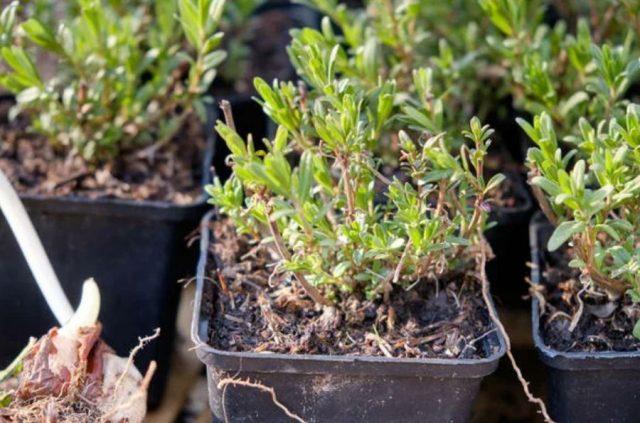
Two weeks before planting in open ground, hyssop seedlings begin to be hardened in air.
Planting seedlings in open ground
It is necessary to transplant seedlings into open soil from mid to late May. By this time, the seedlings should develop 5-6 true leaves.Choose a place for the perennial that is moderately moist and with good lighting, with calcareous and well-drained soil. The soil is dug up and humus, superphosphate and potassium salt are added to it.
The algorithm for planting seedlings looks like this:
- In the prepared area, small holes are dug, approximately twice the size of the roots of the seedlings.
- Place the plants in the center of the depressions and cover them with soil.
- Press down the soil with your hands and water generously.
Leave 10 cm of free space between individual plants. To ensure that moisture evaporates more slowly, the soil at the roots of the crop can be immediately mulched. Planting should not be carried out in wetlands and lowlands, in dense shade and on acidified or saline soil.
Planting hyssop seeds in open ground
In the southern regions, medicinal perennials are allowed to be sown directly into the ground, bypassing the seedling stage. Hyssop seeds are first stratified by storing the material in a refrigerator in damp sand for 2-4 weeks. The procedure stimulates rapid germination and makes the perennial more resilient.
Planting in open ground for hyssop is carried out in April. In this case, you need to wait until the soil thaws properly and the night frosts end. A site for a perennial is selected according to standard rules - the place should be bright and warm, with moderately moist soil.
Seeds are planted in rows, leaving 40 cm of free space between them. The material is buried into the ground up to 1 cm, sprinkled with soil on top and properly moistened.
Further care for hyssop
Caring for medicinal hyssop after planting is quite simple. It is necessary to pay attention to several agrotechnical measures.
Watering
Hyssop loves regular moisture, but does not tolerate waterlogging. Water the perennial sparingly, only when the top layer of soil dries out. If the weather is rainy, the plant usually has enough natural precipitation.
Water for irrigation is used at a well-settled, warm temperature. Perennials cannot be moistened with cold, hard liquid. In this case, the roots of hyssop will suffer and it will begin to hurt. Watering is not carried out at the height of the day; the soil should be moistened only in the evening after sunset or in the morning.
Fertilizer
Agricultural technology for growing hyssop from seeds recommends feeding the crop with useful minerals from time to time. In early spring, potassium, phosphorus and a little nitrogen are added to the water for irrigation. Complex fertilizers are reused in the fall after flowering.
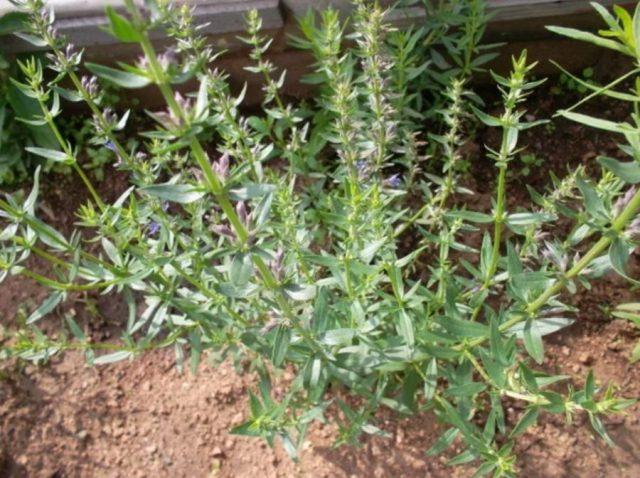
Once every few years, calcium is added to the soil in the area with hyssop to prevent acidification of the soil.
Trimming
Hyssop on the site usually grows to only 1 m above the ground. But immediately after flowering, it is recommended to trim it to give the bushes a compact decorative shape. The shoots are shortened by only 1/3. If you prune a perennial too much, it will not recover quickly.
During flowering, it is recommended to promptly remove fading buds. This will extend the decorative period.
Wintering
Hyssop grass, once planted in the ground, tolerates winter cold well. But with the onset of autumn, it is customary to cut the shoots of the plant to 10 cm above the ground. The remains of the shoots are covered with dry leaves and covered with spruce branches to protect them from wind and frost.
If the winter is expected to be very cold, medicinal hyssop can be dug out of the ground. The plant is also pruned and transplanted into a spacious pot.During the winter it is kept in a bright, cool room, and in the spring it is again transferred to open ground.
Reproduction methods
When growing a perennial for the first time, they usually resort to sowing hyssop for seedlings at home. But to propagate adult crops, vegetative methods are used.
Cuttings
In mid-spring, shoots up to 15 cm long are cut from an adult strong bush. The cuttings are treated with a growth stimulator and immediately planted in loose soil at an angle. The soil is moistened abundantly and the shoots are covered with cut plastic bottles.
Medicinal hyssop produces roots within a few weeks. The next season at the end of spring it can be transplanted to a permanent place.
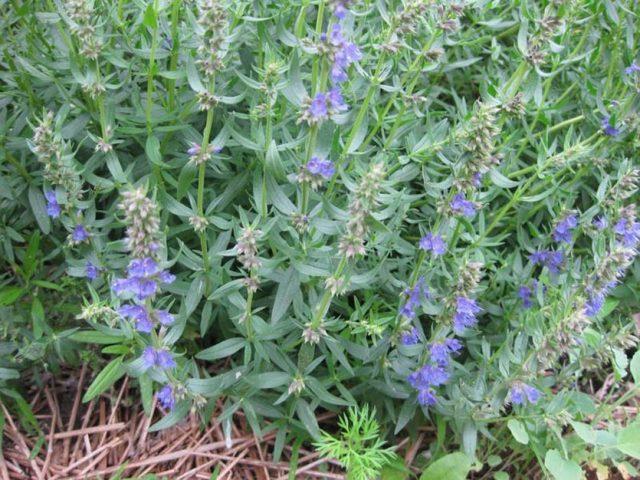
Hyssop from cuttings begins to bloom in the second year of life.
Dividing the bush
Medicinal hyssop over five years old grows greatly and loses its decorative effect. Therefore, it is recommended to divide the bushes from time to time. The procedure is carried out in early autumn; there should be at least a month left before the first cold weather.
The division is done like this:
- Moisten the perennial generously and carefully remove it from the ground.
- Using a sharp tool, cut the bush into 2-3 parts along the rhizome.
- Treated with a growth stimulator and a solution of potassium permanganate to prevent rotting.
- Plants are planted in individual holes.
The bushes are provided with good watering for the rest of the season, and for the winter they are carefully insulated with dry leaves and spruce branches.
Diseases and pests
With proper care, medicinal hyssop rarely suffers from diseases and parasites. But sometimes the danger for him is:
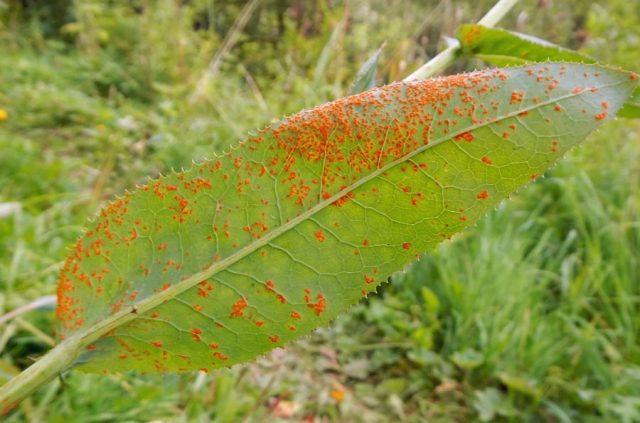
- rust - with this disease, reddish-orange spots appear on the leaves of the crop
Rust on hyssop develops when planted in marshy, acidic soil.
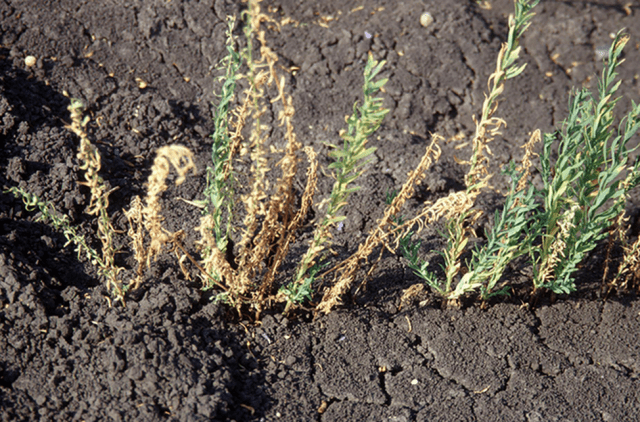
- Fusarium wilt - the fungus damages the roots of the perennial, hyssop begins to turn yellow, dry out and wither;
To prevent fusarium, you need to regularly loosen the soil and avoid waterlogging or drying out.
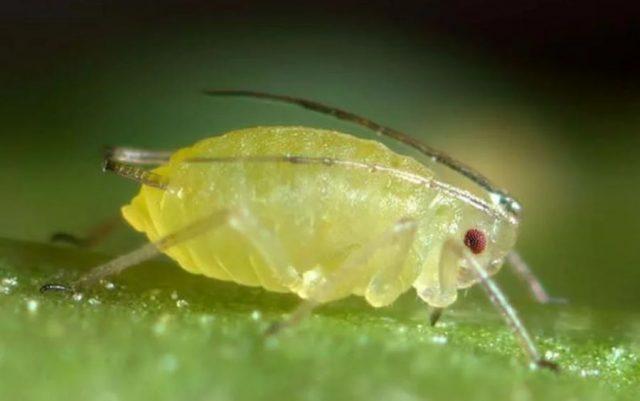
- aphids - a dangerous parasite clings to the leaves of the perennial and sucks the juices out of them, the plates become deformed and wither;
Aphids become active on hyssop in late May or early June
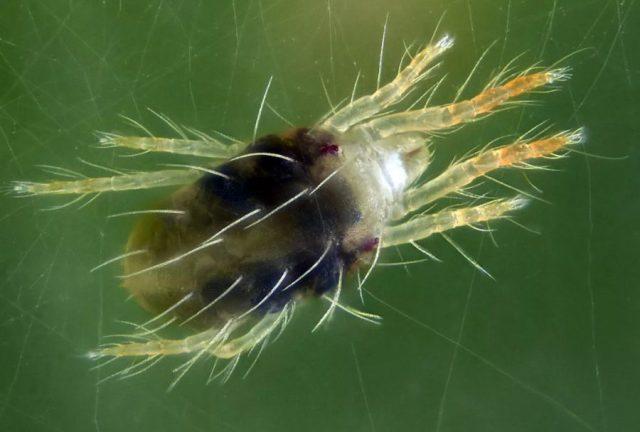
- spider mite - a pest that attacks the plant in dry, hot weather, entangles the shoots and leaves spots and holes on the greenery.
You can avoid spider mite infestation by simply spraying with water.
At the first symptoms of fungus, you need to prune the affected bushes and destroy all infected parts. The remaining plantings are treated with preparations containing copper - vitriol, Fundazol, Bordeaux mixture. If pests appear on hyssop, you can spray it with a soap solution or use ready-made insecticides.
To prevent diseases, it is necessary to control, first of all, the degree of soil moisture. In addition, it is recommended to ensure that the bushes receive sufficient light and fresh air. If hyssop grows too thickly after planting, it will need to be thinned out.
Photo of medicinal hyssop in landscape design
Photos of hyssop in garden landscape design show that the plant is widely used in summer cottages. The perennial is used for planting next to gazebos and benches, and placed near windows and entrance doors. Hyssop can be sown in rock gardens and artistic flower beds, as part of high borders.
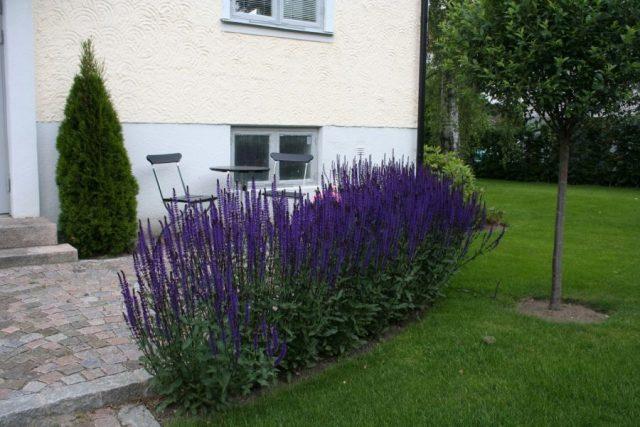
High varieties of hyssop are used for planting as part of hedges
Good neighbors for perennials include catnip, angustifolia lavender, monarda and paniculate phlox. Planting is often done close to fennel, ginger, marjoram and parsley. The plant looks good in flower beds and also harmonizes with dark green conifers and deciduous shrubs.
During the flowering period, hyssop emits a very pleasant smell of camphor. If you plant a perennial in a flowerbed, it will protect neighboring crops from insects. The grass can be grown at home in closed containers - low-growing varieties take root well in pots.
Conclusion
Planting and caring for hyssop does not cause problems for gardeners. But when growing crops, you need to follow the simplest rules of agricultural technology.
