Content
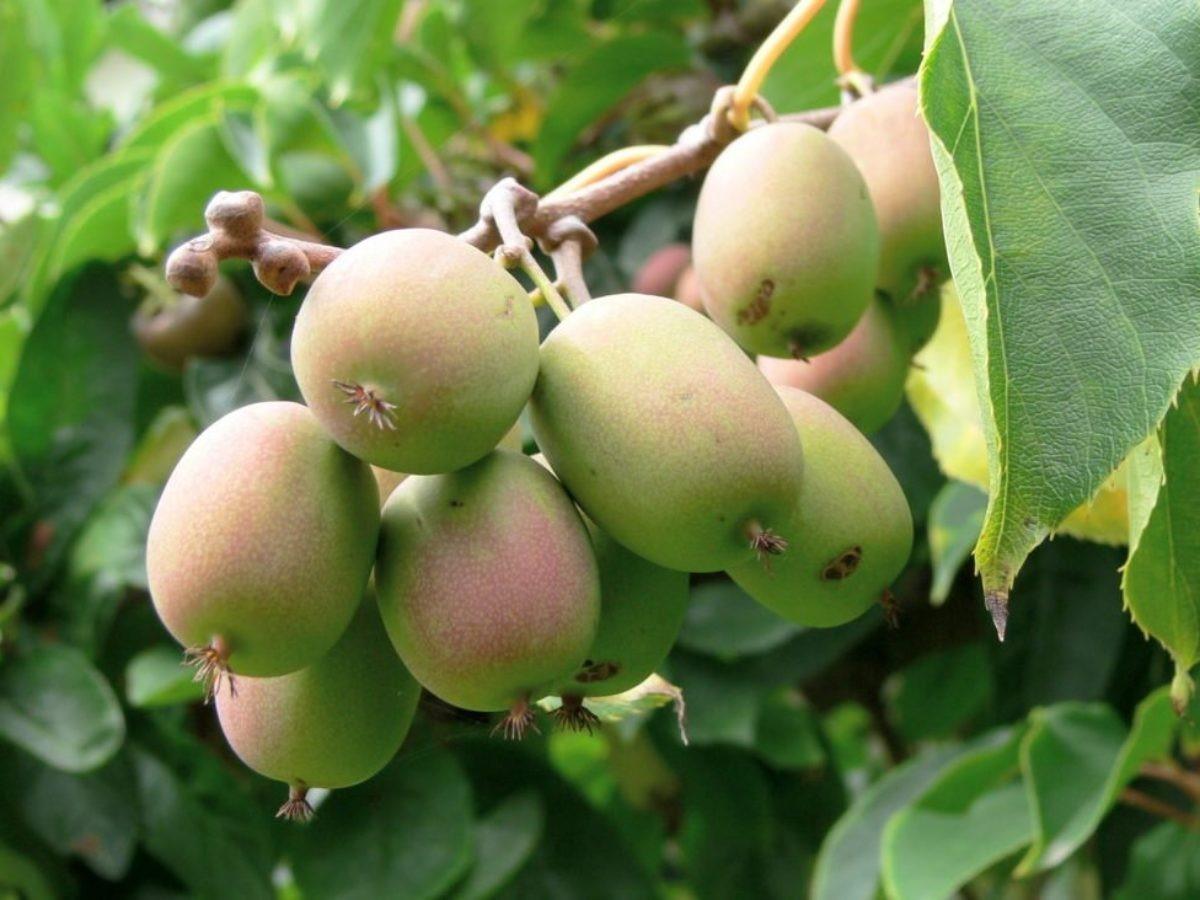
Thanks to the fruitful work of breeders, it has become possible to grow not only the usual pears, apple trees, cherries, plums, but also exotic plants on a personal plot. These include actinidia. This crop is a perennial deciduous vine and is a close relative of kiwi. The plant is characterized by increased endurance and low maintenance requirements. Reproduction of actinidia is possible in different ways. Therefore, if necessary, obtaining new seedlings of the type of vine you like will not be difficult. The main thing is to study all the features of the chosen reproduction method.
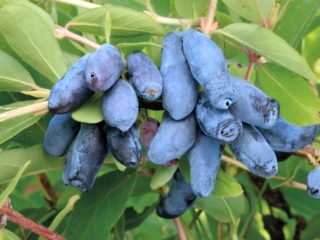
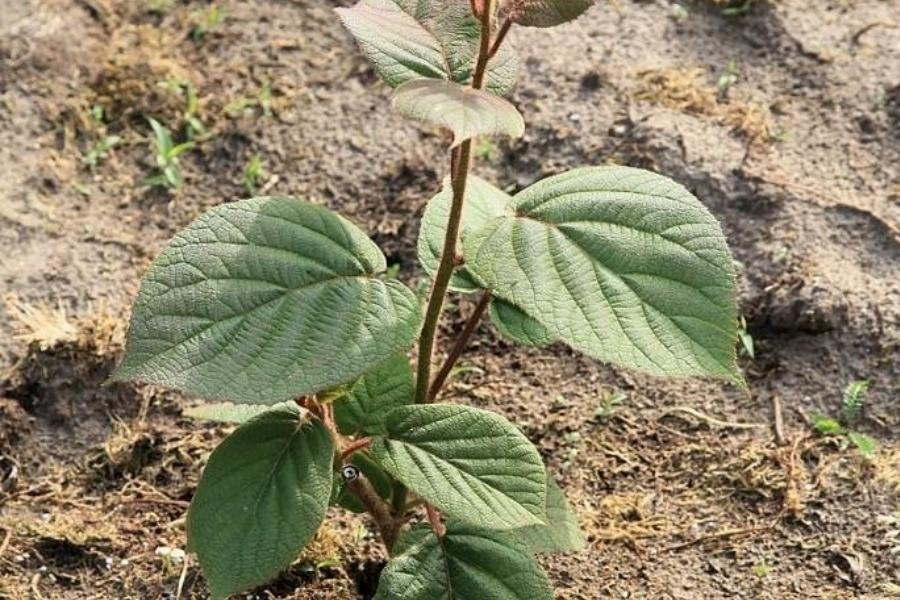
Actinidia is a long-lived plant
How does actinidia reproduce?
To obtain actinidia planting material, you can use seeds, cuttings, layering, and also divide the bush. All these methods of propagation provide a high level of plant survival. You just need to decide on the timing of the procedure and understand how many new seedlings are required.
Actinidia propagation by seeds
When choosing this method of propagation, it is necessary to take into account that the grown seedlings will not retain the specific properties of the mother vine. This means that young plants will differ in the length of the shoots, the size of the fruits and even their taste. Therefore, the seed growing method is mainly used by professionals to obtain new varieties. But in this case, the seedlings undergo careful selection and several stages of selection.
Procedure for seed propagation:
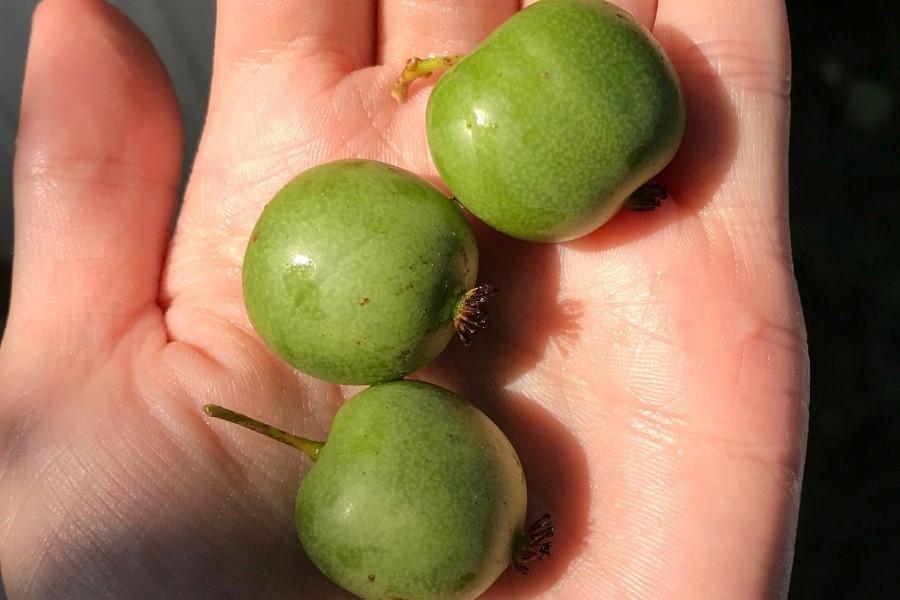
- Before you begin to propagate actinidia, you must first prepare its seeds. To do this, you need to select fully ripe fruits without defects and signs of pests and diseases.

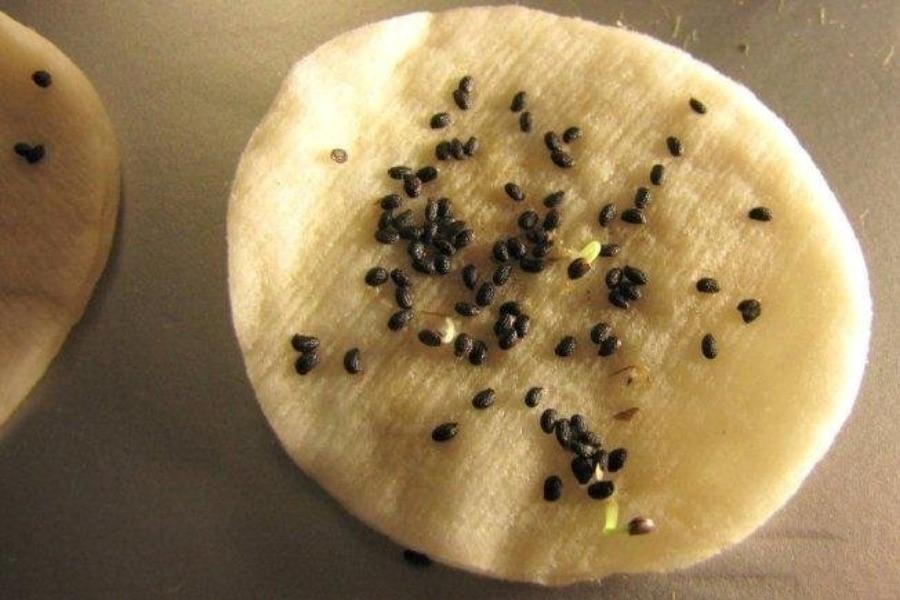
- They need to be thoroughly kneaded with your hands and then washed through a sieve under running water. After this, the seeds must be spread out in one layer and dried.
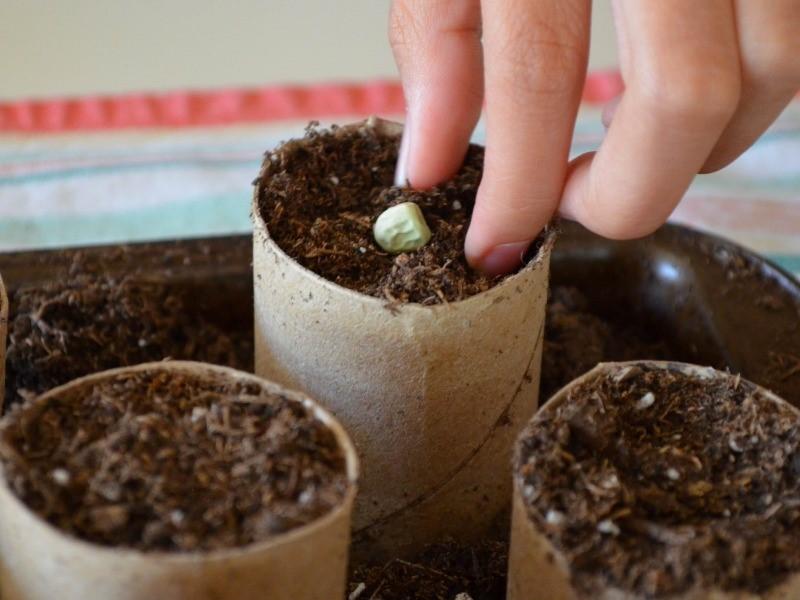
- Actinidia seed material needs to be stratified for three months. Therefore, for its successful propagation, it is necessary in the middle, at the end of November, to plant the seeds in damp peat or sand to a depth of 0.3 cm, and then cover the container with film and make several small holes in it for air exchange. Place the container in the refrigerator. Stratification should take place at a temperature from 0 to +5 °C. Periodically, the container with seeds should be inspected and moistened as the soil dries.
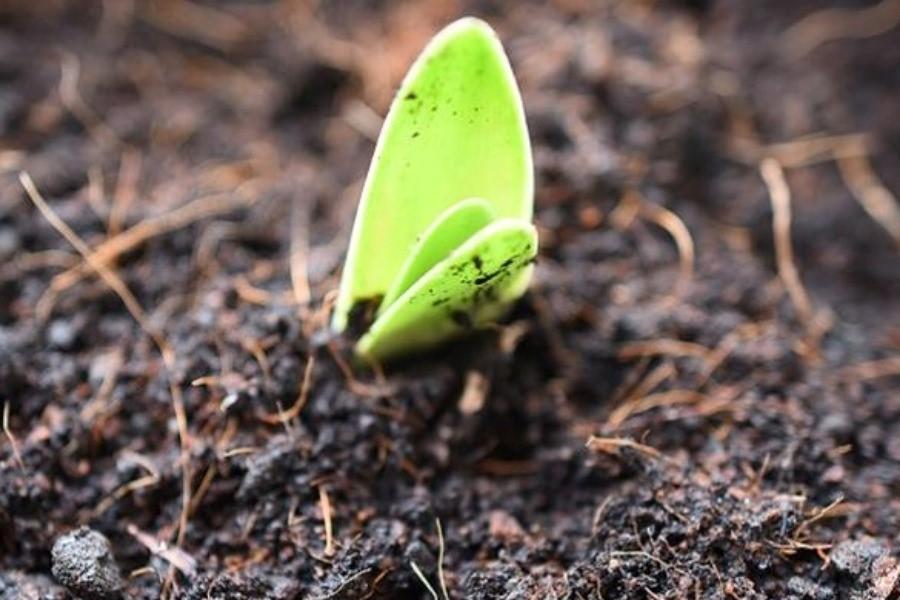
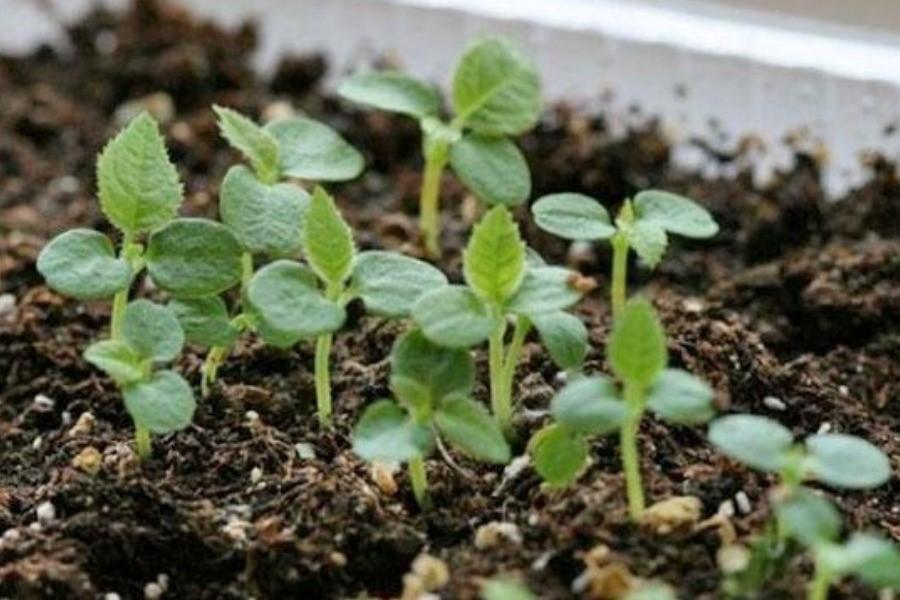
- In March, the container must be moved to a well-lit windowsill and kept within +18-20 °C. As soon as the sprouts appear, which happens on days 5-7, you need to begin to gradually adapt them to external conditions. To do this, seedlings must be opened daily, increasing the time interval each time. Later
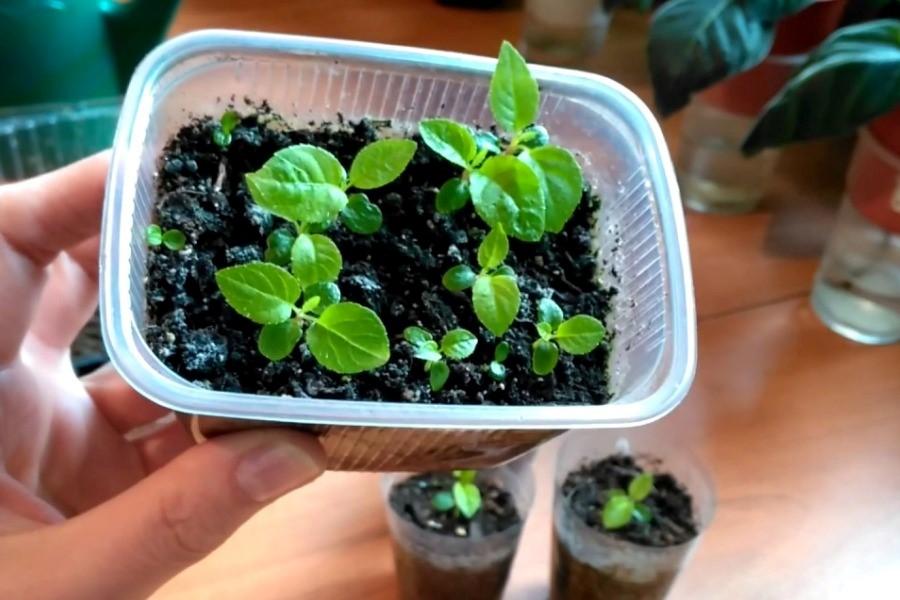
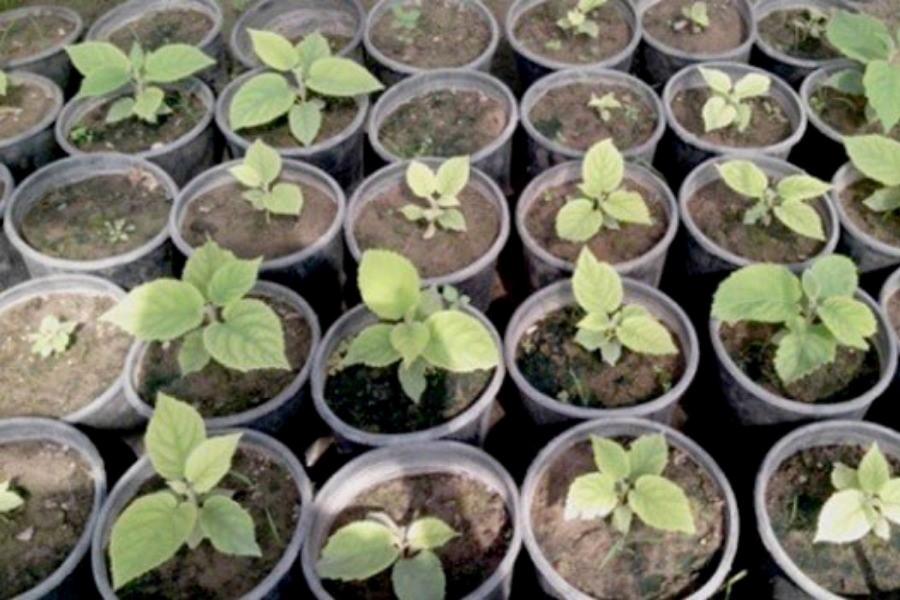
- When the sprouts have 3-4 true leaves, they need to be planted in separate pots with a diameter of 8-10 cm. It is recommended to plant young actinidia seedlings in a soil mixture consisting of turf, humus, peat and sand in a ratio of 2:1:1:1 .
- Further care of the plants consists of regular watering as the top layer of soil in the pots dries. Also, actinidia seedlings need to be regularly fed every two weeks after picking. To do this, you can use Kemira Universal.
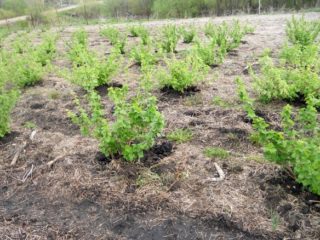
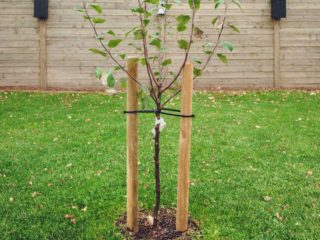
- In May, grown actinidia seedlings need to be planted in a garden bed for growing. After they get stronger, you can move them to a permanent place.

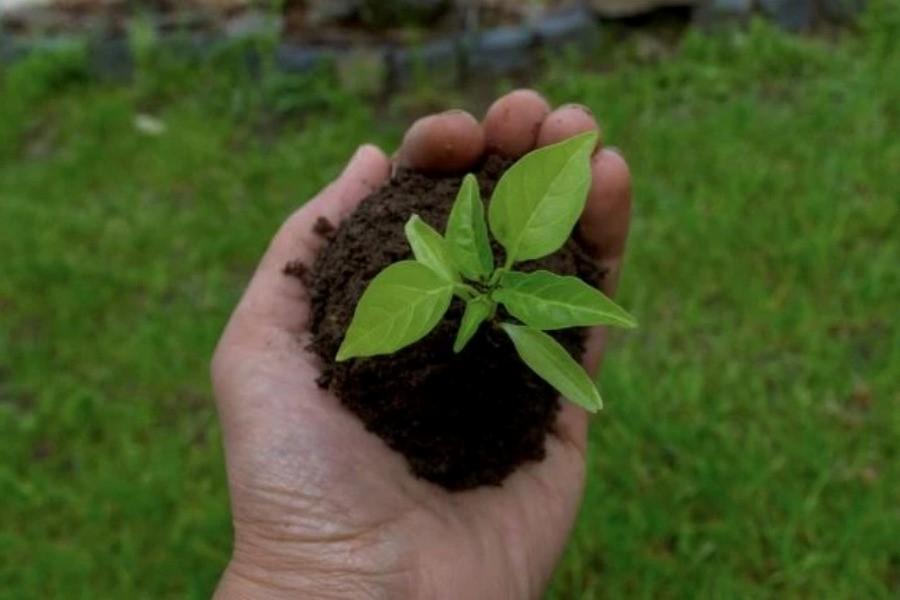
Important! Actinidia grown from seeds begins to bear fruit at 5-6 years.
Reproduction by layering
This is the easiest way to propagate vines. However, it can only be used on plants older than 5-6 years. Since attempts to reproduce a younger actinidia can significantly weaken it.
Procedure:
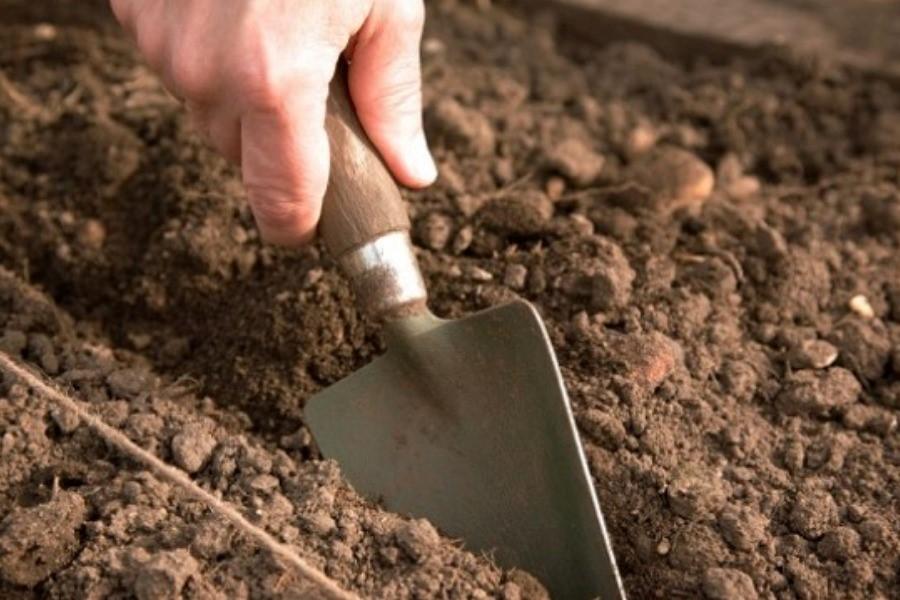
- In the spring, next to the queen cell, make several grooves 10-12 cm deep. Fill them with a nutrient mixture, including humus and turf in a 1:1 ratio. Then water the substrate generously.
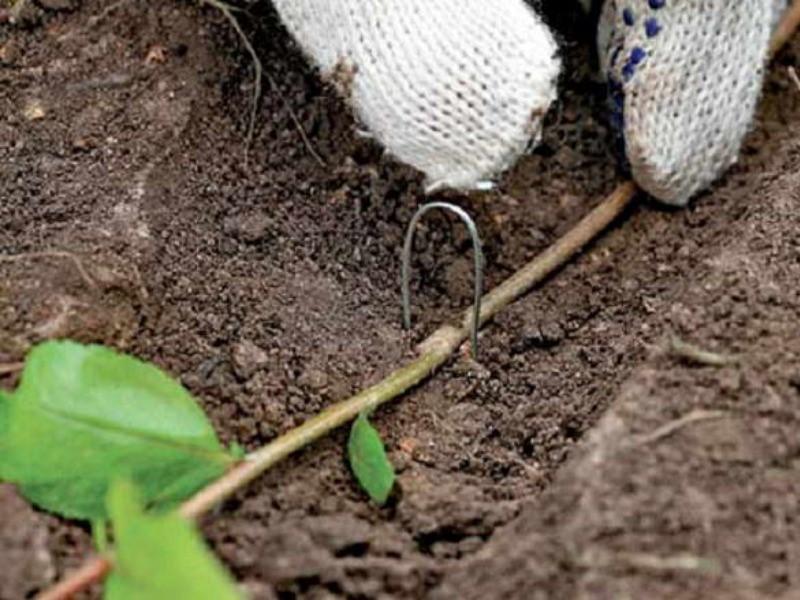
- Remove a one- or two-year-old actinidia shoot from the support, place it in a groove, pin it with staples, sprinkle it with earth and compact it. In this case, the top should remain on top; you just need to pinch it.

- In a month, sprouts from the awakened buds will begin to appear along the entire length of the shoot. It is necessary to constantly monitor the soil moisture; it should always be slightly moist. Also, as young seedlings grow, they need to be periodically hilled up, which promotes the growth of the root system.
Actinidia cuttings
Actinidia propagates well from cuttings. Moreover, you can use both green and lignified shoots for this. This method of propagation makes it possible to obtain a large amount of planting material that completely preserves the species properties of the mother plant. Moreover, the survival rate of young seedlings is at least 80%, which is an excellent indicator.
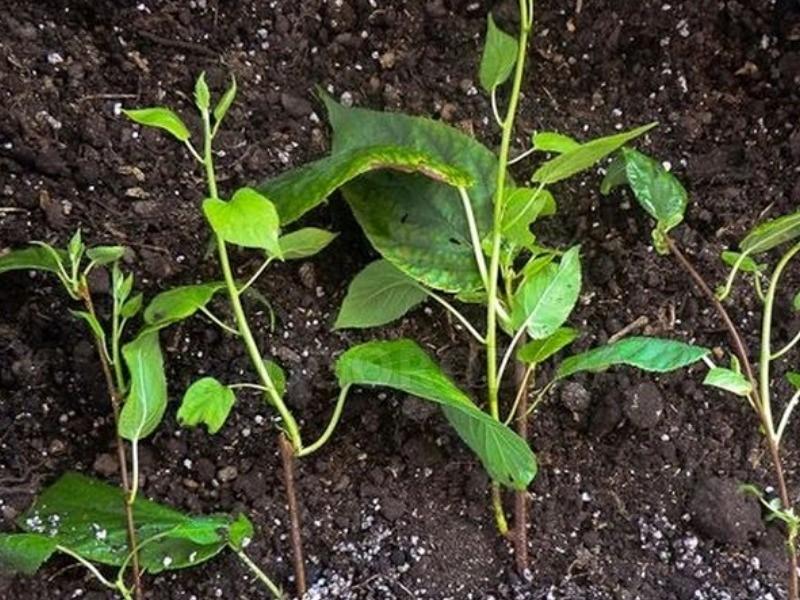
Propagation of actinidia by green cuttings
Actinidia propagation by green cuttings must be carried out during the active growth of young shoots of the plant. Therefore, the optimal period is considered to be the end of June or the beginning of July.
Procedure for growing actinidia from green cuttings:
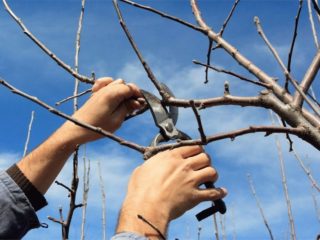
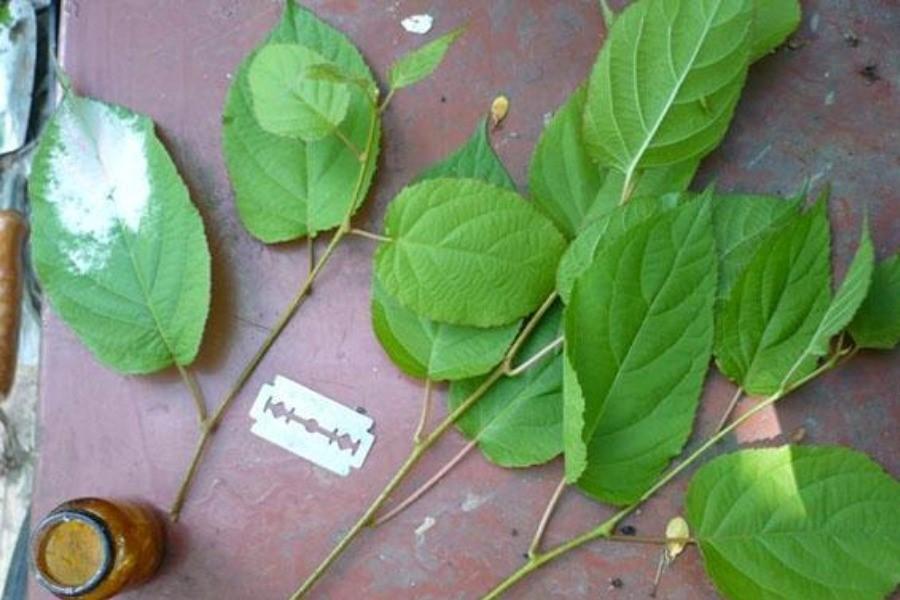
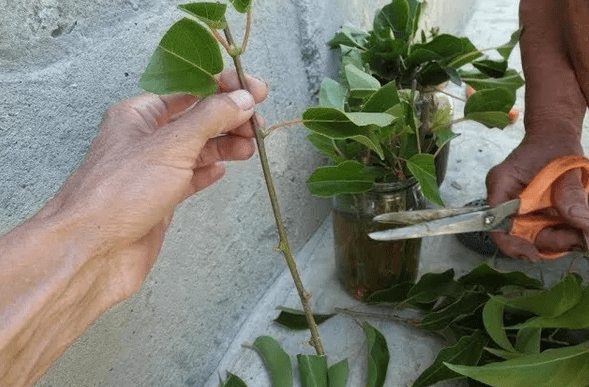
- Trim the young shoot, which has a brown tint to the bark, at the base. Divide it into parts with two or three internodes. In this case, the lower cut should be oblique, passing under the bud at a distance of 0.5 cm, and the upper cut should be straight and be 2-3 cm above the bud.
- Strip the cuttings from the leaves at the bottom, tie them into a bundle and place them in Kornevin’s solution for a day.
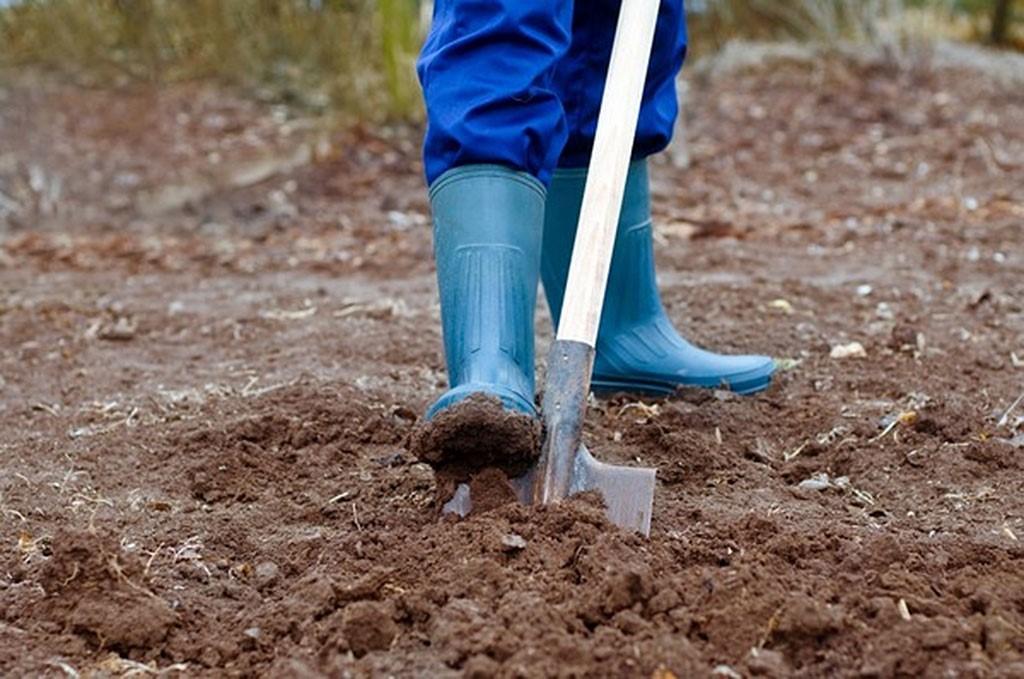
- Prepare a bed for planting shoots. To do this, remove the top layer of soil to a depth of 10-15 cm. Then you need to lay a layer of crushed stone up to 2 cm on the bottom, and sprinkle it with calcined sand 1 cm thick on top. Fill the rest of the space with a soil mixture consisting of turf, humus, and peat in equal proportions. At the end, water the bed with a solution of potassium permanganate to disinfect the soil.

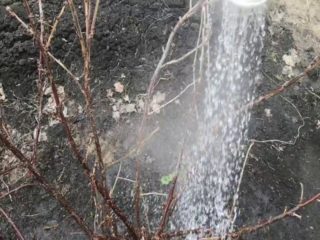
- To root actinidia by cuttings, they must be planted in prepared soil to a depth of 5-6 cm. The soil around the shoots should be well compacted, and then the bed should be watered using sprinkling.

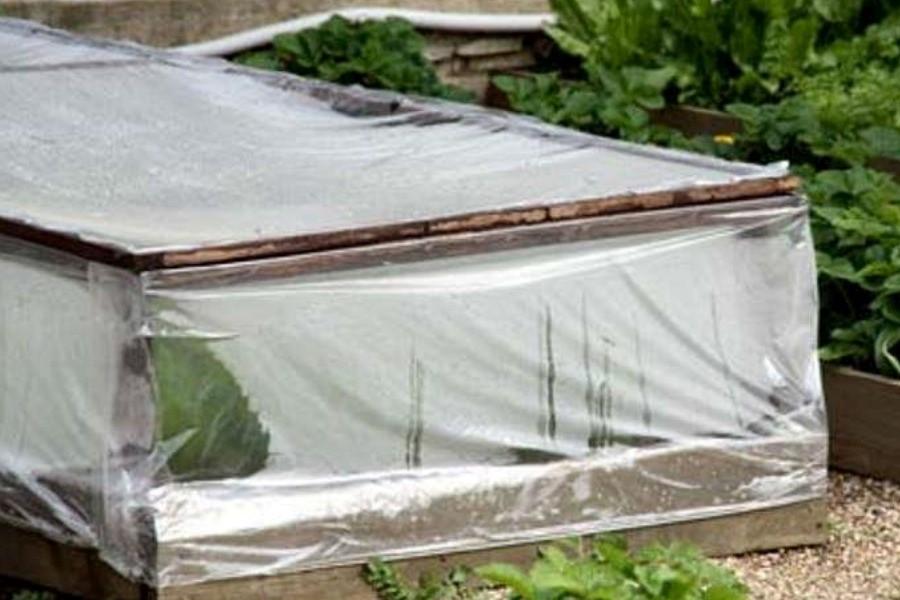
In order for the cuttings to quickly take root, it is necessary to build a mini-greenhouse over them, which will ensure an optimal level of humidity. It is necessary to water the seedlings every two days and ventilate them daily for half an hour. If all conditions are met, green actinidia cuttings will form callus within 7-10 days, and roots will appear three weeks later. And the seedlings can be transplanted to a permanent place next spring. If they are not strong enough by this time, then it is better to postpone the procedure until the fall.
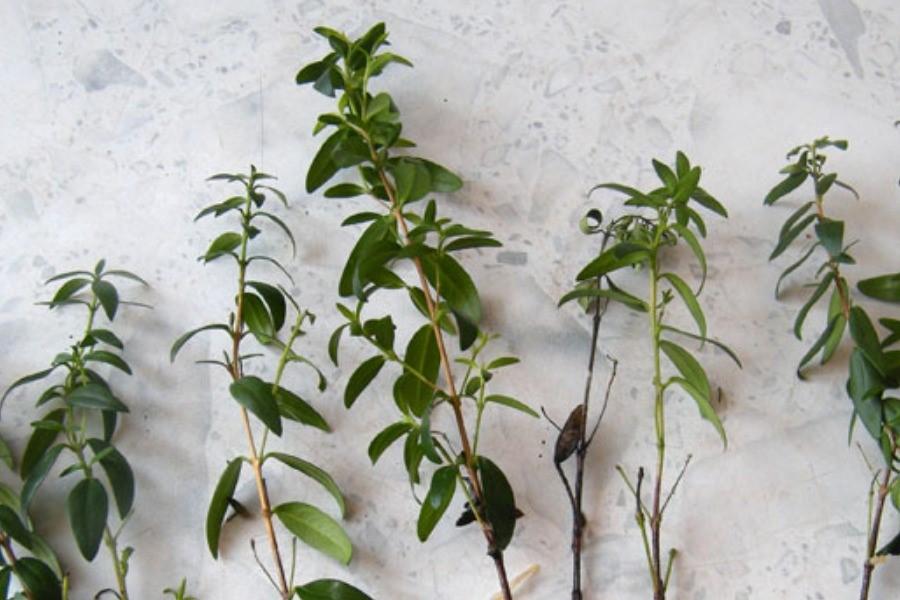
Lignified cuttings
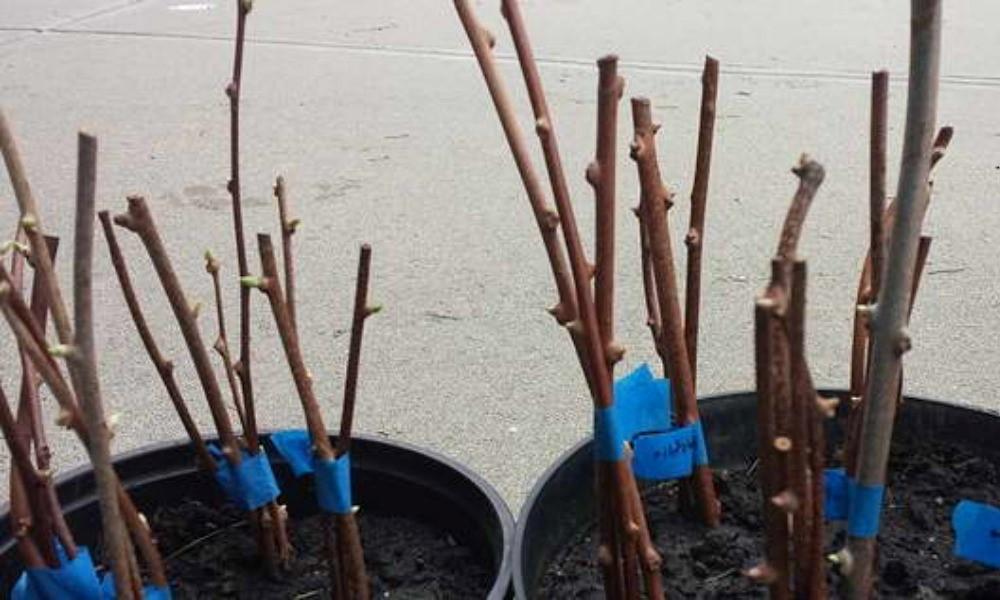
Actinidia cuttings are also possible in winter. In this case, for propagation it is necessary to prepare lignified shoots of the plant. They need to be cut in the fall after leaf fall, when sap flow in the tissues stops.
Lignified actinidia shoots must be divided into parts with 3-4 internodes, making the lower cut oblique under the bud, and the upper straight 2-3 cm above it. After this, it is recommended to tie the cuttings into a bundle and place them vertically in a box with wet sand, deepening them 7-8 cm into it.
Before planting, it is recommended to store cuttings at a temperature of +2-5 ° C
It is recommended to start germinating lignified actinidia cuttings at home in mid-February. This makes it possible to obtain fully rooted seedlings by the beginning of the season.
Procedure for cutting actinidia in winter:
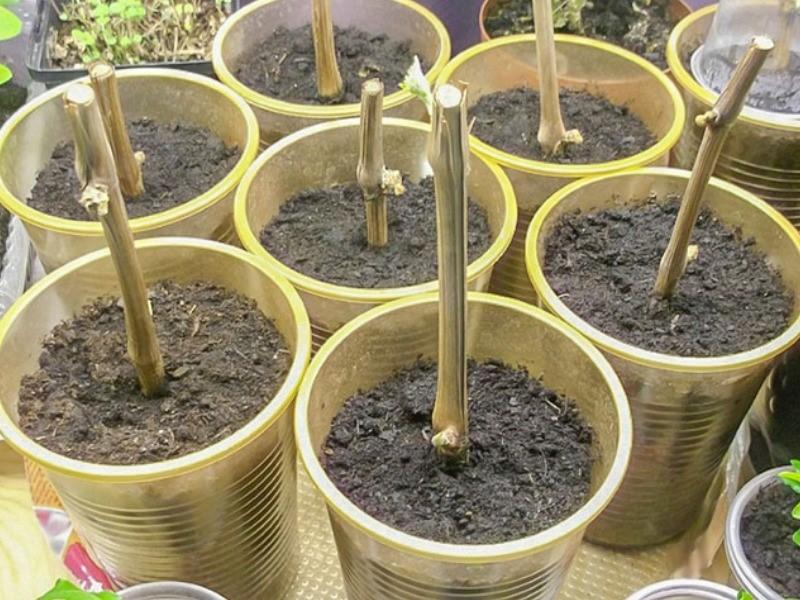
- Prepare containers with a volume of 200-300 ml with drainage holes. Place a layer of drainage on the bottom, and the rest
- Remove lignified cuttings from storage, update the sections and place them in Kornevin’s solution for a day.

- After the time has passed, plant them one at a time in a container, deepening them 7-8 cm. Compact the soil at the base of the shoot and water generously.
- Make a mini-greenhouse and place the planted cuttings in it. Place the structure on the windowsill. It is necessary to ventilate the cuttings daily and water them as necessary.

When cutting actinidia in winter, roots form 40-45 days after planting. When the plants get stronger and grow, they can be transferred to open ground, having previously adapted to new conditions.
Combined cuttings
To propagate actinidia, you can also use combined shoots of the current year. This means that the lower part of the shoot should be woody, and the upper part should be green. It is recommended to cut actinidia in this way at the beginning of summer. In this case, planting, like green shoots, is best done immediately in open ground in a prepared bed.
Procedure for cutting actinidia:
- Plant each one in a separate hole at a distance of 15 cm and water.
- Make a mini-greenhouse on top to create optimal conditions for rooting.
In the future, it is necessary to keep the soil always slightly moist and regularly ventilate the cuttings. Young seedlings begin to grow a month after planting. This method of propagation gives almost one hundred percent survival rate of seedlings if the planting material is selected correctly. Young vines can be planted in a permanent place the next season.
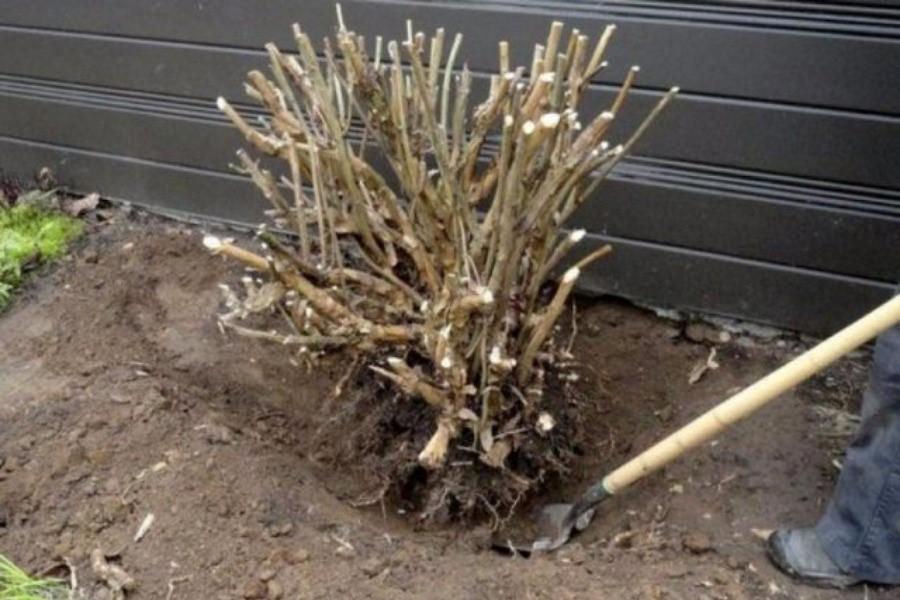
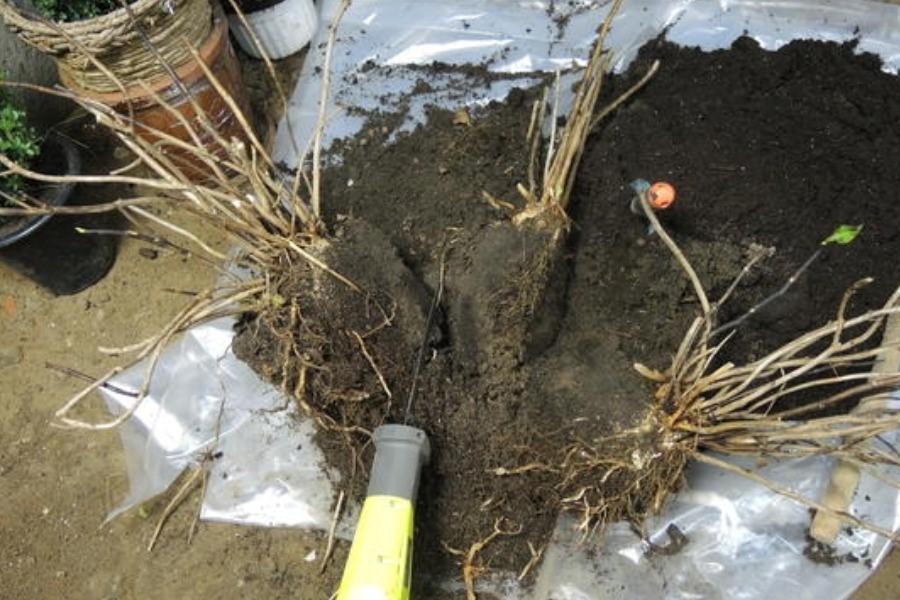
Reproduction by dividing the bush
This propagation method is recommended to be used if it is necessary to transplant an adult vine to a new location.The procedure should be carried out in early spring before the beginning of the growing season or in late autumn after it ends.
The procedure for propagating actinidia by dividing the bush:
- Dig up the vine from all sides and carefully remove the plant from the ground. Remove the soil from the roots and carefully trim off all old shoots.
- Using pruners, divide the bush into 2-3 parts. Each of them should have well-developed roots and several viable shoots.
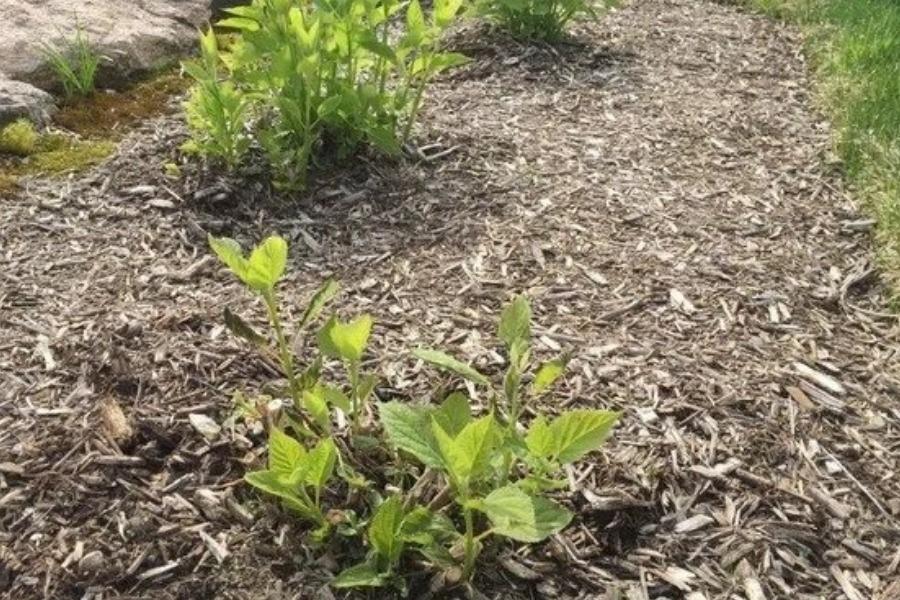
- Immediately plant the cuttings in a permanent place, water them abundantly and mulch the root circle of the plant with humus.
Conclusion
Actinidia propagation does not cause any particular difficulties even for novice gardeners. And even if the first time the result does not meet expectations, then you should not give up. It is necessary to study the features of each method in more detail in order to eliminate future errors.