Content
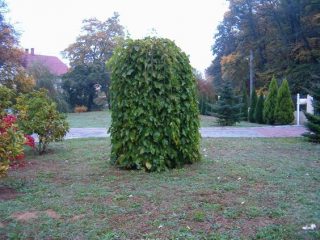
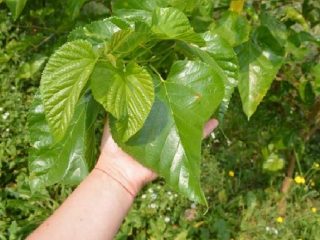
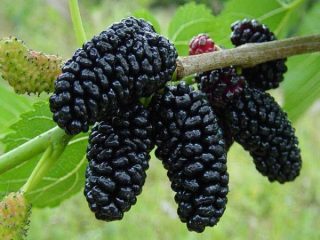
Mulberry (mulberry) is a fairly common fruit tree, often grown in the southern regions of Russia. It produces tasty and healthy fruits that have a number of healing properties, but requires good care. The planted tree does not always meet the gardener’s expectations; often the berries turn out to be small, tasteless, or the plant grows wild. The easiest way out in this situation is to graft mulberries.
Pros and cons of propagating mulberries by grafting
Grafting is a special operation that allows you to change the characteristics of a plant through biological fusion with it of another variety or species. It is widely used for many fruit trees. Grafting apple trees, pears, plums, cherries and other crops. This technique allows:
- Quickly propagate the desired variety without planting seedlings.
- Increase the number of varieties grown without increasing the number of plantings.
- Change the characteristics of the plant, its winter hardiness, overall dimensions, and timing of crop ripening.
- Change the taste of fruits.
- Preserve the species or variety you like if the tree dies.
Grafting mulberry in the spring allows you to reduce the time for obtaining the first harvest by several years. This is very important when the crop is grown for the first time. Thanks to grafting, you can quickly evaluate the result obtained and determine whether this variety is worth pursuing in the future.
The disadvantages of vaccination include its relative complexity, especially for beginners. However, this problem can be solved by independent study of the theoretical part and practical work, preferably under the guidance of an experienced mentor, especially if it is carried out for the first time.
What is mulberry grafted on?
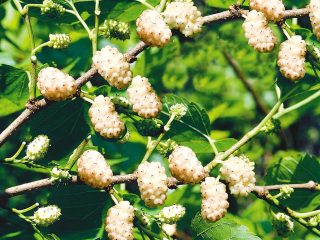
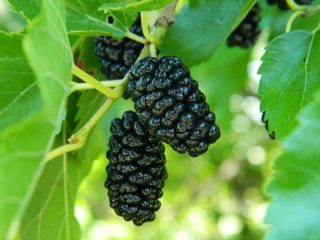
The mulberry tree has a significant drawback: its grafting is usually done only within the genus. Therefore, it will not work to graft a mulberry onto a plum, for example. Different types of mulberries are grafted and re-grafted with each other, for example, white is grafted onto black, black onto red, etc. Grafting a cultivated variety onto a wild mulberry tree is also common. Other plants are not used as rootstocks. Grafting mulberry onto plum, apricot, peach and other fruit crops is unlikely to succeed; such attempts have been made by experimental gardeners more than once and invariably ended in failure.
What can be grafted onto mulberry
In the vast majority of cases, only another mulberry can be grafted onto a mulberry tree. Mulberry is an independent genus of plants, uniting 17 species of deciduous trees. They can be grafted onto each other. As a rule, other crops are not grafted onto mulberries. However, experienced gardeners sometimes succeed in grafting figs onto mulberries, and also, paradoxically, grapes. To do this, they use a rather original method.A hole is drilled in the mulberry tree so that a grapevine can be passed through it. If fusion occurs over time, then the mother grape shoot is cut off and the vine continues to grow on the mulberry rootstock.
Preparation for mulberry grafting
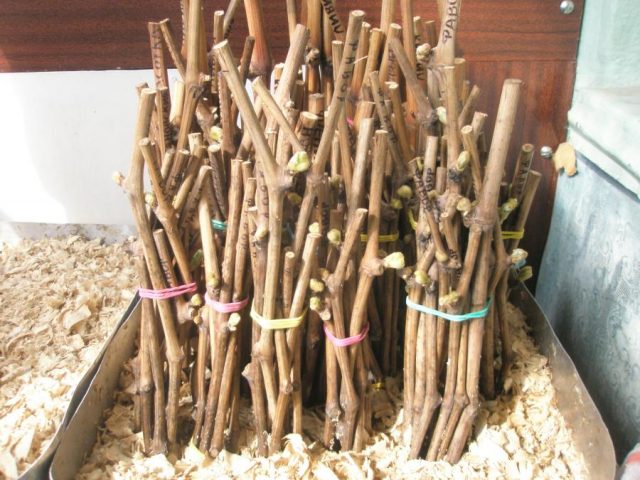
Preparations for grafting a mulberry tree begin in the fall. It is at this time that the cuttings are cut and prepared. A suitable period for this is the period of time from the end of leaf fall to the onset of the first frost. For cutting cuttings, use annual mulberry shoots growing on the sunny side. The length of the cuttings should be 30-40 cm, thickness - 5-7 mm.
After harvesting, the cuttings are tied into bundles and stored in a basement or cellar. Store them in an upright position, in the direction of natural growth, placing the cut side in a damp substrate of sawdust or sand. The optimal temperature for this is + 2 °C.
Mulberry cuttings can also be stored outside. An ordinary hole in the ground is suitable for this. It is usually done on the north side of the house to avoid temperature fluctuations caused by the sun. A layer of wet sawdust is poured onto the bottom, then the cuttings are laid out, covering them with the same moistened material on top. In this form, the pit is left for an hour so that the sawdust has time to cool. After this, a layer of dry sawdust is poured on top and covered with plastic wrap.
If the harvesting time is missed in the fall, you can start cutting cuttings at the end of winter or early spring, at which time the frosts have already stopped, but the buds on the shoots are still dormant.Cuttings cut at this time can be stored in the refrigerator on the top shelf. To do this, they are wrapped in a clean, damp cloth and then placed in a plastic bag.
Before vaccination, you need to prepare the necessary tools and materials. To carry out the work you will need:
- copulating knife;
- budding knife;
- pruning shears or garden shears;
- polyethylene tape;
- fixing material;
- garden var.
All cutting edges must be properly sharpened. The sharper they are, the smoother the cut will be, the faster the wounds will heal and the tree will recover.
Before carrying out work, the instrument must be disinfected so as not to introduce infection into the wound.
How to graft a mulberry tree
To graft mulberries in the spring, you can use all the same methods as for other fruit trees. Most often, mulberries are grafted using the following methods:
- budding;
- copulation;
- into the cleft;
- for the bark.
Budding and copulation are the most common methods of mulberry grafting. Other methods are used less frequently.
How to plant mulberries in spring
You can graft mulberries in the spring, about 1-2 weeks before flowering. To do this, it is recommended to use the following methods:
- butt budding;
- budding in a T-shaped incision;
- simple copulation;
- improved copulation.
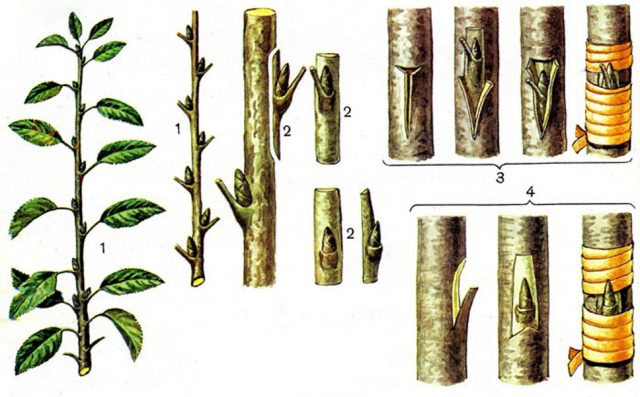
Butt budding is a fairly simple method. Its essence is that a cut of the so-called shield, a part of the bark, is made on the rootstock. In place of the cut-out, a shield with a bud of exactly the same shape and size, taken from the middle part of the cutting, is placed. After combining the layers of cambium, the shield is fixed using a special tape.
Budding into a T-shaped incision is performed as follows.The bark of the rootstock at the site of future grafting is cut in the form of a large letter T. The layers of bark are folded back, and a scion shield with a bud is inserted behind it. After this, the shield is fixed with tape, while the kidney remains open.
Both methods of budding are shown in the figure below.
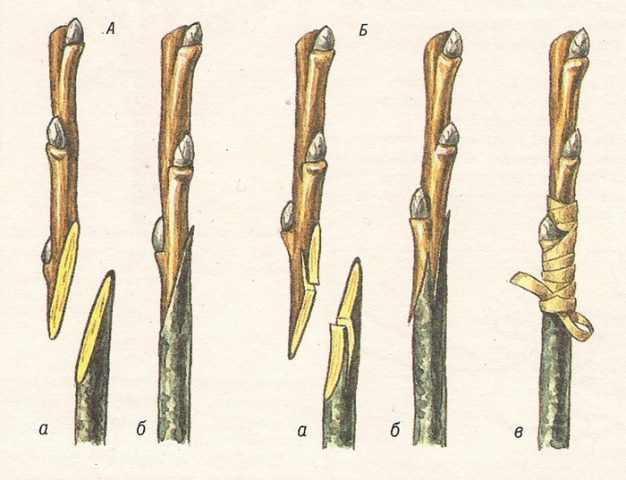
Another common way to plant mulberries in the spring is copulation. This method is used when the thickness of the rootstock and scion cuttings are the same. The shoot of the rootstock and the bottom of the cutting are cut obliquely, so that the length of the cut is approximately 3 times greater than its diameter. After this, the rootstock and scion are combined, achieving maximum coincidence of the cambium layers. The grafting site is fixed with a special tape.
The survival rate can be increased using improved copulation. In this case, the oblique cut of the cuttings and rootstock is not straight, but zigzag. This allows the cutting to be more firmly fixed at the grafting site, and also increases the contact area of the cambium on the rootstock and scion.
The figure shows both copulation methods:
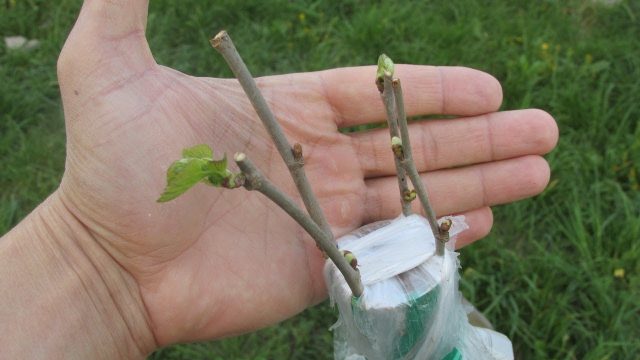
You can find out whether the vaccination was successful in about 10-14 days. The established shoot will release leaves and confidently begin to grow.
How to plant mulberries in summer
In addition to the spring period, mulberry can be grafted in the summer, from the end of July to the beginning of the 3rd decade of August. To do this, they use the so-called sleeping eye budding method. Summer mulberry grafting in this way is no different from the usual one. spring budding. A scion with a dormant bud is used as a scion, which is taken from annual shoots of the desired mulberry variety. Survival rate is determined after 1.5-2 weeks; if the bud has not turned black and retained a fresh appearance, it means that the grafting was successful. It will only begin to grow next spring.
How to prepare mulberry grafting for winter
The vaccination site is quite vulnerable. Until complete fusion occurs, the cuttings may move due to exposure to wind, precipitation or other reasons. Therefore, for the first few months, the fixing tape is not removed, but only loosened so as not to disturb the flow of sap. It is completely removed only after the tree has overwintered. You can also increase the survival rate quantitatively by making several grafts in different places on the tree.
Winter is the right time to graft wild mulberry seedlings with cultivated cuttings if they are being grown in a greenhouse or indoors. This type of vaccination is often called tabletop, since it is carried out in comfortable conditions. It is recommended to carry it out from late December to early March. At home, you can make very neat, clean cuts, so the survival rate of such vaccinations is invariably high.
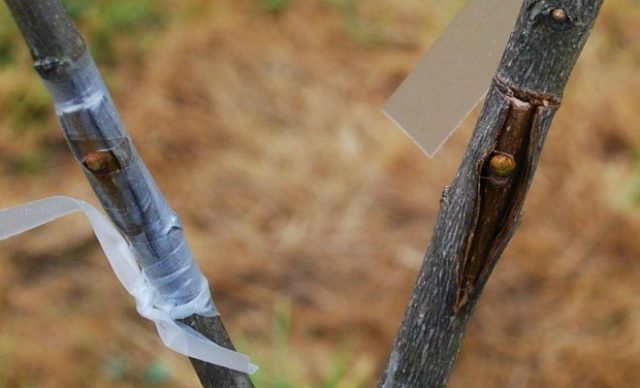
How to find out whether a mulberry tree has grafted or not
The result of vaccination can be assessed visually after 10-15 days. If the grafting is successful, the cutting will remain healthy and the buds will begin to grow. To improve survival rate, below the grafting site you need to cut off all the shoots so that the tree does not waste energy on their growth. The fixing tape must be left in place; it can be loosened no earlier than 3 months after vaccination.
Spring grafting should be considered unsuccessful if, 2 weeks after the procedure, the shield with the bud or the cutting did not sprout, turned black and dried out.However, do not despair, since budding with a sleeping eye can be repeated in the summer. In any case, the result, even if unsuccessful, is useful from the point of view of gaining experience.
Advice from experienced gardeners
Here are some tips that can be given to novice gardeners before grafting mulberries. Following them will allow you to avoid many mistakes and increase the number of positive results.
- It must be remembered that mulberry is a dioecious plant. By grafting a cutting from a female tree onto a male tree, you can get a harvest for 4-5 years.
- If you graft mulberry onto an adult tree, it will begin to bear fruit 2-3 years earlier.
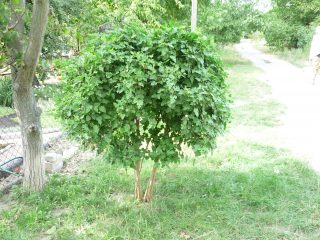
- Grafting weeping or spherical varieties onto a low-growing trunk can significantly reduce the height of an adult tree, while making it easier to harvest and work with the crown.
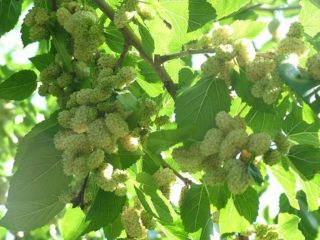
- You can easily graft several varieties of mulberry onto one tree, thereby obtaining fruits of different colors.
- In summer, a bud from a growth shoot can be used for budding.
- The vaccine is not given on a rainy day.
- The best time for vaccination is early morning or evening.
- The better the quality of the instrument, the better the survival rate.
- Do not touch the cuts with your hands.
Conclusion
Grafting a mulberry tree is not difficult if all work is carried out on time and with proper quality. You can avoid common mistakes if you carry out this work under the guidance of an experienced gardener. A mulberry tree can grow for up to 200 years, so with the right approach, you can grow a real assortment of mulberries on one tree.