Content
Sterilization of jars is one of the most important stages in the process of preparing canned food. There are many sterilization methods. Ovens are often used for this. This allows you to quickly and efficiently heat several cans at once. Experienced housewives know how time consuming it is to sterilize containers in water or over steam. How is such sterilization carried out and how long do you need to keep the jars in the oven? This will be discussed below.
How to properly sterilize empty jars
Sterilization is simply necessary so that the jars can be stored for a long time. Without it, various bacteria will begin to multiply in the workpieces. The toxins they release are very dangerous to human health and life. Using an oven you can carry out high-quality sterilization. In addition, the containers will not need to be additionally dried, which often takes a lot of time.
Another advantage of this method is that you do not need to heat each jar separately. Several of these containers will fit into the oven at once. The capacity of the oven is even greater than that of a microwave oven, which can hold no more than 5 cans. In the oven you can sterilize both empty containers and filled ones. And it doesn’t matter at all what exactly you roll up.These can be either various vegetable salads or pickled cucumbers and tomatoes.
Before you start sterilizing empty containers, you should make sure that the dishes do not have any defects. Containers with cracks or chips can easily burst during heating. The jars should also be free of any stains.
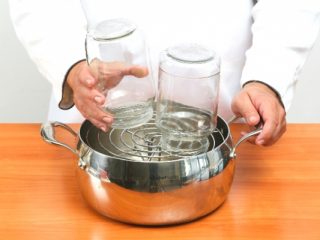
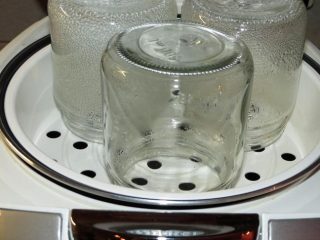
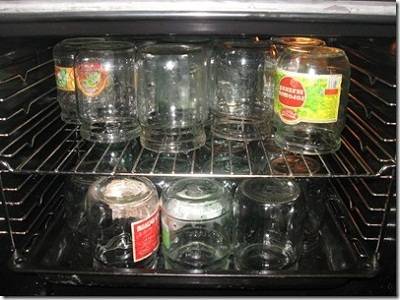
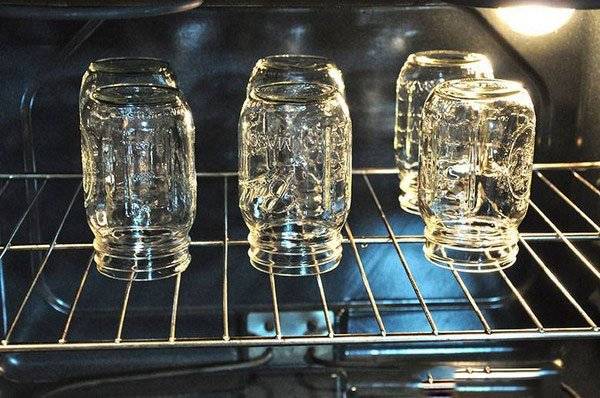
Then the containers are turned over and left to dry. Now you can begin the sterilization itself. All containers are placed in the oven with the bottom up. If the jars have not yet completely dried, then they are placed upside down. For sterilization, the oven temperature is set to 150 degrees. Half-liter jars are kept in the oven for at least 15 minutes, but three-liter containers will have to be heated for about 30 minutes.
Important nuances
You can only remove jars from the oven using special gloves or a kitchen towel. To prevent the jar from suddenly bursting, you must carefully place it on the surface with the neck down. To allow the jars to cool slowly, you can cover them with a towel on top.
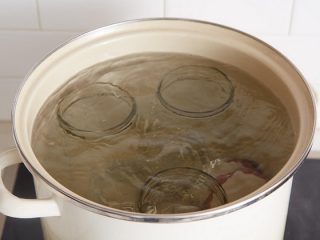
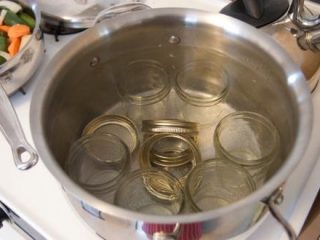
Be sure to hold the jar with both hands so that if something happens it does not fall and injure you. Then the question may arise, what to do with the lids? It is not advisable to sterilize them in the oven. The lids, like the jars, must be thoroughly rinsed, and then placed in a pan of water and boiled for 15 minutes. To remove the lids from the pan, it is better to first drain the water or use special tongs.

Sterilizing jars in an electric oven
Owners of electric ovens can also sterilize jars using this method. It doesn’t matter at all what shape and size the oven itself is. The whole process goes as follows:
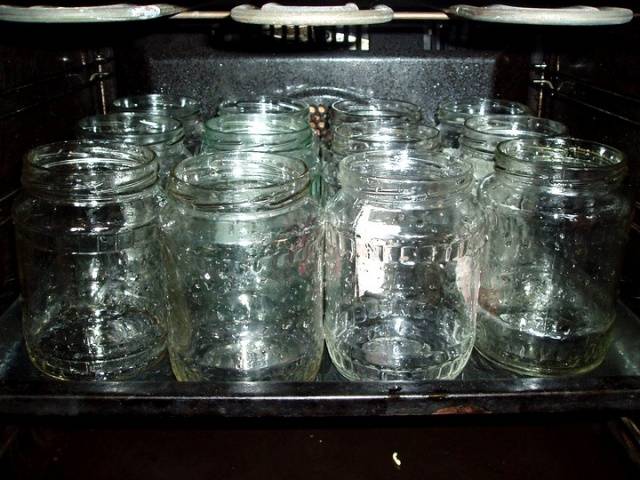
- The jars are thoroughly washed using soda, as in the above method. Then the containers are laid out on a towel to dry.
- Do not forget that wet jars must be placed with their necks up, and the rest must be turned upside down.
- Metal lids can also be sterilized in an electric oven. They are simply placed next to the jars in the oven.
- We set the temperature to about 150°C. Heat three-liter containers for 20 minutes, and half-liter containers for about 10 minutes.
As you can see, using an electric oven can significantly speed up the sterilization process. You also need to carefully remove the jars using oven mitts and towels. It is necessary to place sterile jars only on a clean, washed surface, otherwise all the work will be in vain and bacteria will again enter the container.
Attention! If the temperature suddenly increases, the jar may burst, so it is better to immediately cover the container with a towel. So, the heat will be stored much longer.
How to sterilize jars with ready-made products
There are many benefits to using ovens for sterilization. Such seams are perfectly stored and almost never explode. Thanks to heating, the container is not only sterilized, but also dried. This saves time on additional drying of containers, as after steam treatment. In addition, your kitchen will not have increased humidity levels due to boiling liquid. This process does not cause any inconvenience.You don't even have to fish out hot jars from boiling water.
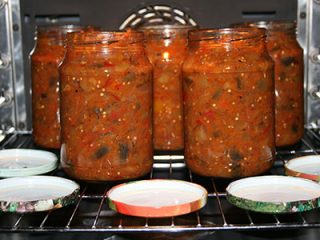
In addition to empty containers, ready-made seams can also be sterilized in the oven. This is also quite easy to do. The process goes like this:
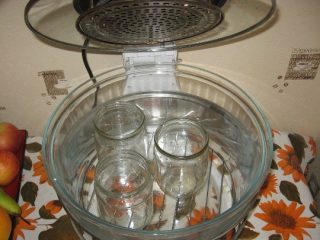
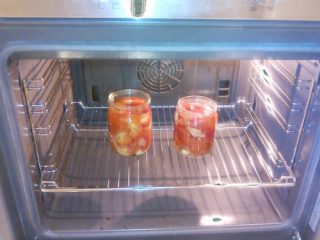
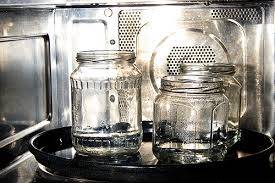
- The jar is filled with the preparation and the container is placed in water. You won't need a lid at this stage.
- We set the temperature to 150 degrees. When the oven heats up to this level, set ten minutes for half-liter jars, 15 minutes for liter containers and 20 minutes for 3 or 2 liter pieces.
- When the required time has elapsed, the jars are taken out of the oven one by one and rolled up with special lids.
- Next, the jars are turned upside down and left until they cool completely. To ensure that the jars cool slowly, you should cover the preserved food with a blanket.
- After a day, when the jars have cooled completely, you can move the containers to the cellar.
Conclusion
Even cooking does not stand still. Everything old is replaced with something newer and more practical. It’s so good that with modern technology you no longer need to boil huge pots of water and then, at the risk of burning your fingers, hold jars over them. Using an oven for these purposes is much more convenient and faster. No steam, stuffiness or bursting cans, which often happens during the boiling process. It would take a very long time to list all the advantages of this method. But it’s better not to talk about it, but to take it and try it. So if you haven’t tried this wonderful method yet, then don’t wait until next summer, try it as soon as possible.