Content
Growing platycodon from seeds at home is very attractive to all bell lovers. There are many varieties of ornamental plants, differing in size, color, and shape. Another known name for platycodon is broad bell. It fully corresponds to the translation of the word “platicodon” from Greek, which means “wide bowl”. The culture is quite common in the wild, but gardeners really want to plant a beautiful bush on their plots.
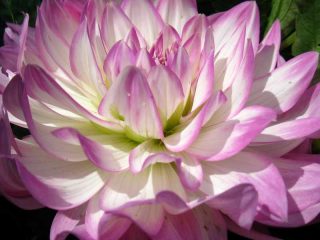
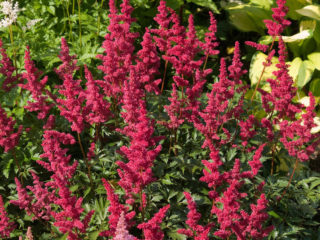
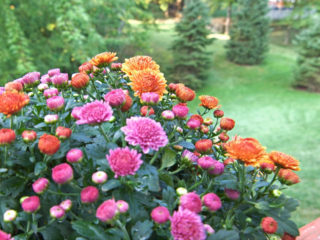
The combination of tenderness and beauty of a flower can decorate any composition.
Description of Platycodon seeds
The flowering of the crop begins in mid-June or early August and continues until October. This is provided that the bluebell has enough light and there is little rain during this period. The flowering period depends on the variety.
If a gardener needs to preserve varietal characteristics, then plants of different varieties should be planted away from each other.
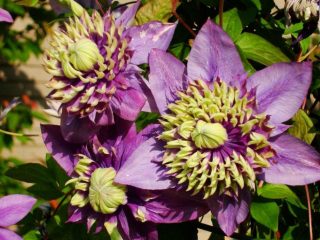
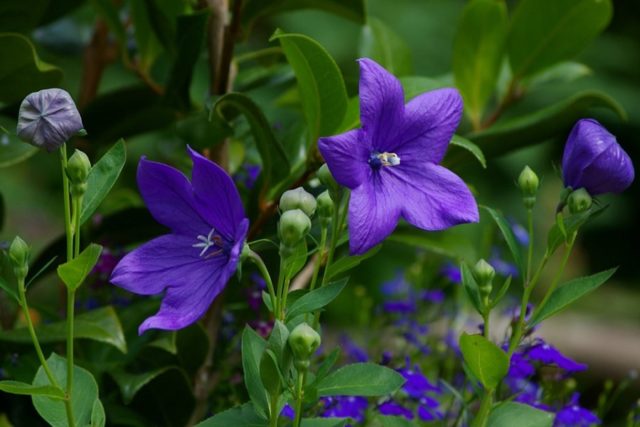
The tips of the petals of the buds are connected to each other and resemble an egg-shaped box. Then it hardens, a fruit is formed, inside of which there are seeds. They are flat and shiny, dark brown in color. The size of the seeds is no more than 1-1.5 mm. At the end of September, the pedicels dry out, the boxes turn brown, and it’s time to remove them from the bush.

One plant produces enough seeds to propagate the variety.
Now the planting material is suitable for growing platycodon flowers from seeds at home.
The nuances of growing platycodon flowers from seeds
To propagate a plant at home, you must purchase seeds for the first time. Then you can use those collected with your own hands. Some gardeners use the cutting method. However, young shoots quickly begin to rot under unfavorable growing conditions. Therefore, seeds are considered the main reliable material for planting. You can sow directly into beds or into containers for growing seedlings. In the first case, there cannot be complete confidence that the seeds will sprout. To eliminate the loss of time and planting material, gardeners prefer the seedling method. It will allow you to grow Platycodon from seeds at home with a full guarantee of maintaining all the desired qualities of the variety.
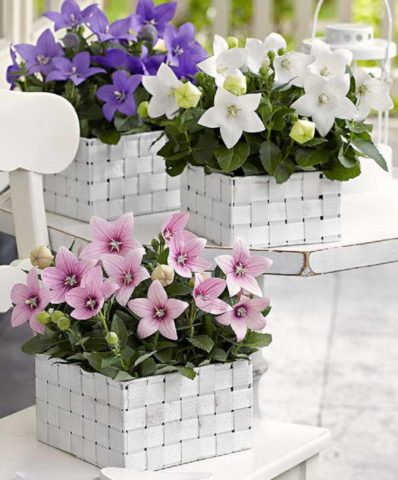
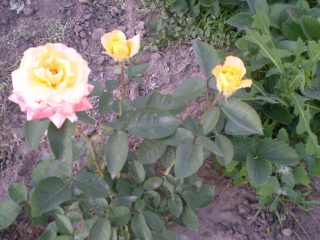
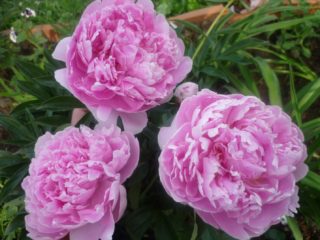
Growing new plants at home will allow you to decorate the area yourself to your taste
Rules for sowing Platycodon seedlings
To get healthy seedlings, you need to follow certain steps. They are determined by the requirements of agricultural technology for growing plants and include:
- compliance with the sowing deadline;
- proper preparation of soil, containers and planting material;
- implementation of sowing nuances;
- seedling care.
These activities do not pose any particular difficulties for gardeners. However, you should not neglect the recommendations; it is better to carefully follow each point. Only then will it be possible to properly plant Platycodon seedlings.
When to sow Platycodon for seedlings
For the crop, spring sowing is preferable. Some gardeners practice autumn. But in this case, Platycodon seedlings cannot be called “friendly”. The optimal period for spring is from the second half of February to mid-March. If the plant is grown in the middle zone, then Platycodon seeds can be planted at the end of March. The time difference is related to the time of planting seedlings in the ground. In warm regions this happens earlier. The later the warmth comes, the further the sowing date can be moved.
Selection of container and soil preparation
Preparatory activities include working with soil and containers for seedlings. To sow Platycodon you should prepare:
- Containers with shallow depth must have drainage holes. Seedlings develop well in peat pots, plastic containers, and boxes.
- Priming. It can be purchased at a garden store. Suitable universal for flowering plants. If you have the opportunity to prepare the soil mixture yourself, you will need several components. An equal amount of peat, sand and humus should be mixed. Purchased soil does not require treatment. If you prepare it yourself, you will have to calcinate it or treat it with a fungicide solution.
The next stage of planting is pre-treatment of the seeds.
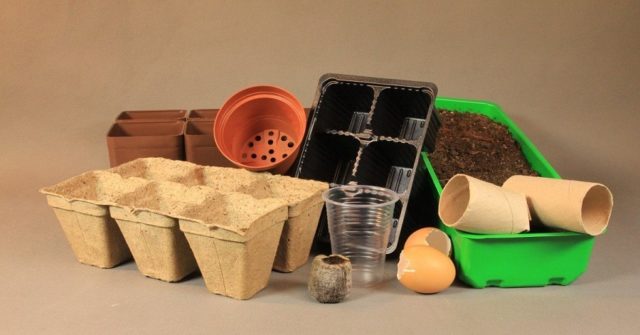
It is recommended to choose a container for sowing that is convenient for placement on the windowsill
Preparation and stratification of Platycodon seeds
A beautiful broadbell can only be grown from high-quality planting material. To increase the percentage of germination, it is necessary to properly treat the seeds before sowing. This event is considered mandatory when planting Platycodon seeds for seedlings. First of all, stratification should be carried out. This is called imitation of winter conditions. To carry out the process, the seeds must be placed in the refrigerator for 2 months.
To do this, planting material must be placed in a bag with a damp cloth, vermiculite or sand. Be sure to seal tightly.
2 days before the scheduled sowing date, soak Platycodon seeds in water or treat them with a growth stimulant solution. Now they are ready to plant.
How to plant Platycodon seeds
The algorithm for sowing broadbell is no different from the traditional method of growing seedlings. First, the container must be filled with soil mixture, not forgetting to lay a drainage layer. Then lightly moisten and start sowing. When growing Platycodon from seeds, you can plant it in two ways:
- placing seeds on the ground surface;
- sealing to a depth of 4-5 mm.
The seeds laid on the surface should be sprinkled with a little earth, then moistened again using a spray bottle.
Cover the container with film or glass and place it in a room with an air temperature of + 20-22 ºC. In order for Platycodon seeds to germinate well, you can deviate a little from the traditional method and sow them in peat tablets or a snail. Any method will be effective.
In order for the seeds to germinate together, the container should be placed in a room with a certain temperature
How to grow Platycodon from seeds
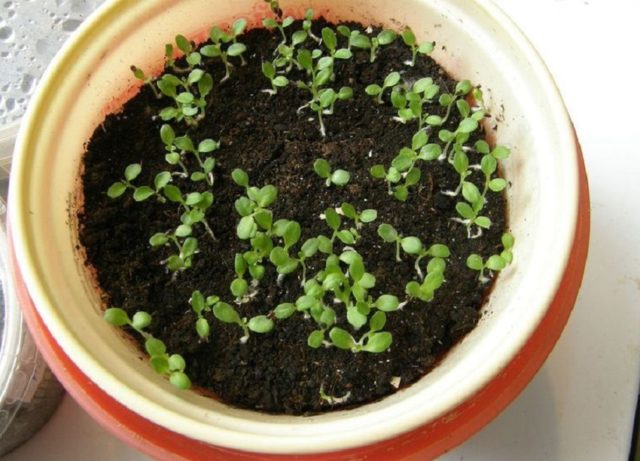
If sowing does not present any difficulties for the gardener, then you need to be careful when caring for the seedlings. Platycodon bell sprouts, when grown from seeds, will appear 7-14 days after planting. Further care includes:
- timely watering;
- picking;
- feeding;
- topping.
Another mandatory procedure is loosening. It is necessary to loosen the top layer of soil. This must be done carefully and after each watering.
Microclimate
As soon as sprouts appear above the surface of the earth, you need to remove the shelter. Then transfer the container to a cool place with a temperature of + 18-20 ºC and good lighting. In the future, the temperature should be maintained within the same limits.
Watering and fertilizing schedule
Every 2-3 days, seedlings should be moistened, but monitor the condition of the soil. It is necessary to avoid waterlogging or drying out of the soil. If it dries out, the small roots of the seedlings die off. If overwatered, seedlings may develop blackleg disease. For prevention, it is recommended to periodically water the seedlings with a weak solution of potassium permanganate.
It is best to feed the plant with a mineral complex for flowering crops. Frequency – once a month.
Picking
When 3-4 true leaves form on Platycodon sprouts, this is a signal for picking. You will need to prepare containers with a diameter of 10 cm and transplant the seedlings. One procedure is enough.
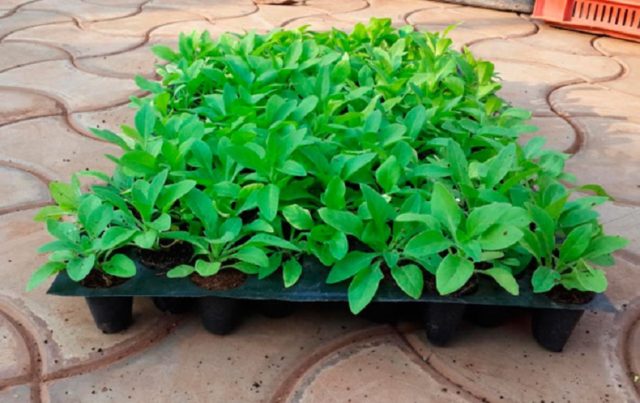
It is very convenient to drop seedlings into trays and then transplant them into the ground
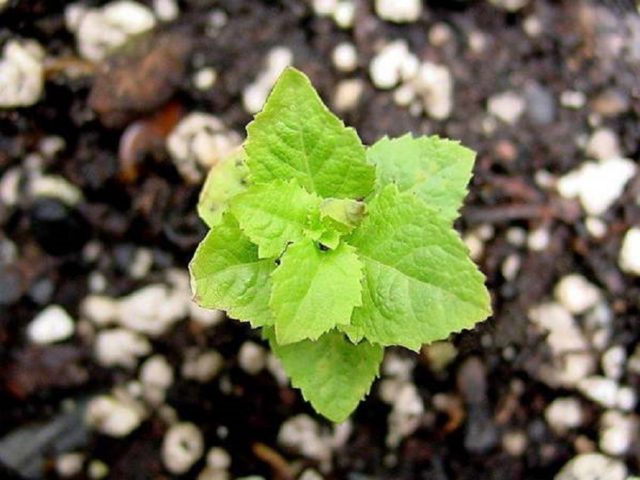
Topping
The culture requires regular pinching of the top of the seedling.This technique will slow down the growth of Platycodon seedlings and prevent stretching.
Transplantation into the ground
The time of transplantation is easy to determine based on the climatic characteristics of the region. It is necessary for the earth to warm up and warm weather to set in. Usually this period occurs at the end of May or the first days of June. It is recommended to prepare the bed in advance, taking into account certain conditions:
- Choose a bright place, although Platycodon also tolerates partial shade.
- Select fertile, drained, loose soil. Loam with a small amount of sand and a neutral reaction is best suited for Platycodon. Before planting, add 1 sq. m mineral complex fertilizer (1 tbsp.) and wood ash (0.5 cups).
Then prepare planting holes at a distance of 25-30 cm from each other. Fill them with soil, move the seedlings with a lump of earth, sprinkle with soil, lightly compact and water.
Platycodon does not tolerate transplantation very well. Therefore, it is recommended to plant seedlings, taking into account the long-term cultivation of a flower in one place. For 2 weeks after planting, water the seedlings daily, then loosen the soil. The main thing is that the soil is constantly moist. Then reduce the frequency of watering. Be sure to pinch the stems that extend upward. With this technique, gardeners recommend increasing the splendor of broadbell bushes.
The bush does not tolerate transplants, so the place should be chosen carefully
Conclusion
Growing Platycodon from seeds at home will allow you to completely preserve the varietal characteristics. Even an inexperienced gardener can do this action.It is enough to adhere to the description of the main stages of sowing and caring for seedlings.