Content
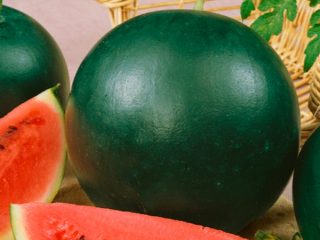
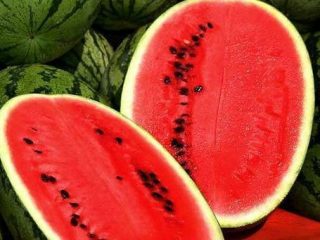
Watermelon is a crop that some gardeners call the “extraordinary berry.” It looks a little like some kind of berries, but it cannot be called that according to several definitions. Berries can be eaten whole, watermelons cannot, they are usually cut into pieces. All berry fruits have thin skin, watermelon is thick-skinned. Berry seeds are easily removed or absorbed by the body, but this is impossible with watermelon seeds - they have an additional shell that is difficult to digest.
Scientists have not yet decided what to call this miracle of nature; they attribute it to the Watermelon genus, the Cucurbitaceae family, or simply to false berries. To simplify all these concepts, in the future we will call watermelon melon crop. Our story will tell you about when and how to properly sow watermelon seeds, grow seedlings from them, and how to care for this crop in a melon patch, garden or greenhouse.
Step-by-step recommendations
Growing watermelons begins with sowing seeds for seedlings, then caring for the seedlings follows, the next stage is transplanting the seedlings into the ground, the final stage is caring for the seedlings and obtaining the first fruits. It was in this order that we drew up the plan for our article and posted the corresponding photos, adding our comments to them.
Seed selection and preparation
It is possible to grow watermelons in central Russia with its cool and unstable climatic conditions only by seedlings. Obtaining strong and healthy watermelon seedlings at home directly depends on the quality of the seed material (see video). It is necessary to carefully select varieties of watermelons that are zoned specifically to your region and with early ripening periods. From seeds intended for planting in the southern regions of the country, the fruits are unlikely to have time to ripen in northern latitudes. This is the main condition for growing watermelon seedlings; pay attention to this when purchasing seeds.
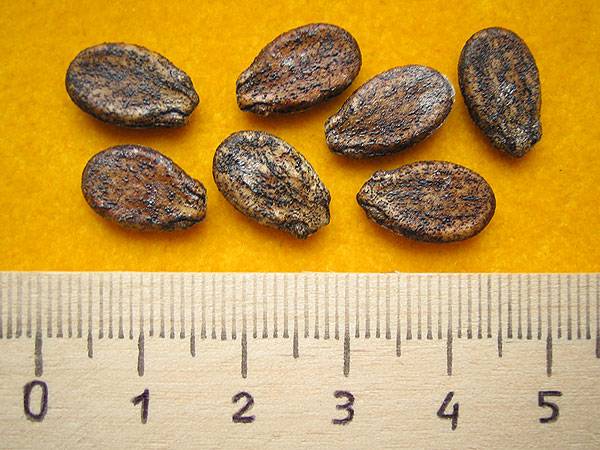
Watermelon seeds come in small, medium and large sizes and are easy to work with. The photo shows medium sized seeds. In structure and shape, it is an embryo, covered with a dense, hard shell, oval, tapering at one end. The structure of the shell can be rough or completely smooth.
The timing and time of sowing watermelon seeds depend on the intended planting of seedlings in the ground. If you expect to plant seedlings in open beds or greenhouses in May, sow watermelon seeds in April, that is, 30 days before transplanting the finished seedlings to their permanent place.
Step 1
Main events at this stage:
- Selection of quality watermelon seeds. Remove dried and damaged seeds immediately. This can be determined visually and by touch.
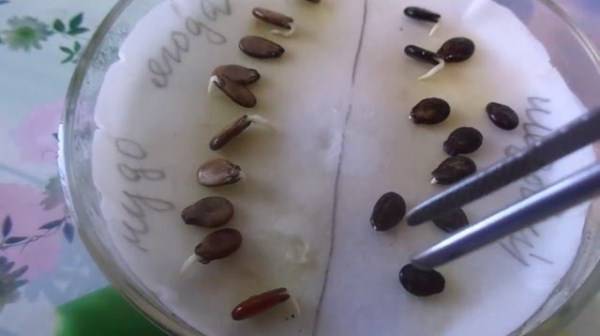
- Disinfection and soaking. Place watermelon seeds in a pinkish solution of potassium permanganate for 30 minutes, rinse with clean water. Place for germination as indicated in the top photo. The time until the first root appears is from 3 to 7 days.
They will not make good seedlings; they will take a long time to hatch or will not sprout at all. It is better to purchase watermelon seeds with a shelf life of more than 2 years; they form more female flowers, from which fruits grow.
Sowing seedlings
Growing watermelon seedlings at home can be difficult for the following reasons:
- Experienced plant growers who have been growing watermelons in their gardens for many years advise sowing germinated seeds immediately into large containers, that is, not replanting seedlings in between, but this requires large containers, which means a lot of earthen substrate will be required;
- the roots of seedlings are very delicate and sensitive to any changes; during transplantation, they can be damaged, and their further development will be inhibited, this will lead to a slowdown in the entire growth process of seedlings;
- The root system of watermelons develops very quickly, growing a large number of shoots, and very soon takes up all the space in the pots.
Step 2

Planting seeds that have already been germinated is carried out in the following order:
- Prepare the soil mixture. Fertile garden soil with the addition of light compost, ash or peat is suitable. To disinfect, the soil is poured with boiling water, fried over a fire, or treated with special chemicals.
- The containers, as we have already said, need to be large. One sprout of seedlings requires a container with a height of at least 25-30 cm and a volume of about 3 liters.
- A 3-5 cm depression is made in the center, a seed with a hatched embryo is placed, and covered with compost.
- Lightly compact the soil and water.
Determine what date to sow watermelon seeds for seedlings yourself, the main thing is to know that this needs to be done a month before transplanting into the ground.
Seedling care
The next stage of growing watermelon seedlings begins - caring for the seedlings. This period lasts about a month. Caring for seedlings in this short time is very simple:
Step 3
- It is necessary to moisten the soil with watermelon seedlings in a timely manner, without allowing the soil surface to dry out (moisturize, not flood);
- at home, the room temperature should not be lower than +25°C;
- The seedlings will have to be provided with additional lighting; in April and May the days are still quite short, and the seedlings need light and warmth. When there is insufficient lighting, the plant stretches in height, and cotyledon leaves, which are equally underdeveloped, are formed on a thin, weak stem. As a result, you can get an ugly and non-viable sprout.
- An important factor for the normal development of watermelon seedlings is an indicator such as air humidity, if this value is below 70%, it is necessary to eliminate this state of affairs by using artificial humidification, spraying the room with water or using special devices for this;
- a week before planting in a permanent place, seedlings need to be fed with phosphorus-potassium fertilizers; adding nitrogen-containing components during this period is not recommended.
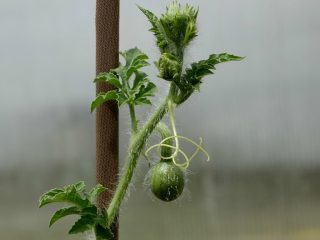
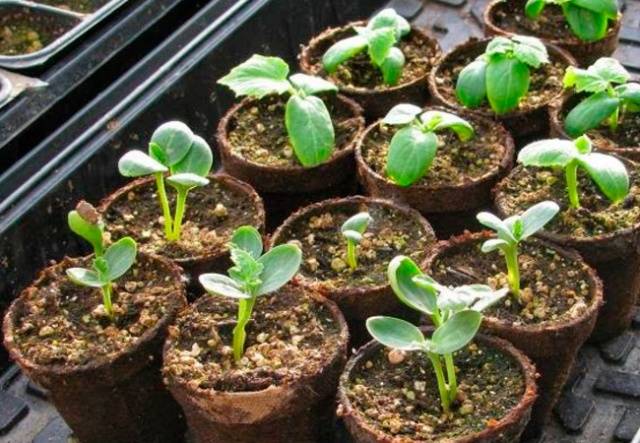
If you follow the basic rules of care, your efforts in growing watermelon seedlings at home will be rewarded; you will receive high-quality seedlings, as shown in the photo below. And we move on to the next stage.
Step 4

Landing in the ground
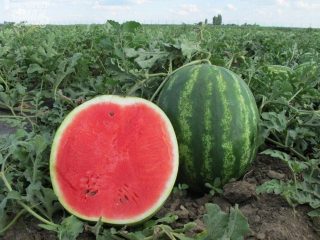
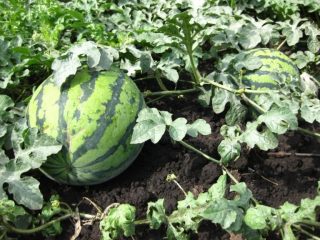
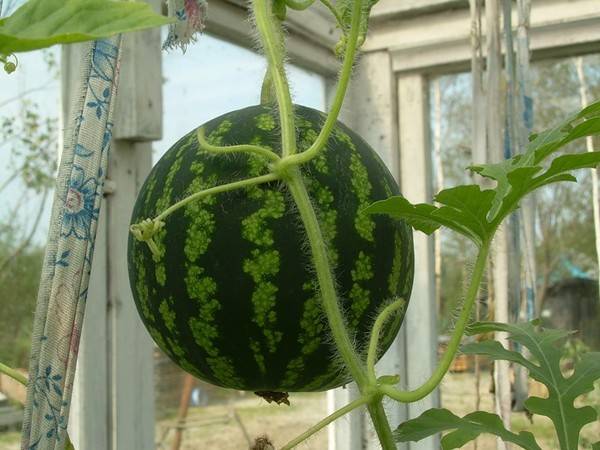
All watermelons love spacious, well-warmed and lit areas, so it is worth choosing just such areas for planting watermelon seedlings. Not all gardeners have plots that meet these requirements.Vertical tying of watermelon lashes to supports and additional devices for supporting heavy fruits (nets, trays) will help to avoid such problems.
Step 5

When planting watermelon seedlings in open ground or in greenhouses, we recommend following the following sequence:
- Two weeks before carrying out the main work on transplanting seedlings, prepare the soil in the new place. Apply chemical and organic fertilizers according to the standards prescribed for melons, dig up and level the area. It is better to do this in the fall, and in the spring just loosen the beds again.
- Make a marking of the melon plant, and every 2 meters, dig a hole deep enough and wide enough to accommodate a seedling with a lump of seedling soil. Depth - more than 30 cm, hole size - 30x30 cm.
- Install strong, stable supports next to the hole; the distance from the center of the hole should be no more than 0.5 meters. The support must be provided with hooks or a notch for hanging fruit.
- On the day of planting watermelon seedlings, pour half a bucket of water into each hole and wait until it is completely absorbed.
- Carefully release the watermelon seedling from the seedling container, taking it along with the lump of earth. Place this lump in the center of the hole, sprinkle with soil collected from the edges of the hole, and lightly compact the soil. Water again with a small amount of water (1 liter), mulch the top with peat or compost.
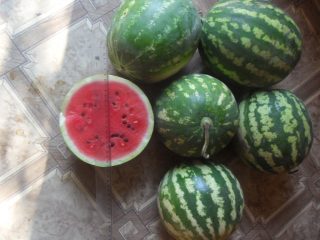
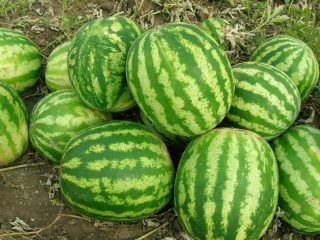
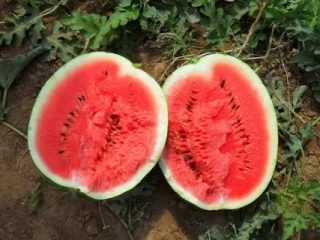
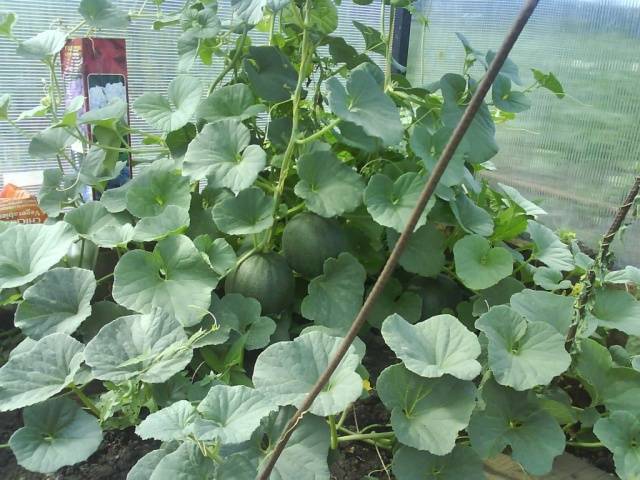
From the moment of sowing the seeds until the first fruit, 2.5 to 3 months pass; if you sow the seeds in April, then expect the “firstborn” in July or August.
Diseases and how to deal with them
Amateur gardeners grow watermelon seedlings at home and achieve excellent results. For beginning melon growers, we remind you that any violation of the technology of such cultivation can lead to undesirable consequences: the plants will often get sick, there will be a delay in their growing season, the fruits, even if they ripen, will be of significantly worse quality and will lose their beneficial properties.
During the period of its development, watermelon seedlings are very susceptible to environmental conditions; below are some plant diseases during this period, the reasons for their occurrence and ways to combat them:
- The leaves of watermelon seedlings turn yellow. This is not yet a disease, but a harbinger of its occurrence. The seedlings make it clear to the gardener that his roots no longer have enough space in the container, the air temperature is too low, the lighting is insufficient, there is a nutrient deficiency or an excess of nitrogen in the soil. Required measures: Remove all unfavorable conditions immediately.
- The stems of watermelon seedlings stretch upward, the size of the leaves decreases. Reasons: lack of light, too hot in the room or watering with cold water. Measures: add light, achieve the desired temperature, water only with warm, settled water.
- The leaves of watermelon seedlings dry out around the edges. Reasons: again, lack of lighting, incorrect watering regime, it is too abundant or insufficient. Measures: establish regular watering, follow the norms (2-3 times a week, 0.5 liters per seedling).
- Watermelon seedlings are sluggish and drooping. Reasons: there is a lot of nitrogen in the soil, the seedlings freeze.Measures: do not use organic and mineral nitrogen-containing fertilizers, water the seedlings only with warm water not lower than +25°C, the room temperature should be identical.
- White spots form on the leaves of watermelon seedlings. This plant is affected by powdery mildew, white rot or blight. These diseases are almost impossible to cure; the plant will have to be destroyed. For preventative purposes, treat seedlings that are not infected with the fungus with antifungal drugs.
- The stems at the base of the watermelon seedlings have turned black and thinned. Reason: the development of “black leg” disease or root rot, which occurs due to frequent and unreasonably abundant watering. Measures: the seedlings are destroyed, and then the watermelon seeds are treated in special chemical solutions before sowing.
Conclusion
Growing watermelon seedlings at home and then getting an excellent harvest from your beds is not an easy job, but enthusiastic gardeners do not give up on anything and achieve remarkable results. We wish them good luck, and recommend that you follow their example. Plant this melon crop in your dacha, in greenhouses, on balconies. You will receive an environmentally friendly, tasty and healthy WATERMELON.