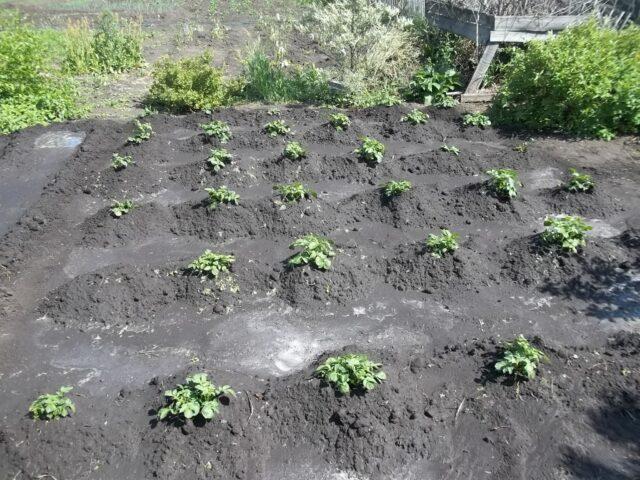
Content
Planting potatoes under a shovel to a depth of about one bayonet is an “old-fashioned” method, proven by many generations of gardeners. Summer residents still practice it, because the method allows you to do without the use of any equipment. However, in order to count on a good potato harvest, before planting it under a shovel, you need to choose the right place for the bed, prepare the soil and tubers. Another important nuance that cannot be mistaken is the planting depth.
Features of planting potatoes under a shovel
Planting potatoes under a shovel is a method that involves “embedding” them into the soil to a depth that approximately coincides with the height of the tool’s bayonet. This method is practiced exclusively by amateur gardeners, who have relatively small beds allocated for potatoes.
All work is done manually, without the help of special equipment. The easiest way is to plant potatoes under a shovel in fairly light and loose soil, in areas with relatively deep groundwater.
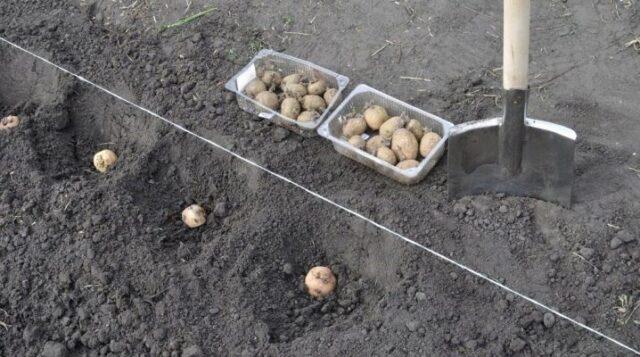
In any case, planting “under the shovel” is a labor-intensive procedure that takes a lot of time and effort from the gardener
Advantages and disadvantages of the method
Planting potatoes under a shovel is a long-known and well-studied method by generations of gardeners, so its merits can be judged objectively:
- The versatility of the method. Its “applicability” does not depend on the characteristics of the local climate, potato variety, or other factors.
- Possibility to do all the work yourself. To plant potatoes under a shovel, you need a minimum of tools that can be found on any farm.
- External presentability, large size, “presentation” of ripening tubers.
- Good keeping quality of the crop.

For most gardeners, the method is universal and basic.
Planting potatoes under a shovel also has significant disadvantages:
- A lot of time and effort is spent on preparing beds and tubers. The complexity of the procedure itself.
- Inadmissibility of thickening of plantings. Otherwise, the plants are guaranteed to receive less light and heat, difficulties in care arise, and the risk of developing diseases and pest attacks increases.
- Possibility of damage to the root system and developing tubers during hilling.
How to properly plant potatoes under a shovel
The procedure for planting potatoes under a shovel has long been “worked out” and seems simple, even primitive. However, there are important nuances that need to be taken into account: the volume and quality of the harvest directly depends on this.
Site selection
The following factors are important for planting potatoes under a shovel:
- Soil fertility combined with sufficient looseness. Caring for plants is greatly facilitated, since they can provide themselves with nutrients by “pulling” them from the soil. At the same time, the risk of moisture stagnation at the roots and tubers is reduced.
- Acid-base balance of the substrate. Potatoes, no matter how planted, will not take root in either acidic or alkaline soil. Saline soil is not suitable for it either. Therefore, the pH must be determined in advance and, if necessary, adjusted when preparing the beds.
- Compliance with crop rotation rules. After potatoes and other nightshade tubers, they cannot be planted in the garden - this sharply increases the risk of developing diseases and pest attacks. Suitable “predecessors” are any pumpkin, legumes, beets, corn, sunflower.
- Lack of groundwater coming close to the surface and other factors that can cause stagnation of water at the roots.
- Small area.
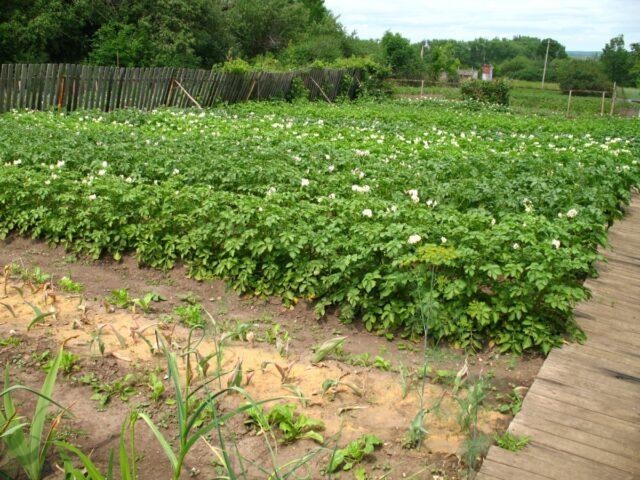
Regardless of planting method, potatoes grow best and produce abundant yields in open areas
Soil preparation
In order to properly plant potatoes under a shovel in the spring, preparation is carried out in the fall of last year. Gardeners practice two methods:
- “Continuous” application of fertilizers. Humus, rotted compost, and other necessary fertilizers are scattered over the surface of the selected bed. Then it is dug up, simultaneously embedding useful substances into the soil.
- Fertilizing the beds “in rows”. The area for potatoes is first dug up to a depth of approximately one spade bayonet. Then furrows of the required depth are made according to the planting pattern. The necessary fertilizers are evenly distributed at the bottom, covered with earth, marking the location of each row.

In the process of digging up the soil, they get rid of plant and other debris.
Tuber preparation
Proper processing of potato tubers for planting under a shovel includes three stages:
- In the fall, after harvesting, it is necessary to select planting material for the next season. These tubers are left to dry for 15-20 days in a bright place, waiting until they turn green.
- About a month before planting potatoes under the shovel, inspect the tubers, get rid of all specimens with mechanical damage, traces of mold, rot, and other fungal diseases. Transfer to a relatively cool place with good lighting and ventilation for germination. At low humidity, potatoes will need to be sprayed with water every 3-4 days.
- On the day of planting, potatoes are treated with solutions of fungicides, insecticides, and biostimulants. Specific preparations are selected depending on the susceptibility of a variety or hybrid to certain diseases, “propensity” to be attacked by certain pests, general endurance and “stress resistance”.

Potassium permanganate is an effective “homemade” antifungal remedy
Depth of planting potatoes under a shovel
The optimal depth of the hole when planting potatoes under a shovel depends on many factors, primarily on the “heaviness” of the soil. The average value is 10-12 cm. For very “light” soils it increases to 15 cm, for “heavy” soils it decreases to 5-7 cm. Minor “deviations” (1-2 cm) in any direction most often do not become critical , but more serious ones inevitably have a negative impact on productivity.
Scheme of planting potatoes under a shovel
Planting potatoes under a shovel is possible according to any scheme. Most often, amateur gardeners practice three options:
- Square nest method. The bed is divided into squares with a side length ranging from 50-70 cm.
Potato tubers are planted in the center or in each “corner” of the square
- In a checkerboard pattern. The interval between the tubers is left the same - 50-70 cm. But in each row the potatoes are “shifted” by half this distance, turning the bed into a kind of honeycomb.
The row spacing when planting in a checkerboard pattern is 50-60 cm
- J. Mittlider's method (or two-line landing). Potatoes are planted under a shovel in two closely spaced rows (with an interval of 30-40 cm) in a checkerboard pattern. On each side, such “double lines” should have wide (1-1.2 m) row spacing. At what distance to plant potatoes under a shovel is determined taking into account the dimensions of the adult plant.
Planting according to Mittlider is practiced not only for potatoes, but also for other garden crops
The procedure for planting potatoes under a shovel always follows a single algorithm:
- Mark the bed using pegs and rope so that the rows are even and the spacing between tubers is equal.
- Dig a series of holes to the required depth. If desired, throw humus mixed with coarse sand and sifted wood ash into each handful. You can also add some complex fertilizers and folk remedies to protect against diseases or pests.
- Arrange the planting tubers with the sprouts facing up. Cover them with soil while forming the next row of holes. You will have to move directly along the garden bed, backwards.
- After finishing planting the potatoes under the shovel, level the soil with a rake.
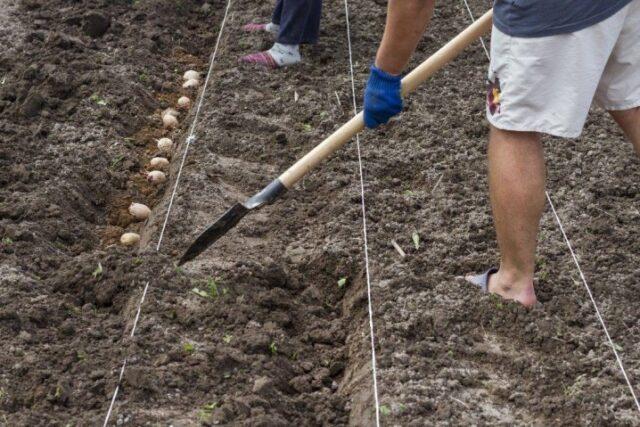
It’s faster and more convenient to plant potatoes under a shovel with two people – one person forms and digs the holes, the second person lays the tubers in them
A less common method is to plant potatoes under a shovel, not in holes or furrows, but in ridges. But for areas with waterlogged soil, where groundwater comes very close to the surface, this is the only method. The tubers are “lifted” above the soil level using ridges up to 50 cm high.
Care after landing
Potatoes require standard care after planting under a shovel:
- Watering. Most often, the plant has enough natural precipitation, but if the soil is dry, it must be moistened after the appearance of “massive” shoots, when buds form and 2-3 days after flowering.
- Fertilizer application.If you plant potatoes under a shovel in fertile soil, you can do without them; in “poor” soil, plants are fed twice - 3.5-4 weeks after planting the tubers and 5-7 days after flowering.
- Hilling. It must be carried out when the stems grow to 10-12 cm in height and after another 2-3 weeks.
- Mulching between rows. Not mandatory, but desirable event. Mulch prevents weeds from growing and moisture from evaporating too quickly from the soil.
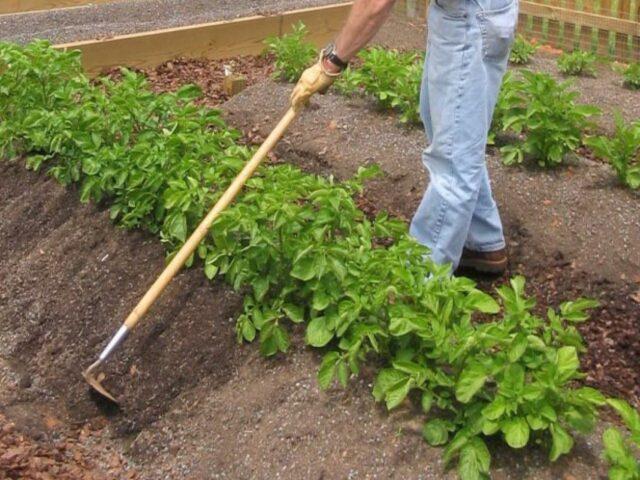
Hilling is necessary if the bushes “fall apart”, the stems lie on the ground
What factors does the planting depth depend on?
In order not to make a mistake with what depth to plant potatoes under a shovel, you need to take into account several factors:
- Substrate quality. The “heavier” it is, the more difficult it is for potato sprouts to “break through” to the surface. Accordingly, the depth of the holes when planting under a shovel is reduced.
- Tuber sizes. When planting, they should be covered with a layer of soil 5-6 cm thick. Large potatoes require deeper holes.
- Groundwater level. When they come close to the surface, potatoes should not be deeply buried in the soil when planting under a shovel.
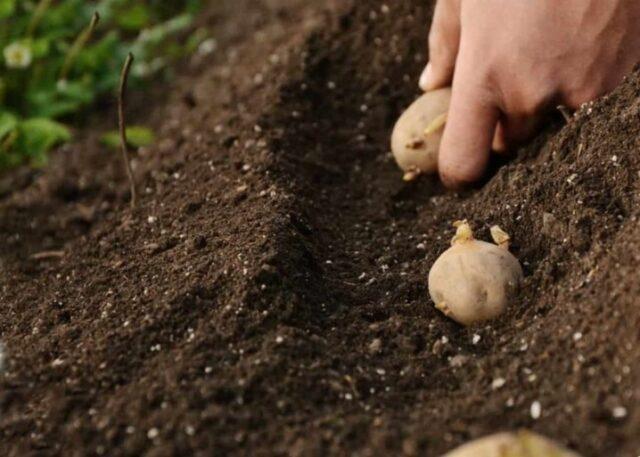
Late-ripening potatoes are recommended to be planted deeper than early ones.
Affects hole depth and planting time. If it is carried out early enough, the surface layers of the soil are still saturated with melt water, and the deeper layers are not warmed up enough. Therefore, the holes must be relatively “small” so that the tubers, after planting under a shovel, are provided with both moisture and the warmth of the sun.When planting late, the substrate is already warmed up, so you can bury the potatoes deeper without fear that the tubers will suffer from the cold. The water also goes deeper; this also needs to be taken into account.
Conclusion
Planting potatoes under a shovel to a depth of about one bayonet is not difficult; no technical devices are required for this. However, it must be taken into account that the method is labor-intensive - this applies to both the necessary preparation for planting and the procedure itself. Despite the fact that the “under the shovel” method has long been well known to gardeners, it is possible to significantly increase yields by taking into account modern recommendations regarding the depth of planting potatoes, choosing a place for a bed, pre-planting treatment of tubers, and other factors.
