Content
Bell peppers and tomatoes are heat-loving crops. Plants love nutritious soil, timely watering, and respond well to fertilizing. Due to many similarities, for growing tomato seedlings Almost the same technology is used for pepper. Of course, there are specific features of caring for each crop, which we will talk about now.
Preparing tomato and pepper seeds for sowing
Despite some differences in the agricultural technology of crops, when growing seedlings, the same action is to prepare the seeds. To get a generous harvest of peppers and tomatoes it is necessary to select healthy grains, carry out certain preparatory procedures with them, and grow strong seedlings from them. Each experienced vegetable grower has his own secrets of selecting and preparing seeds for sowing. We will look at the simplest and most common:
- Begin preparing the seeds of peppers and tomatoes with sorting. It is easier to sort out a small amount of grains by hand.They are laid out on the table and all small, blackened, broken ones are discarded. It is easier to sort large quantities of tomato and pepper seeds in a saline solution. Pour warm water into a 1 liter glass jar, crush 2 tbsp. l. salt, after which the seeds are poured there. The floating grains of tomatoes and peppers are considered unusable, and those that have settled to the bottom of the jars are taken away for sowing. In order not to confuse the grains, each variety must be sorted separately. For convenience, the selected seeds can be placed in bags and labeled with the name of each crop.
- On the shell of many seeds there are pathogenic microbes that infect future seedlings. You can get rid of them pickling pepper and tomato grains in a 1% solution of potassium permanganate. The seeds are scattered into gauze bags and dipped in a dark red liquid for 30 minutes. After this treatment, the shell of the tomato or pepper grain becomes dark brown. Next, all that remains is to rinse the seeds under running water, and then move on to the next stage of preparation.
- For better germination they do awakening of the embryo. Tomato or pepper seeds are kept for 2 hours in clean water at a temperature of 50–60OC. It is optimal to perform this procedure using a thermos, since it keeps the same temperature well for a long time. The warming up process will speed up germination even those tomato and pepper seeds that have been stored for several years. It is not advisable to heat the seed material on a heating radiator or other heating device. From high temperature the embryos may dry out.
- An awakened pepper or tomato embryo needs strength for further growth. Special ones will help here stimulants. You can buy the drug ready-made or use folk recipes.The simplest option is to add 1 tbsp to 1 liter of water. l. wood ash, plus a pinch of boric acid powder. The grains are soaked in this solution for 12 hours.
- The following method has many opponents and admirers. Some argue that it is better to harden only seedlings. Others say that hardening is also necessary for seeds. Every vegetable grower is right in his own way, but if it comes to hardening, then the grains of tomatoes and peppers are placed in the refrigerator for a day.
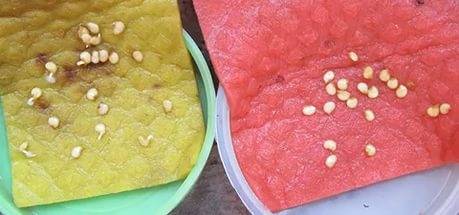
- After hardening, proceed to the last method of preparation - germination. Seeds of tomatoes or peppers are laid out between two layers of damp gauze and placed on a plate in a warm place until they hatch. The gauze is periodically moistened with water from a spray bottle, but not too much, so that there is no large accumulation of liquid.
After 5 days, you can observe the appearance of the first embryos. You can’t delay it any longer; the seeds need to be sown in the ground.
Soil for seedlings of peppers and tomatoes
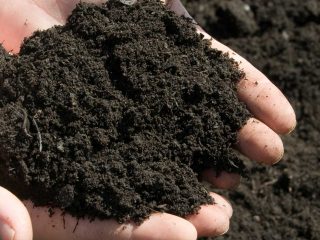
Soil for tomato seedlings and sweet peppers have been prepared since autumn. The soil is usually taken from the garden or turf soil, where previously only grass grew. It is stored in bags in the cold, but under cover so that it is dry. Winter cold kills some harmful microorganisms in the soil. Before planting, the soil is heated and then mixed in equal proportions with peat and humus. For 3 buckets of the mixture add 1 cup of wood ash, plus 2 tbsp. l. complex fertilizer. If the soil turns out to be clayey, add sawdust.
Video about preparing soil for seedlings:
Sowing tomato and pepper seeds
Housewives sow seedlings of tomatoes and peppers in any container. These can be plastic cups, cut-off juice or milk bags, boxes, flower pots, etc. But any container must be disinfected before sowing. The easiest way to do this is with a steep solution of potassium permanganate. A cotton swab is moistened in the solution and the inner walls of the planting containers are treated.
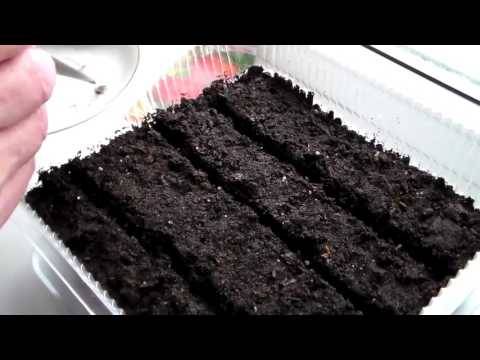
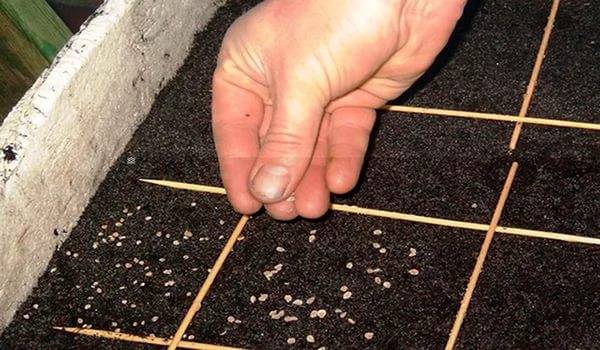
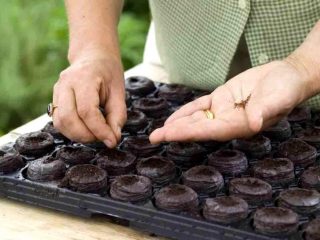
When everything is ready, the containers are filled with soil, where grooves 1.5 cm deep are made on the surface with a finger. A distance of approximately 5 cm is maintained between the grooves. All grooves are lightly watered with a weak solution of potassium permanganate, after which they begin sowing. Tomato or pepper grains are laid out along the grooves in increments of 2–3 cm. The seeds are covered with loose soil on top and lightly moistened with warm water from a sprayer.
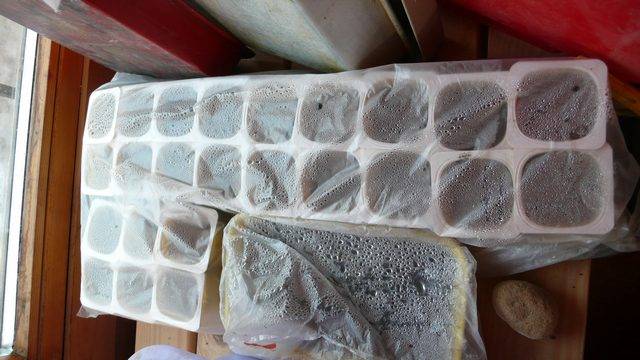
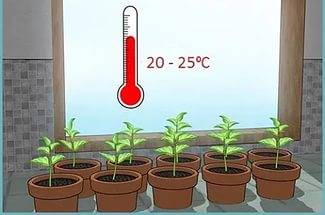
When all the seeds for seedlings are sown, the containers are covered with glass or plastic film. All cups are placed on a pallet or in any box. This will make it easier to transport the seedlings. It is important to ensure that peppers and tomatoes are at room temperature. Under the film should always be kept from +24OFrom to +26OC, otherwise the shoots will be delayed. Under these conditions, the tomato will germinate in 3–5 days. The peppers will appear later in about 7-12 days.
Lighting seedlings of peppers and tomatoes
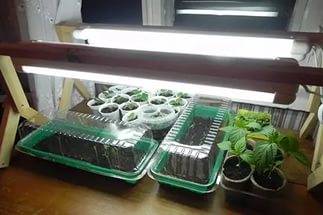
After the germination of peppers and tomatoes, the sazu sprouts need to be provided with good lighting. In this case, the film is removed from the containers, but the temperature is not lowered for several days until the seedlings adapt. Further cultivation of plants occurs at a temperature of 16–18OWITH.From those containers where tomato seeds did not germinate after a maximum of 10 days, and pepper grains after 13 days, there is nothing to expect. The soil is simply thrown away or used for other crops. There will be little daylight for February and March seedlings. Plants are provided with artificial lighting from LED or fluorescent lamps. Traditional light sources produce a lot of heat, which can burn the tender leaves of seedlings. It is better not to use them, or hang them at a distance of at least 60 cm from the plants.
After the first shoots appear, the light above the containers with seedlings is not turned off for three days. Next, plants are extended daylight hours with the help of artificial lighting to 18 hours. Pepper seedlings respond well to the light of a phytolamp. It can be turned on for 4 hours in the morning and evening at dusk.
Features of caring for sweet pepper seedlings
Sweet pepper is heat-loving and loves comfortable growing conditions. It would be a good idea to stick ordinary thermometers into the ground. It's not just the outside temperature that affects pepper growth. It is optimal if this indicator inside the soil is between +24OFrom to +28OC. Cold soil will slow down the development of the pepper root system, and, consequently, the above-ground part of the plant.
Fertilizing with “Humate” and coconut substrate
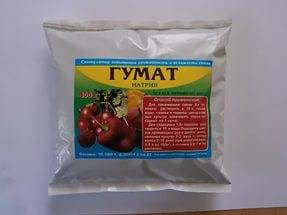
Sweet pepper seedlings develop intensively from feeding with the preparation “Gumat”. To prepare a root nutrient solution, dilute 500 ml of the substance in 10 liters of water. It is convenient to make a watering can from a plastic bottle by drilling a small hole in the center of the cork. The “Humate” solution is poured into a bottle and placed on the battery.So, the liquid will always be warm, and if necessary, you can immediately pour it under the root of the peppers.
Grown pepper seedlings are additionally fed with “Gumate” by spraying. The solution is prepared from 10 liters of water, plus 300 ml of the substance. It would be a good idea to add a decoction of young nettles to the prepared solution.
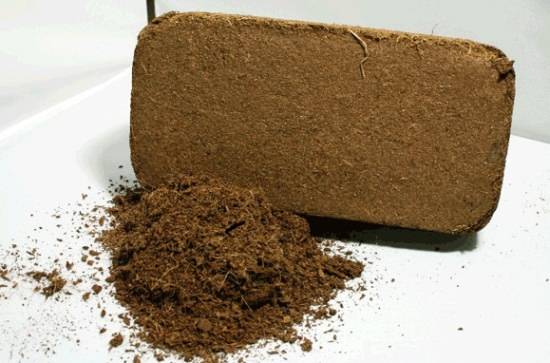
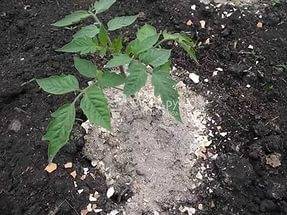
grown up It is advisable to feed pepper seedlings coconut substrate. A briquette bought in a store is kneaded, 1 tbsp is added. l. finely crushed eggshells, plus 1 tsp. wood ash. All this is mixed, poured into a container, and then filled with a weak solution of potassium permanganate. The mixture is considered ready when it has absorbed all the liquid and swells. Now all that remains is to spread the substrate on top of the soil of the pepper seedlings. The loose structure of coconut shavings will retain heat and moisture in the soil, and also facilitate oxygen access to the root system.
Forming a bush by pinching
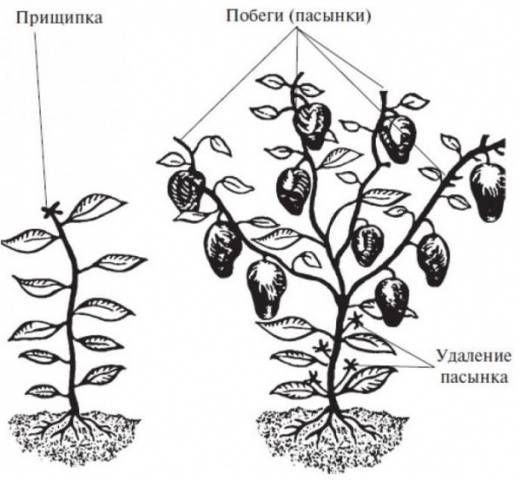
Forming a sweet pepper bush must begin with seedlings. The plant is pinched above the fifth or sixth leaf. This action is aimed at the growth of lateral branches. It is on them that future fruits will be tied.
Picking pepper seedlings
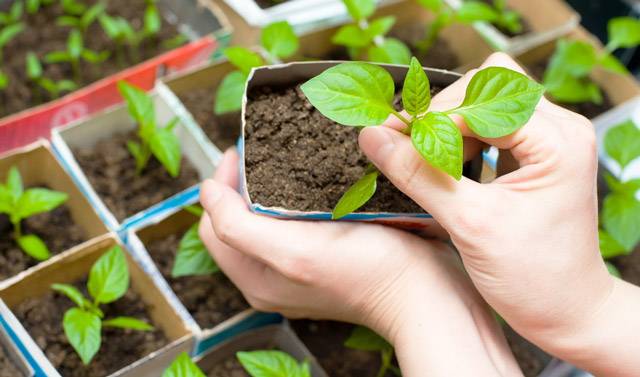
Sweet pepper seedlings do not like early picking. It is advisable to carry out this procedure after the appearance of four full leaves. Process pepper picks identical as for tomatoes. Using a small spatula or spoon, pry up the plant along with the soil, and then place it in a glass, previously one-third filled with soil. Empty gaps are filled with loose soil, but not higher than the level of the coma with the growing pepper seedling.
The transplanted plant is watered with warm water, but only along the edges of the cup. The loose soil will become compacted, holding the pepper securely in an upright position.The top of the soil in the cup is again covered with coconut substrate. Further development of seedlings occurs subject to the same care conditions: watering, lighting, maintaining air and soil temperature.
Hardening and planting pepper seedlings in the ground
Before landing in the ground Pepper seedlings are hardened. This is done gradually so as not to harm the plants. The first time, sweet pepper seedlings are taken out into a cool room after long-term ventilation. After a couple of procedures, the plants are placed on a glazed balcony or in a cold veranda. Even hardening with snow is allowed. On this day, instead of watering the seedlings, melting snow is laid out on the ground. Immediately a few days before planting in the ground, the peppers are taken outside, accustoming the plants to fresh air and sunlight.
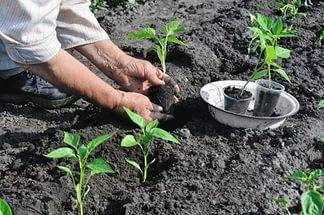
In most regions, pepper seedlings are planted in greenhouse soil from the first days of May. In open beds, this process begins around May 15. It is important that the night air temperature by this moment does not fall below +15OC, otherwise the pepper seedlings will slow down their growth.
Video about growing pepper seedlings:
Features of caring for tomato seedlings
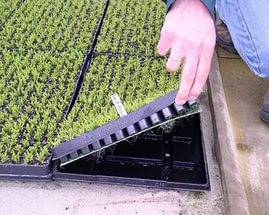
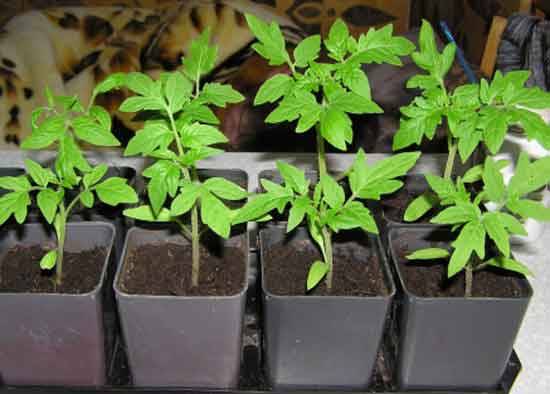
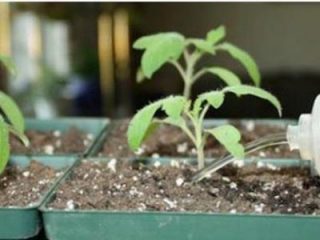
Tomato seedlings begin to germinate on days 5–7. During this period, the sprouts are watered for the first time from a spray bottle. There are many ways growing tomato seedlings, but the most effective is considered to be using cassettes. The grown tomato sprouts are removed from the box and the intertwined roots are carefully kneaded to separate the plants one by one. Next, the tomatoes are sorted into two piles.Large plants will be transplanted into separate cups, and small shoots will continue to develop in cassettes.
Small tomato seedlings are placed diagonally in cassettes. The stems of the plants are bent and the roots are covered with loose soil. A layer of coconut substrate is poured on top and moderate watering is done. The benefit of growing seedlings this way is the simultaneous development of up to 60 tomatoes. The cassette is placed on a special tray, where a cushion of humus 5 cm thick has already been prepared in advance. The seedlings quickly take root, and first of all, the root system begins to develop intensively.
Large seedlings from the second sorted pile are planted in separate cups. Each plant is covered with prepared soil, and then watered along the edges of the container. As with peppers, the soil around the tomato seedling will become compacted. The top of the soil is covered with coconut substrate 1 cm thick.
Feeding tomato seedlings
Experienced gardeners determine the amount of feeding of tomatoes based on the appearance of the plants. Some adhere to standards, traditionally applying fertilizer 3 times before picking. Let's look at one of the feeding methods:
- After three full-fledged leaves appear on the tomato, the first fertilizing is applied. It consists of nitrogen-containing preparations, for example, Agricola No. 3.
- 12 days after picking, tomato seedlings are added nitroammophoska. The solution is prepared from 10 liters of water with the addition of 1 tbsp. l. fertilizers
- The third time, tomato seedlings are topped up with a similar solution of nitroammophoska exactly 2 weeks after the second feeding.
- The solution for the fourth feeding is prepared from 5 liters of water, ½ tbsp. l.superphosphate, plus 1 tbsp. l wood ash. Seedlings are watered at two months of age.
You can’t overdo it with fertilizing. In addition to their benefits, they can cause harm to plants.
Planting tomatoes in the ground
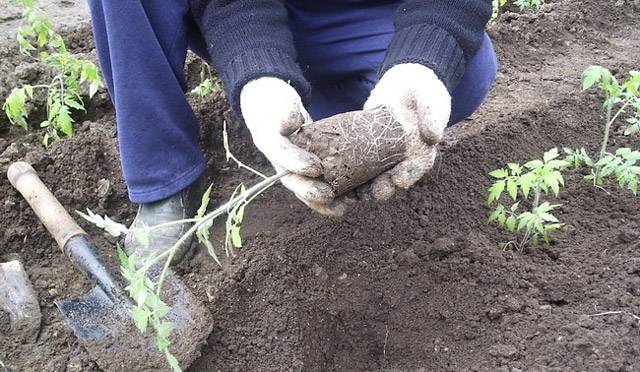
Before planting, tomatoes undergo a hardening procedure similar to pepper seedlings. Disembarkation time depends on the weather conditions of the region. Usually, tomatoes are transplanted into the greenhouse from April, and into the garden from May 10.
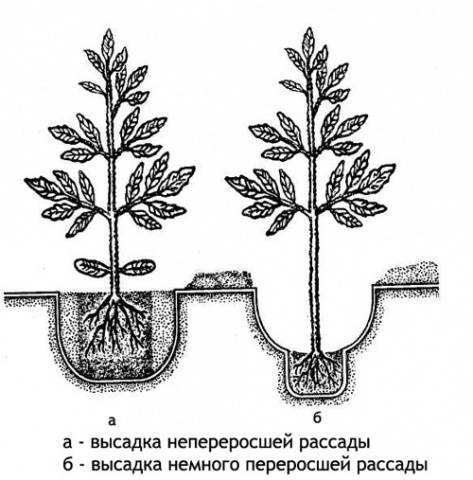
At the time of planting, the age of tomato seedlings is 2–2.5 months. It is unacceptable to plant younger plants. It is optimal if night temperatures at this time are already at least +15OC. For reliability, the seedlings are covered with film or agrofibre at night.
Video about tomato seedlings:
Conclusion
Grown strong pepper seedlings and tomatoes are guaranteed to reward the grower with a generous harvest. Even despite the cold summer, healthy and hardened plants will take root better than delicate crops that have not gone through the full preparation stage.
