Content
Mushrooms have great nutritional value. They are rich in proteins, carbohydrates and minerals, and for vegetarians they are one of the meat substitutes. But “silent hunting” can only be done in environmentally friendly places - mushrooms tend to accumulate radiation and heavy metal salts. This makes their collection in industrial regions deadly.
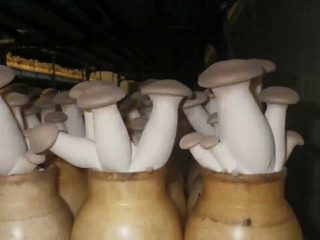
In order not to deprive ourselves of a valuable and tasty food product, we buy artificially grown champignons or oyster mushrooms at the market. They are not cheap, but still less than pork or beef. Many residents of private homes are wondering how to grow oyster mushrooms themselves. Let’s say right away that growing even a small amount of mushrooms will not be cheap, and the lion’s share of the costs will go to purchasing high-quality mycelium. There are two methods of growing mushrooms - extensive and intensive, we will briefly look at both.
Intensive cultivation of mushrooms
Growing oyster mushrooms in large quantities all year round is only possible using an intensive method, which requires the presence of special premises and equipment.
Preparing the premises
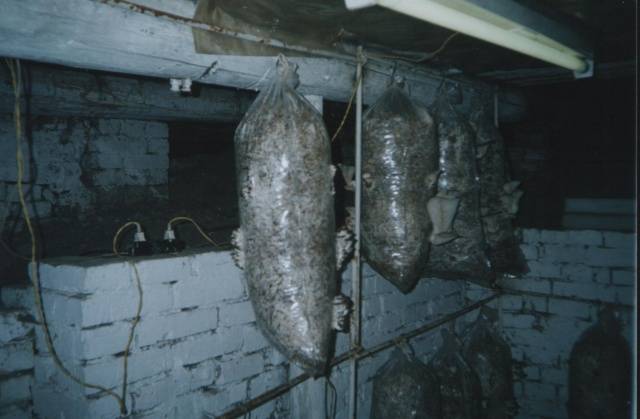
Before building a new room for growing mushrooms, look around, it may be cheaper to refurbish an existing barn or cellar. In the absence of heating, obtaining marketable products is possible only in spring or autumn.
The technology for growing oyster mushrooms requires separate maintenance of germinating and fruiting mushroom blocks. The easiest way to achieve this is by using two rooms, using the so-called multi-zone technology. Single-zone means going through the entire cycle in one space separated by a partition, if there is special equipment for growing oyster mushrooms.
First, make sure that growing oyster mushrooms is the type of business that your family intends to do for a long time.
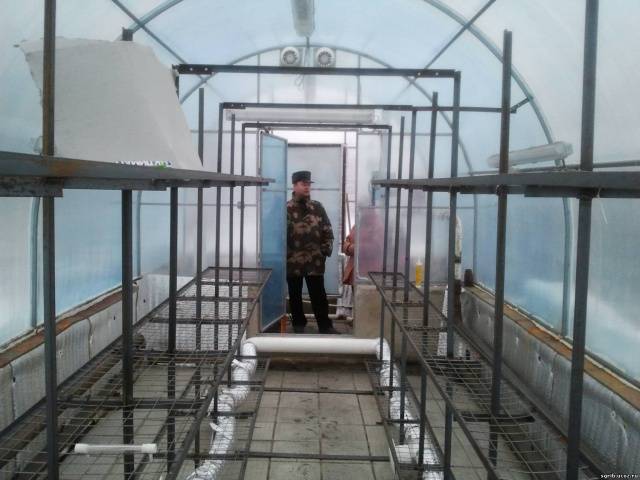
When starting to equip a room for mushroom growing, empty it, starting with cleaning. Remove mold with special means, plaster, and whitewash the walls and ceiling with lime. The floor should be concrete or brick; in extreme cases, cover it with a thick layer of crushed stone or sand. To grow oyster mushrooms year-round, you will need electrical outlets to connect heating and air humidification devices, artificial ventilation and lighting systems.
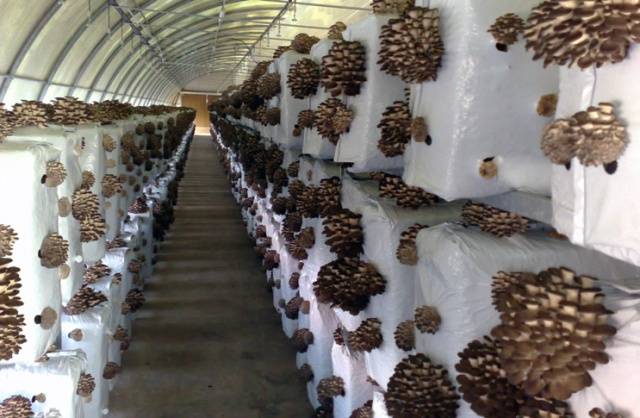
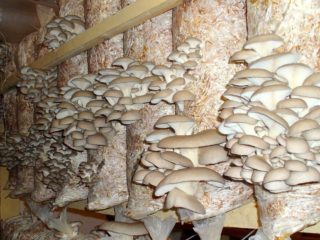
Blocks for growing mushrooms during fruiting should be raised above the floor level by at least 15-20 cm and secured so as to prevent the possibility of collapse. You can install them in one row or in tiers.
This is a simplified description of preparing a production facility that makes it possible for beginners to grow oyster mushrooms. Arrangement of areas that allow the cultivation of mushrooms on a large scale may require the installation of:
- an “artificial fog” device, consisting of a compressor to which water is supplied and an aerosol generator;
- fresh air supply systems capable of operating in automatic mode;
- adjustable heating;
- automated lighting system;
- special multi-tiered racks.
Substrate for growing mushrooms
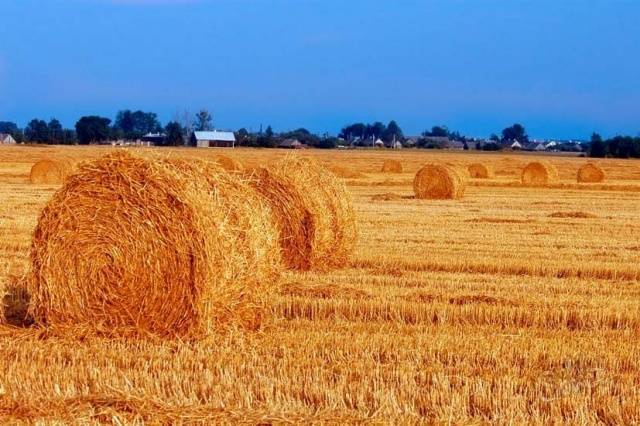
When starting to deal with oyster mushrooms, think in advance about the substrate on which they will be grown. Wheat straw is best suited in our conditions. You can also grow oyster mushrooms on other substrates containing cellulose, lignin, proteins and fats:
- straw of barley, oats, soybeans, rice;
- hay from clover, alfalfa;
- sunflower husk;
- chopped corn cobs;
- cotton tows;
- flax brome (woody part of the stem, which is a waste product);
- sawdust.
The most accessible materials for growing oyster mushrooms are straw, sawdust and husks. Let us immediately note that it is not so easy to prepare a substrate from waste from the woodworking industry yourself.
Comment! The harvest of oyster mushrooms grown on wheat straw will be the largest. The record holder is cotton tow.
Processing the substrate for growing oyster mushrooms
You can’t just fill blocks with substrate, sow them with mycelium and grow oyster mushrooms. Of course, they rarely get sick, but you shouldn’t specifically create conditions for the development of mold and other pathogenic microorganisms.We will assume that we use straw as a substrate for growing oyster mushrooms; using it as an example, we will describe the processing methods.
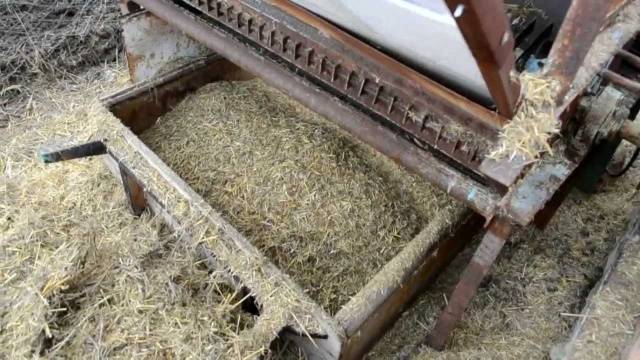
- Chop the stems into pieces 5-10 cm long using any method. The purpose of this operation is to increase the specific surface area of the substrate, which allows oyster mushroom mycelium master it faster and eliminate voids.
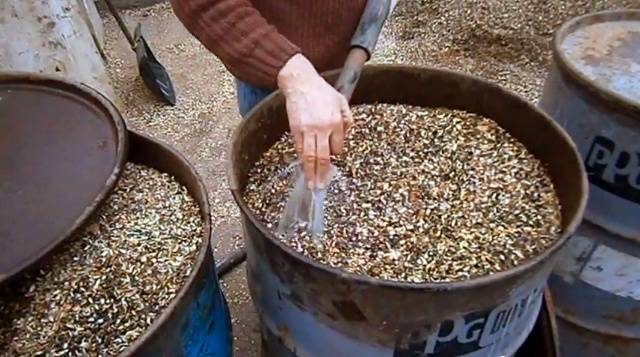
- Pack the crushed material into sugar or flour bags and place in metal containers. Pour boiling water so that it covers the straw bales by 5 centimeters, press down on top with bricks or other weights. Leave until completely cool.
This way you get rid of many pathogenic organisms, soften the substrate for growing mushrooms and convert the nutrients it contains into a form more suitable for oyster mushrooms.
There are many other ways to process straw:
- thermal;
- hydrothermal;
- xerothermic;
- fermentation;
- radiation;
- chemical;
- Microwave radiation.
But they all require the appropriate equipment, and bags and large metal containers can be found in any private household.
Sowing oyster mushroom mycelium
When the substrate for growing mushrooms has cooled to 20-30 degrees, it is squeezed out, leaving a humidity of about 60-75%. You can simply squeeze a handful of straw in your fist - if the water no longer flows and your palm remains wet, you can start sowing the mycelium (inoculation).
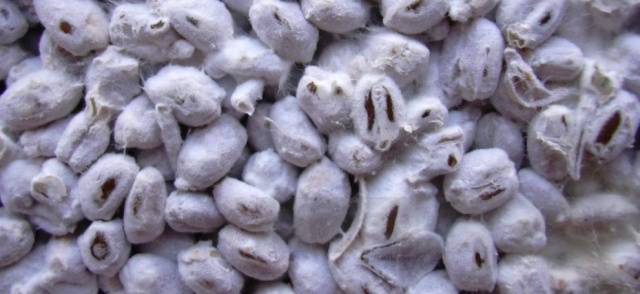
The technology for growing oyster mushrooms for beginners involves the use of high-quality mycelium. It is expensive and can be stored at:
- from 15 to 25 degrees – 5 days;
- from 5 to 10 degrees – 1 month;
- from 0 to 5 degrees – 2 months;
- below 0 degrees – 6 months.
To create blocks you need from 180 to 200 g of mycelium, since it is easiest to grow mushrooms in plastic bags measuring 350x750 mm or 350x900 mm. You can use new garbage bags for this.
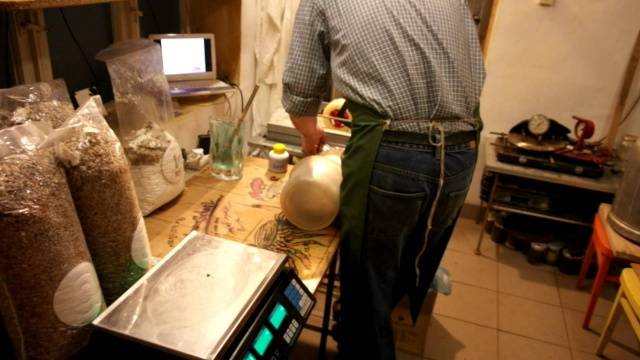
Before using, oyster mushroom mycelium must be removed from the cold and allowed to warm up at room temperature to 20-24 degrees. The table on which you will sow the substrate for growing mushrooms and your hands should be clean; it is even better to use sterile medical gloves.
- Carefully mash the oyster mushroom mycelium into individual grains in a previously scalded or alcohol-treated container.
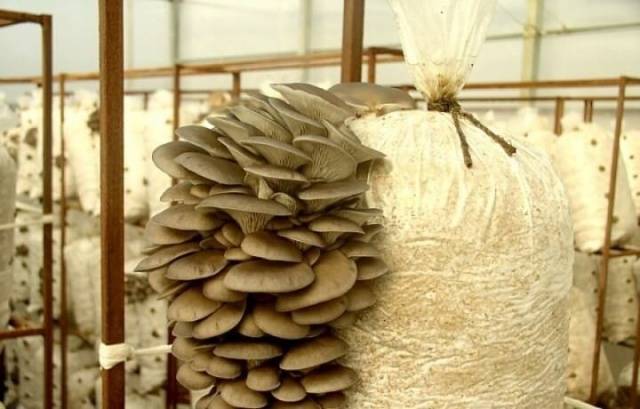
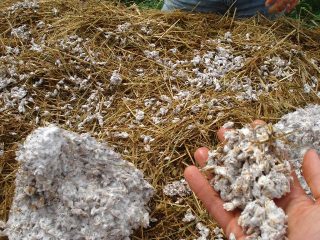
- Place a bunch of steamed straw in a new plastic bag and distribute the mycelium (about 1 tablespoon) so that most of it is along the outer edge. It is often advised to thoroughly mix the mycelium with the substrate. This is the correct approach to growing mushrooms, but it is irrational. Oyster mushrooms will grow from the straw adjacent to the sides of the bag.
- Lay out a new portion of the substrate, sow it with mushroom mycelium and compact it well with your fist. Carefully ensure that there are no voids left at the bottom of the bag, especially in the corners.
- Fill the bag completely, leaving room at the top to tie it.
- Secure with twine. Inoculating oyster mushrooms for beginners is somewhat difficult, and the first mushroom blocks often turn out crooked, oblique, with swollen sides. What to do? Take regular wide tape and use it to correct all the flaws by tightening the bag where necessary. Just don't get carried away and turn it into a cocoon of duct tape.
- Leave the block for growing oyster mushrooms in a clean, warm room for a day or a little more.Then make, in a checkerboard pattern, up to 16 straight cuts 5-7 cm long, or cross-shaped ones measuring 3.5 x 3.5 cm. These are approximate dimensions; there is no need to measure them with a centimeter.
- Make several punctures in the bottom corners of the mushroom growing bag to allow excess moisture to drain out.
Germination of oyster mushroom mycelium
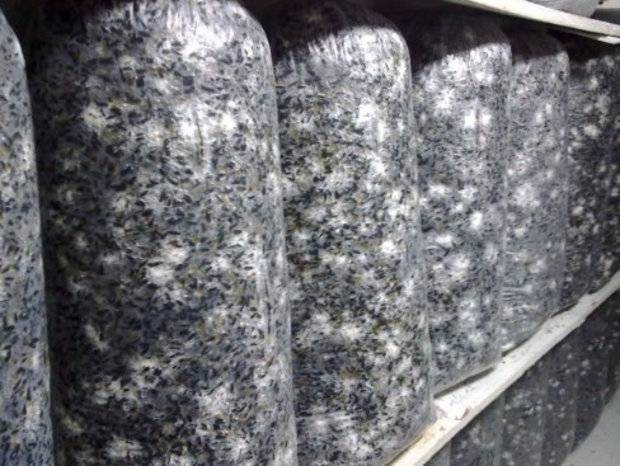
Place the mushroom blocks vertically at a distance of at least 10 cm from each other. The most important requirement of the incubation period when growing oyster mushrooms is strict adherence to the temperature regime. The temperature in the room should be 16-22 degrees, inside the bag - 4-6 units higher. If inside the mushroom growing block it exceeds the 29 mark, you will need to urgently save the oyster mushrooms - ventilate, create a draft, turn on powerful fans.
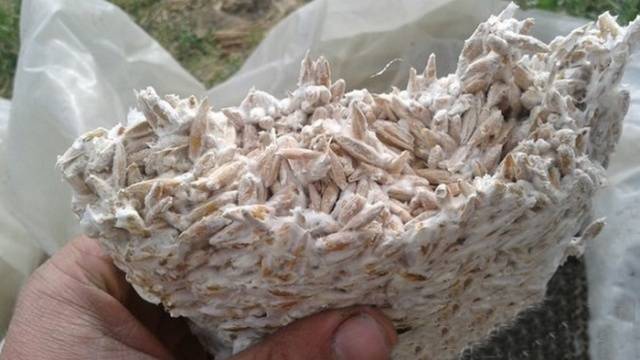
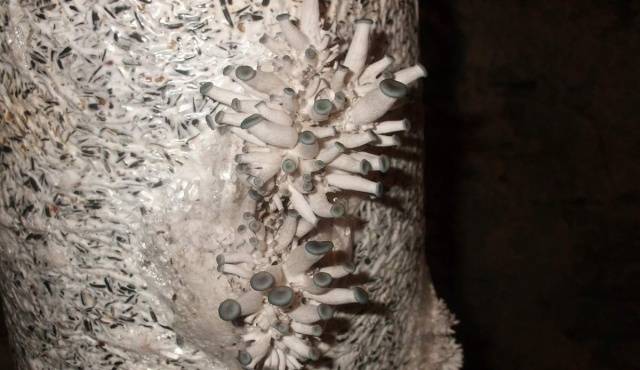
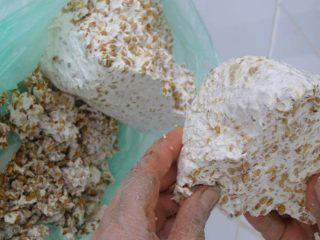
1-2 days after inoculation, white spots will appear on the surface of the straw - this is the mycelium growing. After about a week, the substrate for growing mushrooms will turn beige, the temperature inside the bag will be only 1-2 degrees higher than the ambient temperature. After 10-12 days, the straw will turn into a dense, white, homogeneous block permeated with oyster mushroom mycelium.
In the places of incisions, differences in temperature, humidity, air exchange and light will naturally form. This significantly accelerates the rate of mycelium maturation and the formation of fruiting foci (primordia).
Air humidity during mycelium germination should be 75-90%. At normal temperatures, special ventilation is not needed, and lighting is kept to a minimum. You may have to water the floor, use a sprayer, or install a humidifier, since it is impossible to grow oyster mushrooms in a dry room.
Fruiting of oyster mushrooms
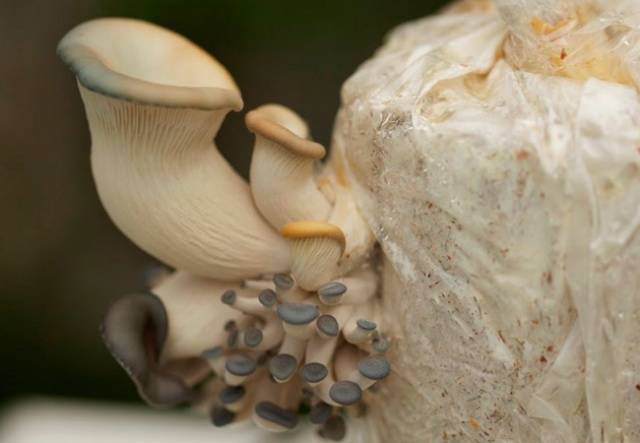
Fruiting begins 14-20 days after sowing the oyster mushroom mycelium. The appearance of primordia is a signal for a change in the content of the blocks for growing mushrooms. They need to be moved to another room, slowly lower the temperature to 15 degrees, begin to illuminate and ventilate. Optimal conditions for growing oyster mushrooms:
- Water must evaporate from the mushroom caps, despite the high humidity; for this, a ventilation system must be established.
- The required room illumination is 100-150 lux. This is 2-3 light bulbs with a power of 100 W per 15 sq. m, working from 5 to 10 hours a day. If the legs of oyster mushrooms stretch out and stretch towards the light source, it means there is not enough light.
- The humidity in the room for growing mushrooms should be maintained at 80-85%. If it falls below 70%, it will lead to a decrease in yield.
- The permissible temperature for growing oyster mushrooms is 10-22 degrees, the optimal temperature is 14-18.
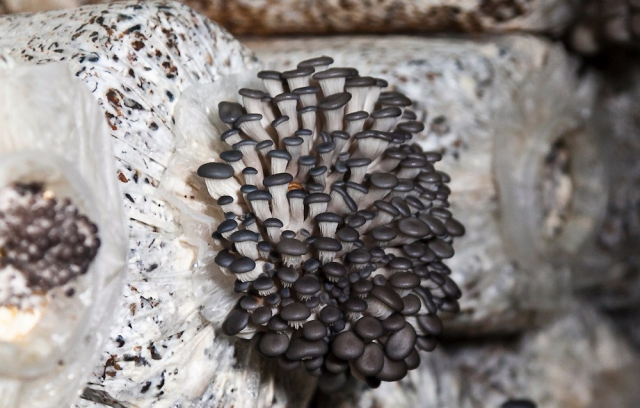
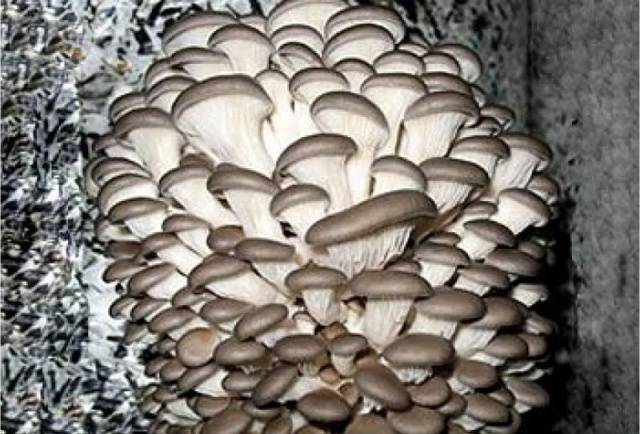
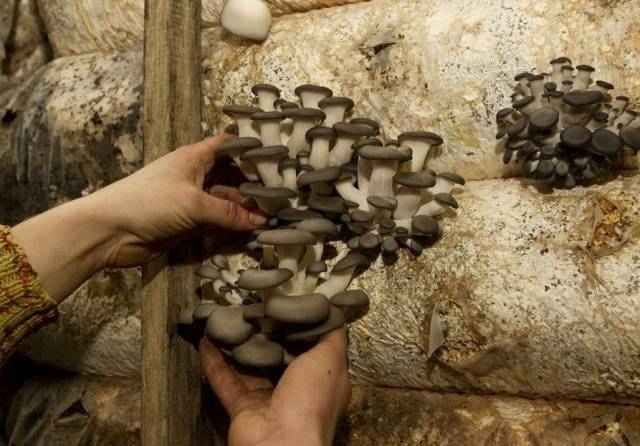
Primordia turn into a full-fledged fungal drusen in about a week. It needs to be cut off or unscrewed completely; leaving small oyster mushrooms to “grow” is unacceptable. After the main harvest is harvested, the block is able to bear fruit for another 2-3 months, although there will be fewer and fewer mushrooms.
If you have started growing oyster mushrooms on stream, it makes sense to replace the spent mycelium after the second harvest.
We invite you to watch a video that describes the first steps in growing mushrooms:
Growing oyster mushrooms using the extensive method
The easiest way to grow mushrooms is extensive. If you not only don’t know where to start breeding oyster mushrooms, but also doubt whether it’s worth doing it at all, start there.
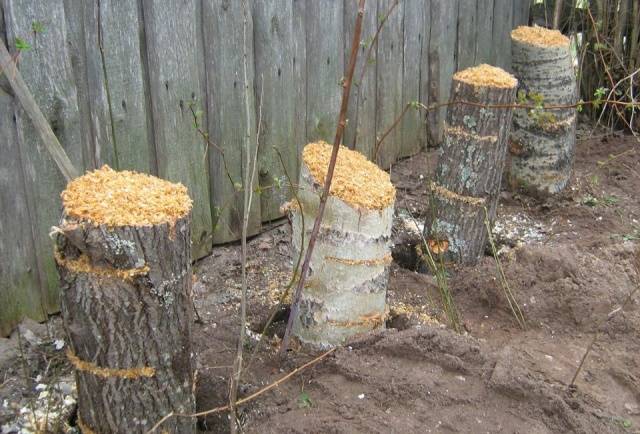
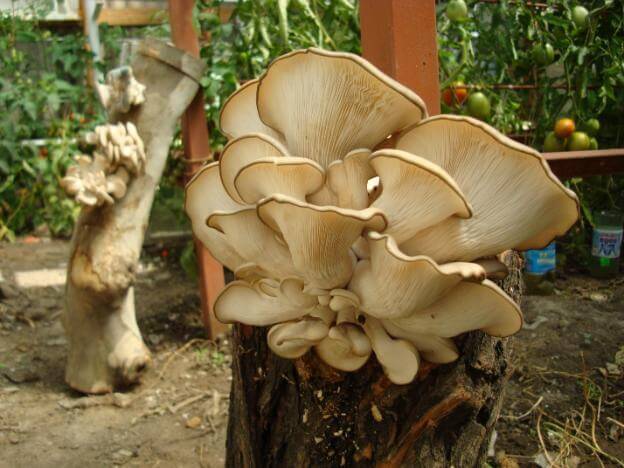
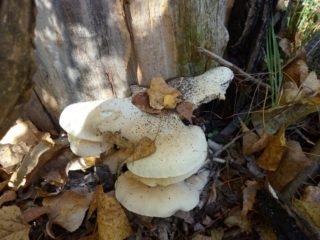
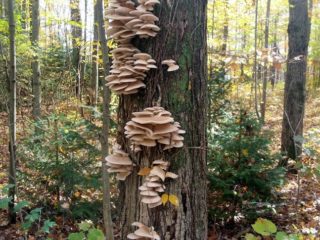
There are no blocks here; mushrooms are grown on logs, thick (at least 15 cm in diameter) branches, and stumps of deciduous trees. The logs are sawn into pieces of 30-40 cm and soaked in water for a week, then infected with oyster mushroom mycelium in one of the following ways:
- wet bars are installed in rows, 100-150 g of mycelium are poured onto each end and wrapped in cellophane;
- holes are drilled in the upper part of the log, oyster mushroom mycelium is filled in and covered with moss;
- A disk is sawed off from the block, mycelium is poured onto the end, and the stump is nailed into place.
Logs infected with oyster mushroom mycelium are placed in a shaded room with a temperature of 15-20 degrees, wrapped in cellophane and watered from time to time. If you regularly moisten the bars and do not let them dry out, after 2-2.5 months a white fluff will appear on the surface - the overgrowth has been successful.
Place the logs for growing mushrooms in a permanent place, digging 2/3 into the ground, choosing a damp place protected from the sun. Maintain moisture by watering the soil around them.
With this simple growing method, you can collect oyster mushrooms for 5-6 years until the wood falls apart, and you will get the maximum mushroom yield in the third year.
Errors during cultivation
Oyster mushrooms rarely get sick and generally create fewer problems than other mushrooms.If something goes wrong, most often we ourselves or poor-quality mycelium are to blame. Let's look at the most common mistakes when growing oyster mushrooms:
- Poor germination of the mycelium and the appearance of green or dark spots on the surface of the block are caused by poor quality of the mycelium or non-compliance with hygiene standards during inoculation. Oyster mushrooms will appear later, there will be fewer of them, but the quality will not suffer.
- Weak and late overgrowth of mycelium - errors in preparing the block for growing mushrooms, overheating, hypothermia or other violations of the content of oyster mushrooms. Correct the problems.
- Unpleasant odor and color of the contents of the mushroom block - overheating or waterlogging. You may have forgotten to make drainage holes at the bottom of the bag with the mycelium-sown substrate for growing oyster mushrooms.
- Developmental delay – errors in temperature or water conditions, lack of ventilation.
- The appearance of midges is caused by storing vegetables in close proximity to mushroom blocks or failure to follow hygiene rules when growing oyster mushrooms. Disinfect the room and eliminate the source of insects.
- A decrease in yield is a violation of the rules for growing oyster mushrooms or low-quality mycelium.
Mushrooms may be unmarketable for the following reasons:
- a small hat on a long stem - lack of light;
- the cap of the oyster mushroom is funnel-shaped, the leg is bent - lack of fresh air or overripe mushrooms;
- a small cap on a thick stem - the substrate is too loose and wet;
- Oyster mushroom druse looks like coral - lack of oxygen.
Conclusion
You can cultivate champignons, shiitake, reishi, honey mushrooms, polypores and other mushrooms at home, but oyster mushrooms are the easiest and fastest to grow.This exciting activity will not only diversify your diet, but with certain material and labor costs it can turn into additional (and considerable) income.
