Content
When growing champignons, the main costs, almost 40%, are associated with the acquisition of mycelium. Moreover, it does not always turn out to be of high quality. But knowing how to grow champignon mycelium with your own hands, you can start producing it at home.
Despite the predominant reproduction of fungi through spores, they are also capable of vegetative reproduction. This property was used in the last century in mushroom production. The technology was simple - after collecting mycelium from manure dumps, it was planted in prepared soil. However, this method did not produce large yields, since fruiting was reduced by extraneous microflora present in the mycelium. In the 30s a method was developed growing grain mycelium, which is used today in mushroom production.
Mycelium production methods
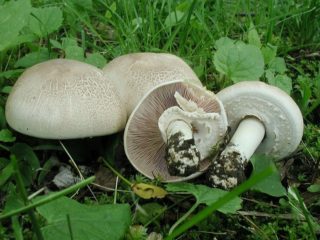
Champignon, like other types of mushrooms, reproduces by spores. The imprint of the spores can be seen by placing the cap of a mature champignon on a sheet of paper with the underside. In the presence of a nutrient medium, the spores germinate, giving rise to a new mycelium.Champignons also reproduce excellently using the tissue method - when placed in a sterile environment with an appropriate nutrient substrate.
In the production of champignons, spore and tissue cultivation of mycelium and its selection are carried out in special laboratories equipped with microbiological control, the ability to maintain sterile conditions, the required temperature and humidity. But many mushroom growers today are keen on growing champignon mycelium at home and do it quite successfully.
Obtaining a nutrient medium for mycelium
The technology for growing champignon mycelium requires an appropriate nutrient medium. It comes in three types.
Wort agar is prepared using the following technology:
- one liter of beer wort and about 20 grams of agar-agar are mixed;
- the mixture is heated while stirring until the jelly is completely dissolved;
- sterile test tubes are filled to one third of the volume with the hot mixture;
- test tubes closed with cotton-gauze swabs are sterilized for 30 minutes under appropriate conditions (P = 1.5 atm., t = 101 degrees);
- further, they are installed obliquely to increase the surface of the nutrient medium, while the contents should not touch the plug.
Oatmeal agar is prepared from such components as water - 970 g, oat flour - 30 g and agar-agar - 15 g. The mixture is boiled for an hour, then filtered through a gauze filter.
Carrot agar combines 15 g of agar-agar with 600 g of water and 400 g of carrot extract. After boiling for 30 minutes, the mixture is passed through a gauze filter.
Sowing champignon mycelium
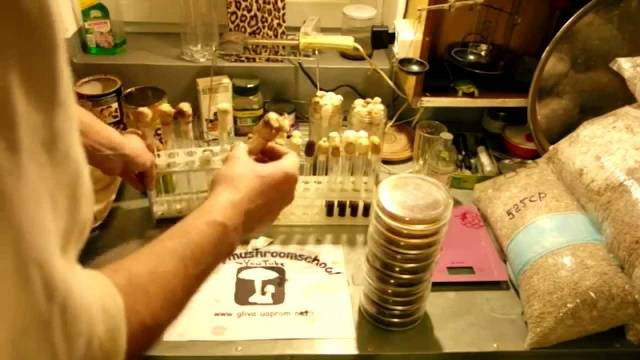
When the nutrient medium in the test tubes hardens, the second stage of obtaining champignon mycelium begins.On the prepared nutrient medium you need to place particles of the mushroom body, cut with sharp tweezers from the champignon leg. This operation must be performed under sterile conditions. Tweezers can be disinfected with alcohol, hydrogen peroxide, or calcined in the flame of an alcohol lamp. Instead of tweezers, you can use a so-called inoculation loop. It is a steel knitting needle with a bent and sharpened end. It is convenient to remove pieces of the mushroom body of the champignon and quickly add them to the test tube.
The whole process consists of several manipulations:
- the pre-prepared champignon should be carefully broken into two parts;
- a piece of mushroom tissue needs to be picked up with an existing device and dipped for a second in a hydrogen peroxide solution for disinfection;
- open the test tube and quickly place a piece of champignon mushroom tissue on the nutrient medium - all actions must be carried out over a burner flame to avoid pathogenic microflora entering the medium;
- The test tube is immediately closed with a sterile stopper, also held over the flame.
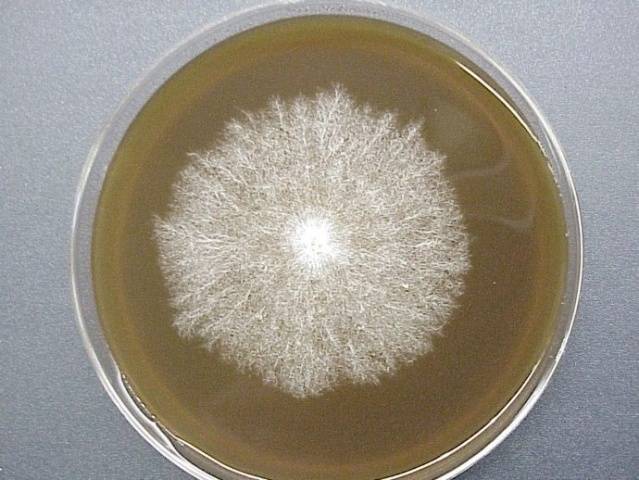
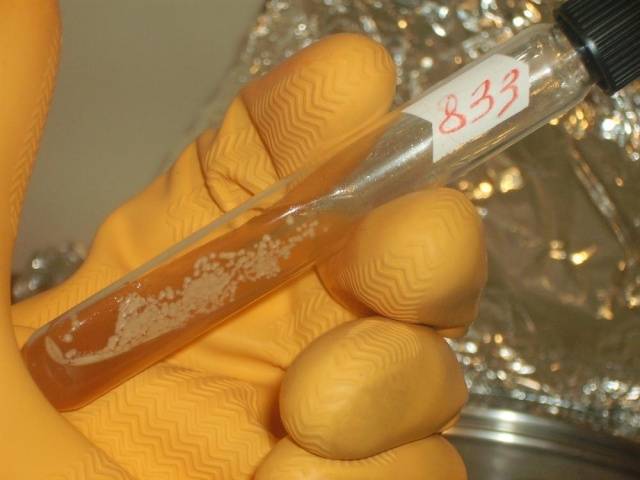
During the germination of the fungal culture, the test tubes should be kept in a warm, dark room. It will take about two weeks for the mycelium to fill the nutrient medium of the test tube. A mother culture of champignon is formed, which can be stored and transplanted into a new nutrient medium every year.
Further propagation of mycelium
If the task is to further propagate the champignon mycelium, the contents of the test tubes are added to large jars filled 2/3 with substrate. This procedure also requires sterile conditions:
- a depression is prepared in the substrate contained in the jar, after which it is tightly closed with a metal lid;
- a hole must be made in it, closed with a soft stopper;
- jars prepared in this way are placed in autoclaves for 2-hour sterilization under pressure (2 atm.);
- jars should cool in a sterile room;
- when the temperature drops to 24 degrees, you can add a mother culture of champignons to the substrate.
Manipulations are carried out over a burner flame. Having opened the test tube, a fungal culture is removed from it using an inoculation loop. Quickly removing the cork from the jar hole, insert the champignon mycelium into the recess in the substrate and close the jar.
Preparing grain mycelium
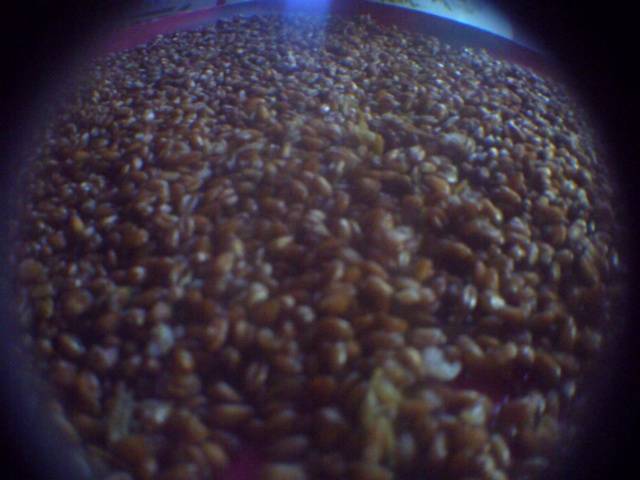
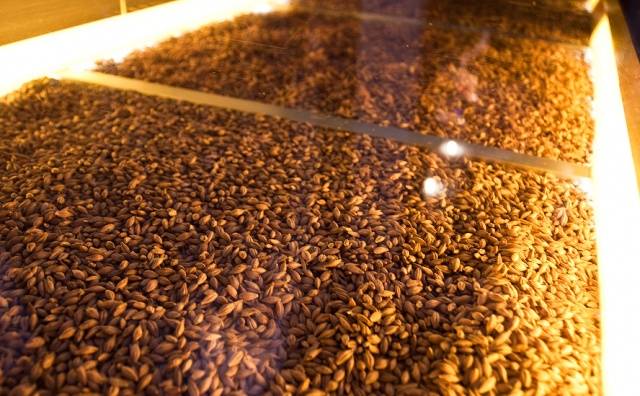
How to make champignon mycelium at home using grain? Most often, wheat or oats are chosen for this purpose, but other grains can also be used - rye, barley.
Dry grain is filled with water in a ratio of 2:3. For disinfection, you can add hydrogen peroxide in a ratio of 1:10 to water. The mixture is cooked for 20-30 minutes, depending on the hardness of the grain. It should soften enough, but not cook.
After draining the water, the grain should be dried. A wooden box containing a small fan is very convenient for this procedure. The box is closed with a metal mesh. Grain with chalk and gypsum additives is poured onto the mesh on top. These substances improve the grain structure and regulate its acidity.
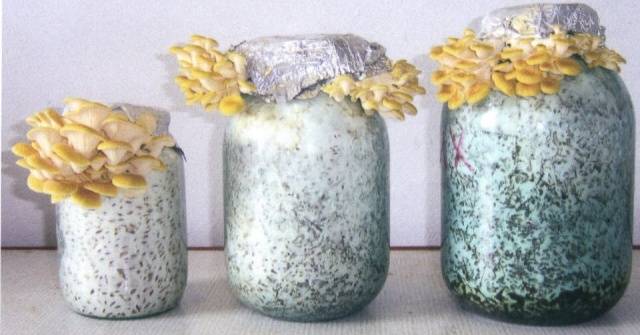
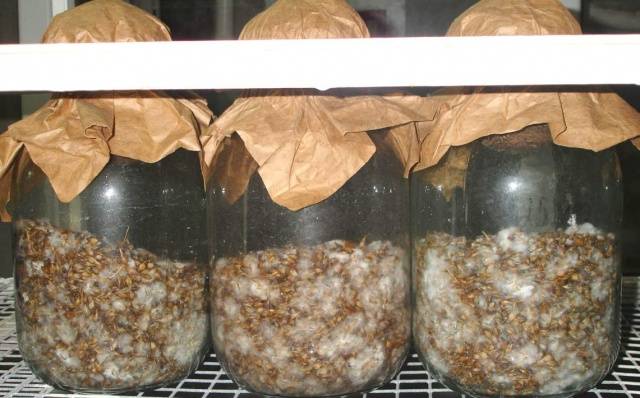
The jars are filled 2/3 of the volume with dried grain and sterilized under pressure. After adding the mother culture to the jars, they are placed in a thermostat at a temperature of 24 degrees and a humidity of about 60%.
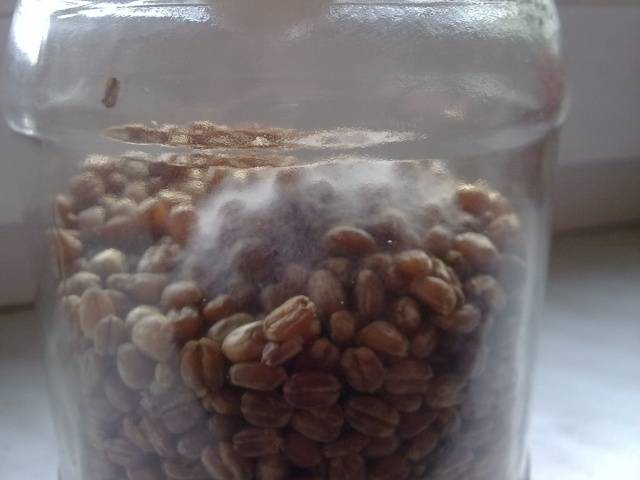
The champignon mycelium must colonize the entire substrate in the jar.The grown grain mycelium can be used for the next seeding of containers. The resulting mushroom culture is suitable for several crops, after which it needs to be renewed.
During the colonization process, the jars should be reviewed regularly. If green or brown spots or liquid with an unpleasant odor appear, the contaminated jar should be sterilized under pressure for 2 hours.
To prevent the grains from sticking together and accelerate the growth of the mycelium, you need to shake the jar from time to time.
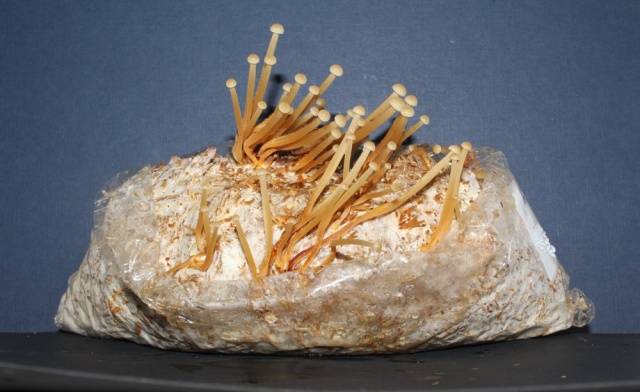
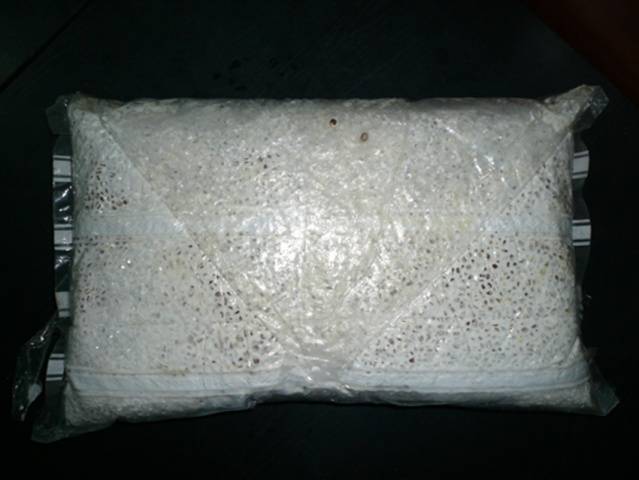
It is convenient to pack the finished grain mycelium of champignons in plastic bags to protect them from foreign microflora. Grain mycelium is stored for up to four months at 0-2 degrees. In contrast, compost mycelium lasts up to a year.
Advantages of cardboard
You can grow champignon mycelium at home in a simpler and cheaper way than using compost or grain. At the same time, this material is not foreign to mushrooms, which are also grown on sawdust. Colonization of champignon mycelium on cardboard is easy and quick. Often cardboard is even more comfortable for champignon mycelium than sawdust, in which insufficient gas exchange suppresses the development of mycelium.
The advantages of growing mycelium on cardboard are that:
- cardboard is less susceptible to pathogenic microflora;
- the corrugated structure of the cardboard provides effective air exchange necessary for breathing of the growing champignon mycelium;
- cardboard retains moisture perfectly;
- there is no need for sterilization, which is very important;
- an important argument in favor of cardboard is its low cost and availability;
- Using cardboard requires less time and labor.
Mycelium on cardboard
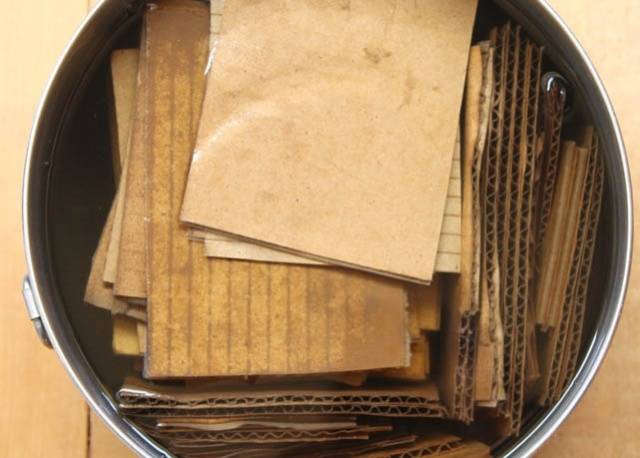
To obtain champignon mycelium, the best option would be brown corrugated cardboard, cleaned of any glue or paint stains. And planting material can be selected from mushroom waste.
The technology for obtaining champignon mycelium on cardboard is very simple:
- cardboard, cut into small pieces, is soaked in boiled, lukewarm water for about an hour or more, and then laid out in a spacious plastic container with drainage holes;
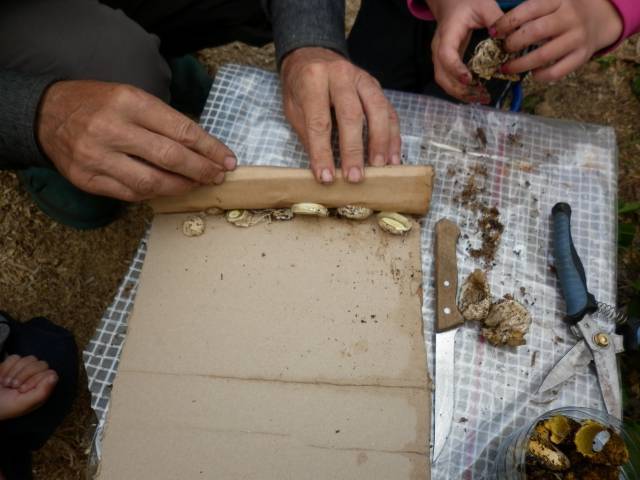
- manually or using a knife, the champignon should be divided into fibers;
- Having removed the top layer of paper from the cardboard, you need to lay out the champignon pieces on a corrugated surface, first disinfecting them in peroxide, and cover the top with the removed paper;
- Lightly compact the layers to prevent air pockets from forming;
- to avoid drying out, the container is covered with plastic film, which must be removed every day and the cardboard mycelium plantation must be ventilated;
- The cardboard should not be allowed to dry out, so it must be moistened periodically;
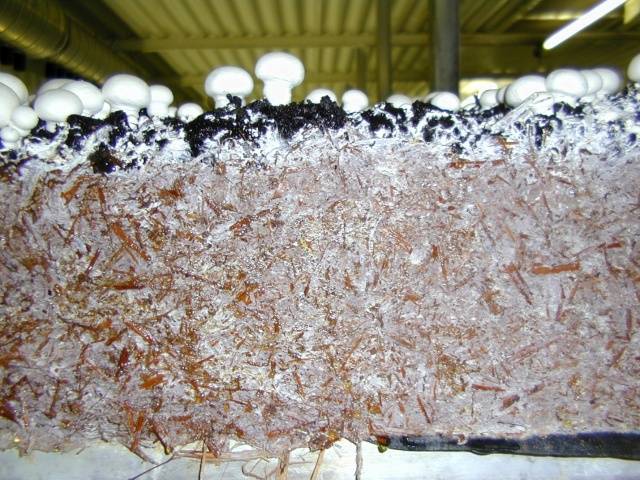
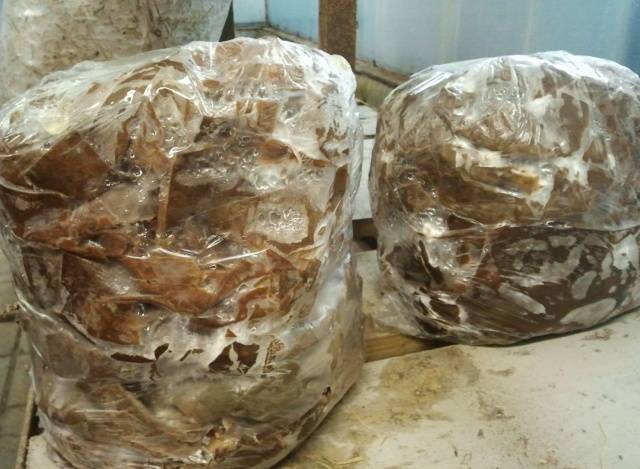
- Planting champignon mycelium should be in a dark and warm place until the entire cardboard turns white from the overgrown mycelium - the process can last up to three months.
Having grown champignon mycelium on cardboard, you can plant this mycelium on the next sheet of cardboard. It will grow even faster on it, since information about the environment is transmitted genetically to the next generation of mushrooms. You can use part of the cardboard mycelium to obtain a new portion of champignon mycelium.The rest is used to colonize the substrate, for example, to populate bags with pasteurized straw or sawdust with cardboard mycelium. It grows well on other types of substrate - coffee grounds, tea leaves, paper.
Conclusion
Growing champignon mycelium at home is not difficult if you have patience and follow these recommendations. And high-quality mycelium is the key to a good mushroom harvest.
