Content
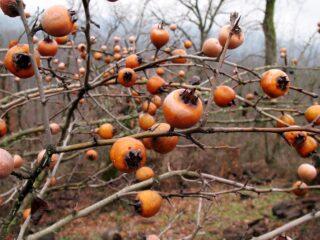
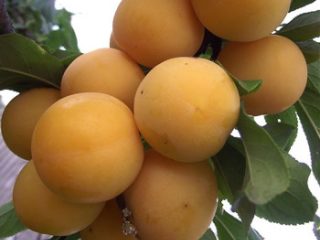
Medlar belongs to the category of crops that are rarely found in gardens. After all, this plant is heat-loving and grows in countries with temperate climates. But if you wish, you can grow this crop on your personal plot not only in the southern, but also in the central regions of Russia. After all, the German type of crop, unlike the Japanese one, is able to withstand frosts down to -30 ° C. For successful cultivation, you need to plant medlar and care for it correctly, otherwise the plant will not be able to fully develop and will simply die.
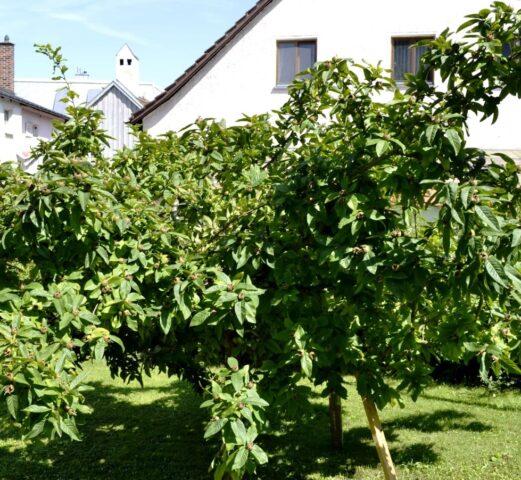
Medlar is a long-lived plant
How to plant medlar correctly
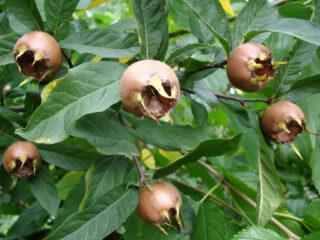
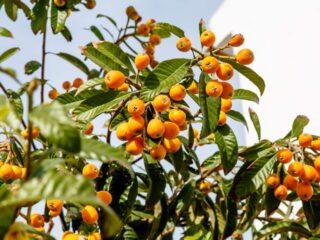
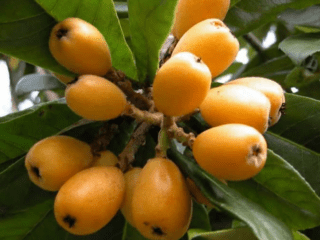
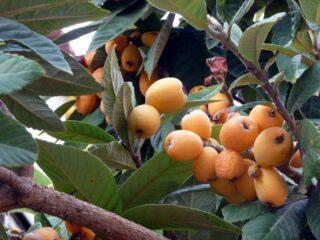
Medlar is also known as loquat, shesek, and eriobothria. For a long time it was considered a purely decorative crop, and only later its fruits could be appreciated. This significantly increased the interest of gardeners around the world in it.
The culture belongs to the Rosaceae family. But unlike its close relatives apple, pear, hawthorn and quince, it is more demanding on growing conditions.Therefore, for the full development of medlar, you need to follow the recommendations for its planting and placement on the site.
Choosing a place in the garden
Lokva is demanding of light. Therefore, the landing site should be well lit throughout the day. However, gardeners note that this exotic crop can withstand light openwork partial shade during the midday hours.
To successfully grow medlar in open ground, it is recommended to plant it on the east or south side of the site. The landing site should be protected from cold gusts of wind. And the distance to neighboring trees is at least 4 m.
It is also important to consider the groundwater level in the area intended for this crop. It must be at least 1 m. Otherwise, in a few years the seedling will die, as its root system will be washed away.
Soil preparation
Loqua shows high performance when planted in sandy or loamy soil with a low acidity level. The soil must also have high moisture and breathability. When planted in a heavy clay substrate, the plant dies over time. Since its root system lacks air, suffers from waterlogging and cannot fully develop.
Two weeks before planting, you need to prepare a hole measuring 50 by 60 cm. Place a 10 cm thick layer of drainage on the bottom of it. To do this, you can use broken brick or crushed stone, which will prevent moisture stagnation at the roots. The remaining space of the planting pit should be filled 2/3 of the volume with a nutrient mixture.It should consist of turf, peat, sand and humus in a ratio of 2:1:1:1. You also need to add 200 g of wood ash, 100 g of bone meal into the hole and thoroughly mix the fertilizers with the soil.
For planting, it is recommended to select two-year-old seedlings with a well-developed closed root system without signs of damage to the bark. A day before the procedure, they need to be watered well to prevent damage to the seedling when removing it from the container.
Landing algorithm:
- Make a slight elevation in the center of the hole.
- Place a seedling on it.
- Place a wooden support nearby.
- Cover the roots with soil and fill any voids.
- Compact the soil at the base of the loquat seedling.
- Water the plant generously.
- Tie it with twine to the support.
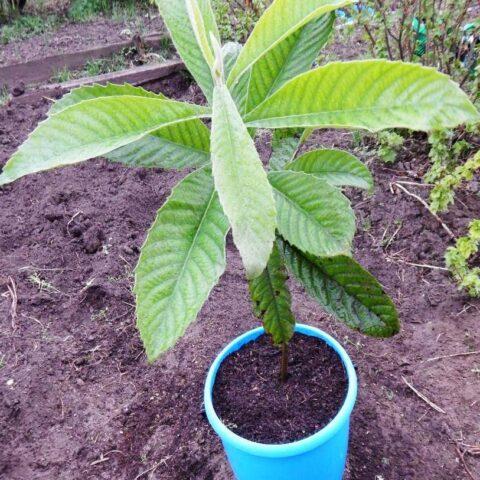
After planting, the root collar of the plant should be at soil level
German medlar, like all representatives of the Rosaceae family, needs cross-pollination. And to obtain a good and stable harvest, it is necessary to plant several seedlings simultaneously at a distance of no more than 10 m. Quince, apple trees, and pears with the same flowering period can be used as pollinators for medlars.
Care for medlar in open ground
In order for this exotic crop to quickly adapt to new conditions and begin to grow, it is necessary not only to plant correctly, but also to provide care taking into account its basic requirements. This is a guarantee that the medlar will be able to get stronger before the arrival of winter.
How to water medlar
The root system of lokva is well developed, of a superficial type. The plant does not tolerate drought well.And therefore, in the absence of rain for a long time, it is necessary to regularly water the medlar. To do this, you need to use settled water at a temperature of +15-20 °C.
It is recommended to do moistening in the evening along the entire perimeter of the crown, wetting the soil to a depth of 10-20 cm, depending on the age of the seedling.
In the first year after planting, you need to ensure that the soil always remains slightly moist. This will prevent the root system from drying out and delaying the development of the crop.
Fertilizer for loquats
To grow medlar in the country, you need to feed it regularly. During the period of active growth, it is recommended to fertilize the crop with organic matter. For this you can use mullein 1:10 or chicken manure 1:15. In their absence, calcium nitrate and urea should be used in a proportion of 30 g per 10 liters of water.
During budding and ovary formation in medlar, the need for nutritional components changes. At this time, she needs phosphorus and potassium. Wood ash helps replenish their deficiency. To do this, you need to pour 200 g of the component into 1 liter of hot water and leave for a day. After time, the volume of liquid should be increased to 10 liters, and then the solution should be used for root feeding.
Starting from the second half of summer, it is recommended to fertilize medlar with superphosphate (40 g) and potassium sulfide (25 g) per plant. They can be applied dry to the root circle with further incorporation into the soil and watering, or used in the form of an aqueous solution.
How to prune medlar
Loquat responds well to pruning. Therefore, it is recommended to form the tree crown every year in the spring.In the first 3-4 years after planting, you need to shorten the skeletal branches by 1/3 of the annual growth. This stimulates the active development of side shoots.
In the future, pruning should be carried out in order to clear the crown of broken and damaged shoots. It is also necessary to regularly remove the pagons growing in the middle of the tree, as they reduce illumination, which negatively affects fruiting. Experts do not recommend pruning medlar in the fall, so as not to weaken it before wintering. The optimal period is early spring before buds open.
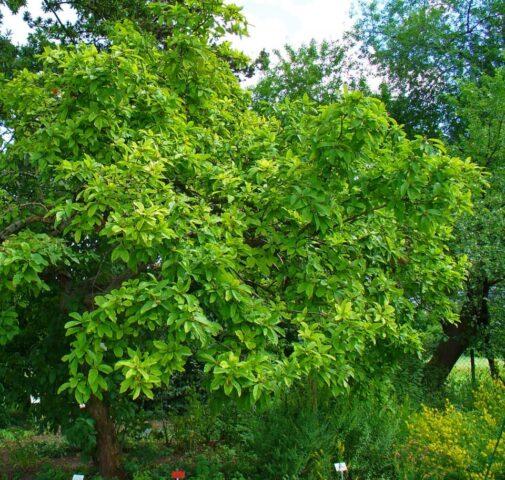
Medlar recovers quickly after pruning
When and how to replant medlar
If it is necessary to transplant a young loquat seedling to a new place, this should be done before the beginning of the growing season or at the end of it. But in the case of the second option, there must be at least three weeks left before the onset of frost. Otherwise, the medlar will not have time to take root and will freeze.
Pests and diseases of medlar
German medlar is characterized by high natural immunity. But if the growing conditions are inappropriate, its stability decreases.
The plant can be affected by aphids and scale insects. If signs of pests appear, treat the crown with Actellik solution. If necessary, the procedure is repeated after ten days.
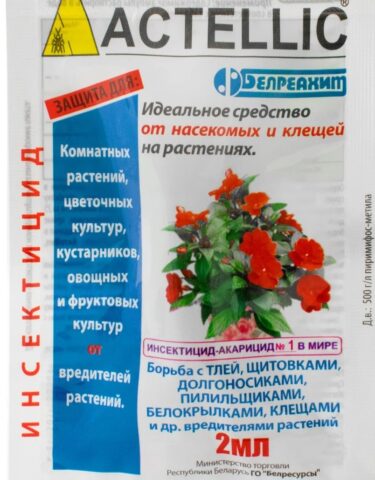
Actellik has a contact and fumigation effect
The plant may suffer from brown rust and sooty fungus. In this case, treatment should be carried out with a 1% solution of Bordeaux mixture.
How does loquat reproduce?
To propagate medlar, you can use seeds, cuttings, and layering.Each of these methods has certain features, the study of which will help you avoid serious mistakes.
Seeds
This method makes it possible to obtain many new medlar seedlings for planting. But grown plants do not retain varietal properties.
To propagate, you need to collect the seeds of ripe medlar fruits and lightly dry them. After this, planting should be done in a container filled with a damp substrate of turf, peat and sand in equal volumes. It is recommended to bury the seeds 1-1.5 cm into the soil. After this, cover the container with film and keep it in a dark place at a temperature of +20-23 °C.
If all conditions are met, seedlings appear 3-4 weeks after planting. When they get stronger, they should be adapted to external conditions and the shelter should be removed. Seedling care is standard. Planting in open ground can be done after a year.
Cuttings
To plant medlar by cuttings, it is necessary to cut the tops of semi-lignified shoots 15-20 cm long. It is recommended to do this in early summer. The lower cut of the cuttings should be oblique to increase the rooting area.
Before planting, the lower part of the shoots should be cleared of leaves and powdered with any root-forming agent. To plant, you need to prepare a container and fill it with a mixture of peat, turf and sand in equal proportions. It is recommended to bury the cuttings into the soil 1.5-2 cm.
To create optimal conditions, you should build a mini-greenhouse on top. It needs to be ventilated daily, and the soil moisture needs to be controlled. If all recommendations are followed, medlar cuttings will take root after 3-4 weeks. And they can be planted in a permanent place next spring.
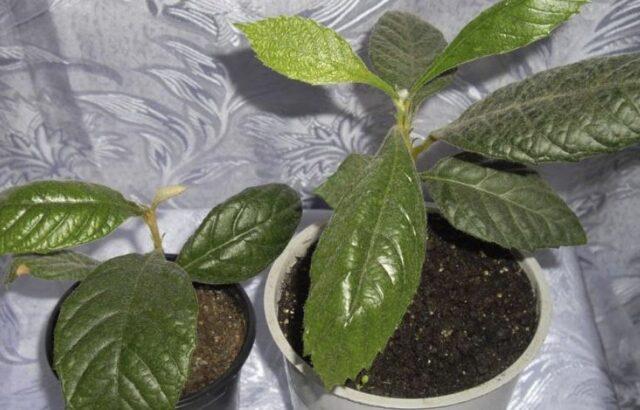
When using cuttings, the yield of medlar seedlings is 30-40%
By layering
To propagate this exotic crop by layering, it is necessary to bend the lower shoots of the bush in early spring and bury them 10 cm into the soil, securing them with staples. And tie the tops to vertical supports. Throughout the season, you need to control the soil moisture and add soil on top as the root system of the seedlings forms.
You can separate them from the mother plant after a year. After which it is necessary to plant it in a permanent place.
Conclusion
Knowing how to plant medlar, you can carry out the procedure without errors. This guarantees rapid adaptation of the seedling to a new location and its full development in the future. Failure to follow planting rules can cause not only stunted growth, but also the death of the crop.
