Content
- 1 Is it possible to propagate hydrangea by dividing the bush?
- 2 Pros and cons of propagating hydrangea by dividing the bush
- 3 When to plant hydrangea by dividing the bush
- 4 How to propagate hydrangea by dividing the bush
- 5 Caring for a hydrangea bush after dividing
- 6 Advice from experienced gardeners
- 7 Conclusion
Self-propagation of hydrangeas, both by seed and by cuttings, takes quite a lot of time. However, there is a faster way to increase the number of this magnificent plant in the garden. Under certain conditions, you can plant garden hydrangea by dividing the bush quite quickly, without spending significant effort.
Is it possible to propagate hydrangea by dividing the bush?
Hydrangea is a beautiful perennial shrub that can decorate any garden plot. Of course, many gardeners would like to propagate it themselves, so as not to spend money on expensive seedlings. This can be easily done by dividing an adult bush.
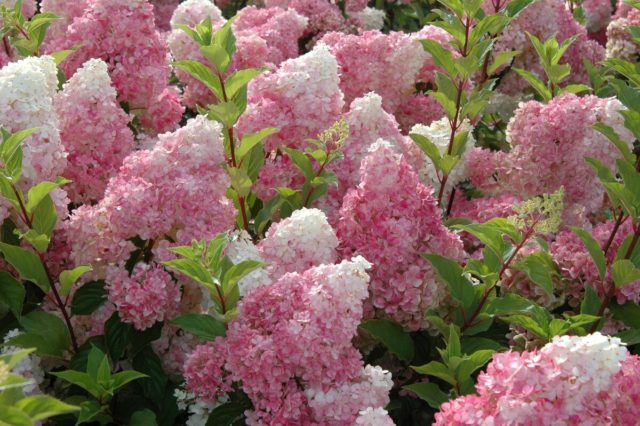
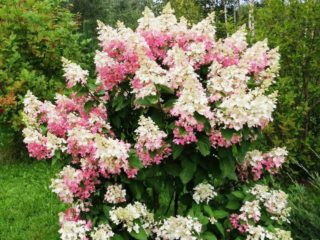
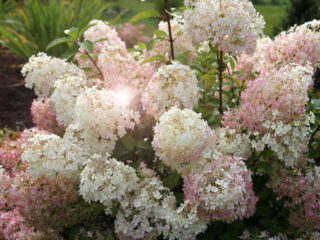
Hydrangea is the real queen of the garden
This method is applicable for a large number of perennial shrubs, including bush-shaped hydrangeas. Unlike cuttings, this process takes much less time, allowing you to obtain clones of the mother plant in a short time.
Pros and cons of propagating hydrangea by dividing the bush
The vegetative method of propagating hydrangea by dividing the bush into separate parts is widely used in ornamental gardening. The positive aspects of this method are the following factors:
- The new plant is completely identical to the mother plant, all species and varietal characteristics are preserved.
- In many cases, separated parts of the plant begin to bloom the very next year after planting.
- High percentage of rooting of cuttings.
- Simplicity of the method.
- You can combine dividing the bush with replanting the plant or replacing the soil in the container.
The division method also has disadvantages. Here are some of them:
- The number of divisions is limited by the number of renewal buds on the rhizome.
- The hydrangea bush must be mature and have a large number of shoots.
- Digging and dividing shrubs requires significant physical effort.
- Work can only be carried out for a short period of time each year.
- The resulting cuttings must be immediately planted in a new place.
Despite all the disadvantages, propagating hydrangeas by dividing the bush is a quick and effective way to breed the desired variety. It is especially convenient to use it when planting potted plants that need periodic soil replacement. In this case, the work can be combined.
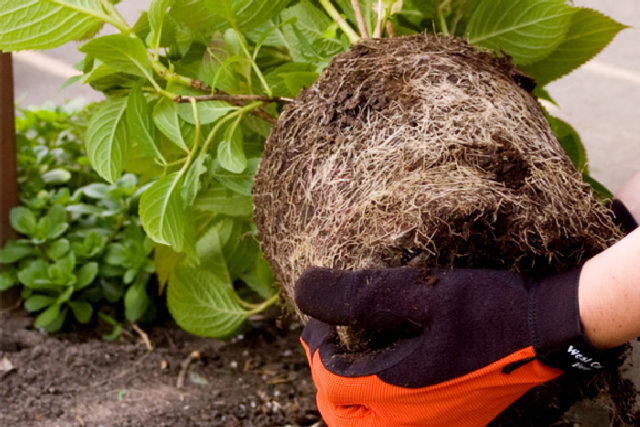
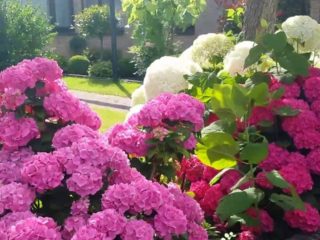
You can divide not only garden hydrangeas, but also potted ones.
In addition, by regulating the artificial microclimate, it is possible to significantly increase the periods of the year during which division can be carried out.
When to plant hydrangea by dividing the bush
One of the necessary conditions for dividing a bush and transplanting its parts to a new location is a dormant period.This is a short period of time when the plant has not yet entered the growing season or has already completed it, while the ambient temperature is above zero. Such conditions are observed in spring and autumn.
How to divide a hydrangea bush in spring
Work on dividing a hydrangea bush in the spring should be started after the soil has completely thawed, the temperature indicators confidently begin to stay above zero, while the plant itself still does not show signs of the beginning of the growing season - swelling of the buds. In different regions, this time may vary significantly due to climate conditions; in Central Russia it is approximately mid or late April.
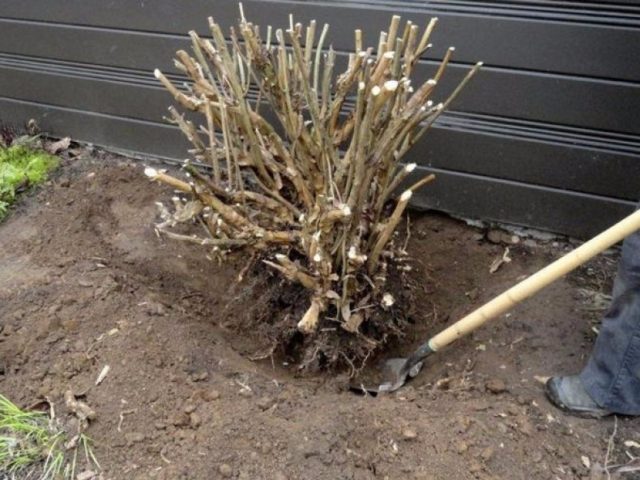
Digging up a hydrangea bush requires a lot of effort.
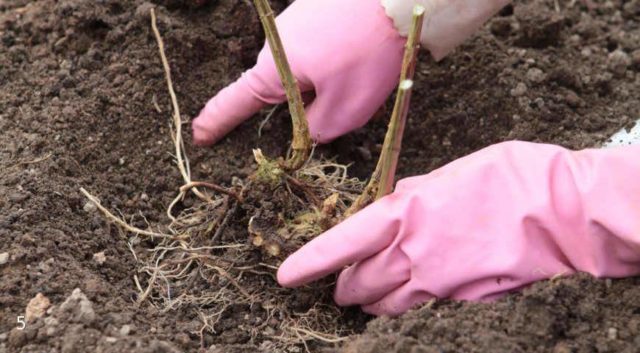
To properly divide a hydrangea bush, it is dug up on all sides and carefully removed from the ground. After all the preparatory measures have been carried out, it is carefully cut into several independent parts, each of which should have its own root system and several renewal shoots. Then they are seated in pre-prepared separate planting pits.
How to divide a hydrangea bush in the fall
In autumn, dividing tree or any other hydrangea bushes is recommended only in warm climates. If the weather conditions are not entirely suitable, then there is a high probability that the plant will not have time to acclimatize to the new place and will die with the onset of cold weather. If the region has a warm winter, then propagation of hydrangea bushes by division can begin after the bush has completely faded. At the same time, there should be enough time before the onset of cold weather for the divisions to take root in new places.The procedure for dividing a hydrangea bush itself is no different from the spring one.
At the same time, you can carry out the procedure with shrubs growing in winter gardens, indoor greenhouses and other rooms with artificial climate control.
How to propagate hydrangea by dividing the bush
Before dividing the bush, the horse zone of the hydrangeas must be shed with water. This will make it easier to remove the plant both from open ground and from the container. After this, the soil is removed from the roots with water pressure from a hose. After cleaning, it is advisable to rinse the root system with a weak solution of potassium permanganate. This preventive measure will protect plants from infections that can be introduced when dividing the rhizome.
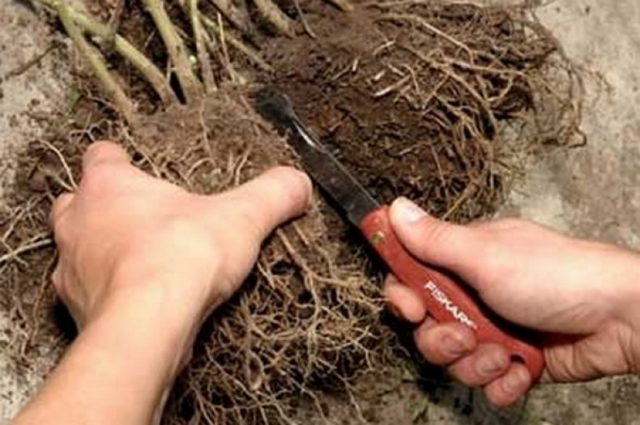
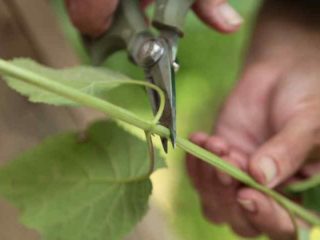
The root is separated using a sharp knife or pruning shears.
Further work order:
- Independent parts containing shoots with their own root system are gradually separated from the bush, using a knife.
- The central part of the bush, extending from a powerful tree-like root, is left untouched. It will remain an independent division and will be planted entirely.
- Roots that are too long need to be trimmed.
- After separation, all large cuts and chips must be burned with brilliant green or sprinkled with crushed charcoal powder.
- The delenki are planted in planting holes and covered with a mixture of peat and high soil, and then watered abundantly.
- The planted plants are pruned, leaving 2-3 growth buds on the shoots.
In more detail, the process of propagation by dividing a large-leaved hydrangea bush grown in pots can be seen in the video:
Caring for a hydrangea bush after dividing
The first time after planting, hydrangea seedlings require increased care. The root zone needs to be moistened regularly, but not flooded. You need to focus on the amount of precipitation; if there is enough of it, then excessive moisture can only damage the hydrangeas. It is better to mulch the top layer of soil with the bark of coniferous trees or their fallen needles; this retains moisture in the soil and helps maintain its acidity. You can use fresh spruce sawdust as mulch. In the first few weeks, before the planted cuttings take root, it is better to shade them with special screens, preventing direct sunlight from falling on them.
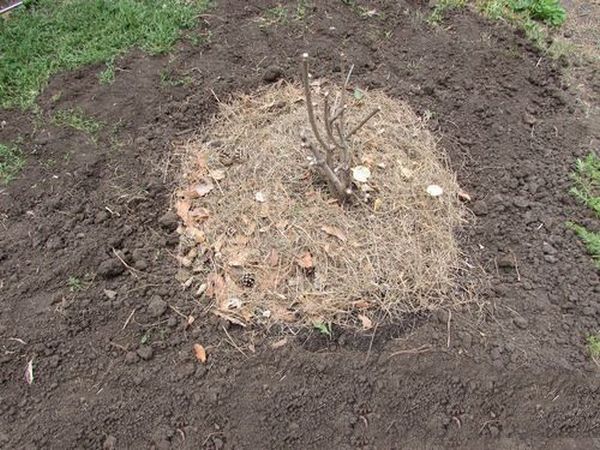
After planting, the root zone should be mulched
This is especially true for large-leaved hydrangea; due to its heat-loving nature, many gardeners grow it exclusively as a potted plant.
Advice from experienced gardeners
To ensure successful propagation of hydrangea by dividing the bush, you can use the tips offered by experienced gardeners. Here are some of them:
- By dividing the bush, you can propagate hydrangea paniculata bushes when creating hedges, since all future plants will not only be of the same variety, but also approximately the same size.
- You can divide small hydrangea bushes with your hands if you have enough physical strength. In this case, you need to be careful not to injure yourself or the plant.
- To divide the root, it is convenient to use garden pruners. Before use, its cutting edges must be treated with any alcohol-containing liquid to prevent infection.
- If a small number of cuttings are needed, then the hydrangea bush does not need to be completely dug up. It is enough to dig out only part of the root system, digging on one side. After this, carefully separate the required amount of shoots, sprinkle the cuts with charcoal and fill the root zone of the bush again. Delenki need to be planted immediately.
All received cuttings must be planted immediately.
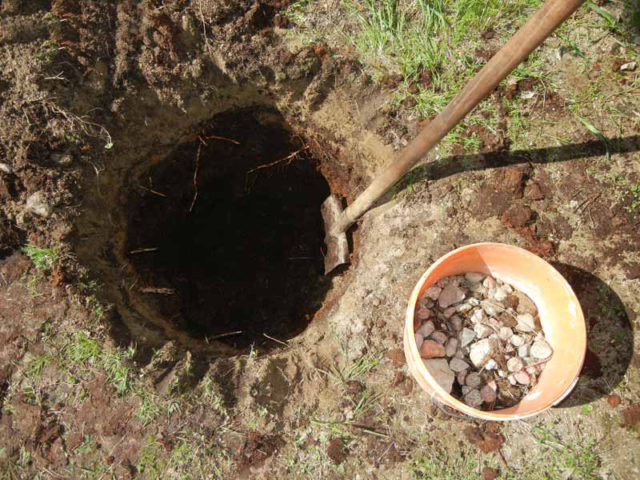
- Planting holes for planting hydrangea cuttings must be dug in advance. Their size should exceed the size of the root system of the seedling by about 3 times; usually they dig a hole with a diameter of 0.5 m and the same depth. A drainage layer of crushed stone or broken brick must be laid at the bottom. Hydrangea loves moisture very much, but stagnation of water in the roots should not be allowed.
A layer of drainage must be laid in the planting holes. - The root collar of seedlings is not buried when planting. Otherwise, the hydrangea may never bloom. It is recommended to plant it at the same level at which the mother plant grew before division.
- A hydrangea bush can be divided in place without pulling it completely out of the ground.To do this, the mother plant is gradually dug around, cutting off or pinching off sections from the side parts.
This method is used if the bush being divided is of significant size.
- Dividing mature bushes is a great way to rejuvenate them. This procedure perfectly stimulates the plant to form new shoots.
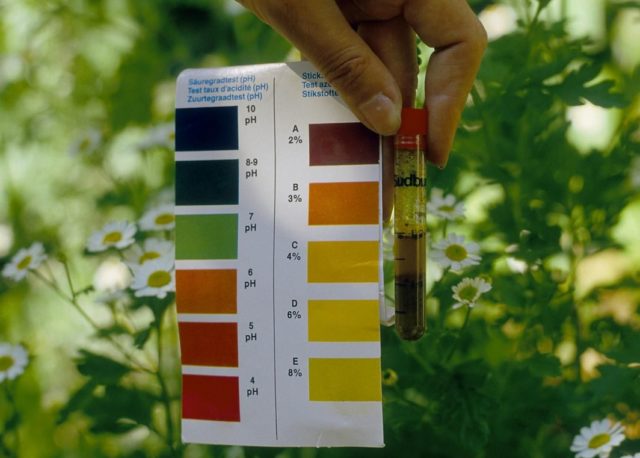
- The soil with which the root system of hydrangea cuttings is covered should have a weak acidic reaction. You can check it before planting using indicator strips or a special device (PH meter). The optimal acidity level is 5. If the pH value is greater than this value, then peat must be added to the soil composition.
Hydrangeas require slightly acidic soil.
- Dolomite flour or lime should not be used in an area intended for planting hydrangeas, as these substances alkalize the soil.
- Planted hydrangeas need to be watered regularly and abundantly. It is important to use only settled water, preferably rainwater, adding a little lemon juice to it before watering. It is not recommended to use artesian and tap water. The salts it contains deoxidize the soil, and this contributes to the appearance of various diseases on hydrangeas.
- Often, after dividing the bush and planting, the hydrangea does not show signs of life for quite a long time. This situation happens if the bush is old enough, and when removing it from the ground and subsequent replanting, it was necessary to severely cut off its roots. Such hydrangeas can be “sick” for a whole season; young shoots appear on them only the next spring. Therefore, you should not rush to draw conclusions and take radical measures.
Conclusion
Planting garden hydrangea by dividing the bush can be simple and quick; this method has proven itself to be excellent, primarily because the percentage of rooting of the divisions is very high. In addition, the method has a number of other advantages: simplicity, quick results, complete identity of the new plants and the mother bush. It is only important to comply with the required deadlines and carry out all the work correctly, in this case the result is most likely to be positive.
